It's In The Mail!

Hello! Today I am sharing a few projects I worked on this week featuring images and text from the Stampin’ Up!® retiring - and currently available as one of the discounted Last Chance Products - Sending Love cling stamp set (item 162873).

Although I did not use them for my projects this week there are also co-ordinating dies for this stamp set: the retiring Sending Love dies (item 162879) are also currently available as one of the discounted Last Chance Products.

To complete my projects this week I combined images and text from the Sending Love stamp set with additional current, retiring, and retired Stampin’ Up!® products.
All text and images were stamped using StāzOn Jet Black Ink (item 101406), and the images for colouring were stamped on watercolour paper and coloured with Classic Stampin' inks/Classic Stampin' ink refills, mixed with a little water, applied with small paint brushes.
For flower and foliage die cuts I used the following dies:
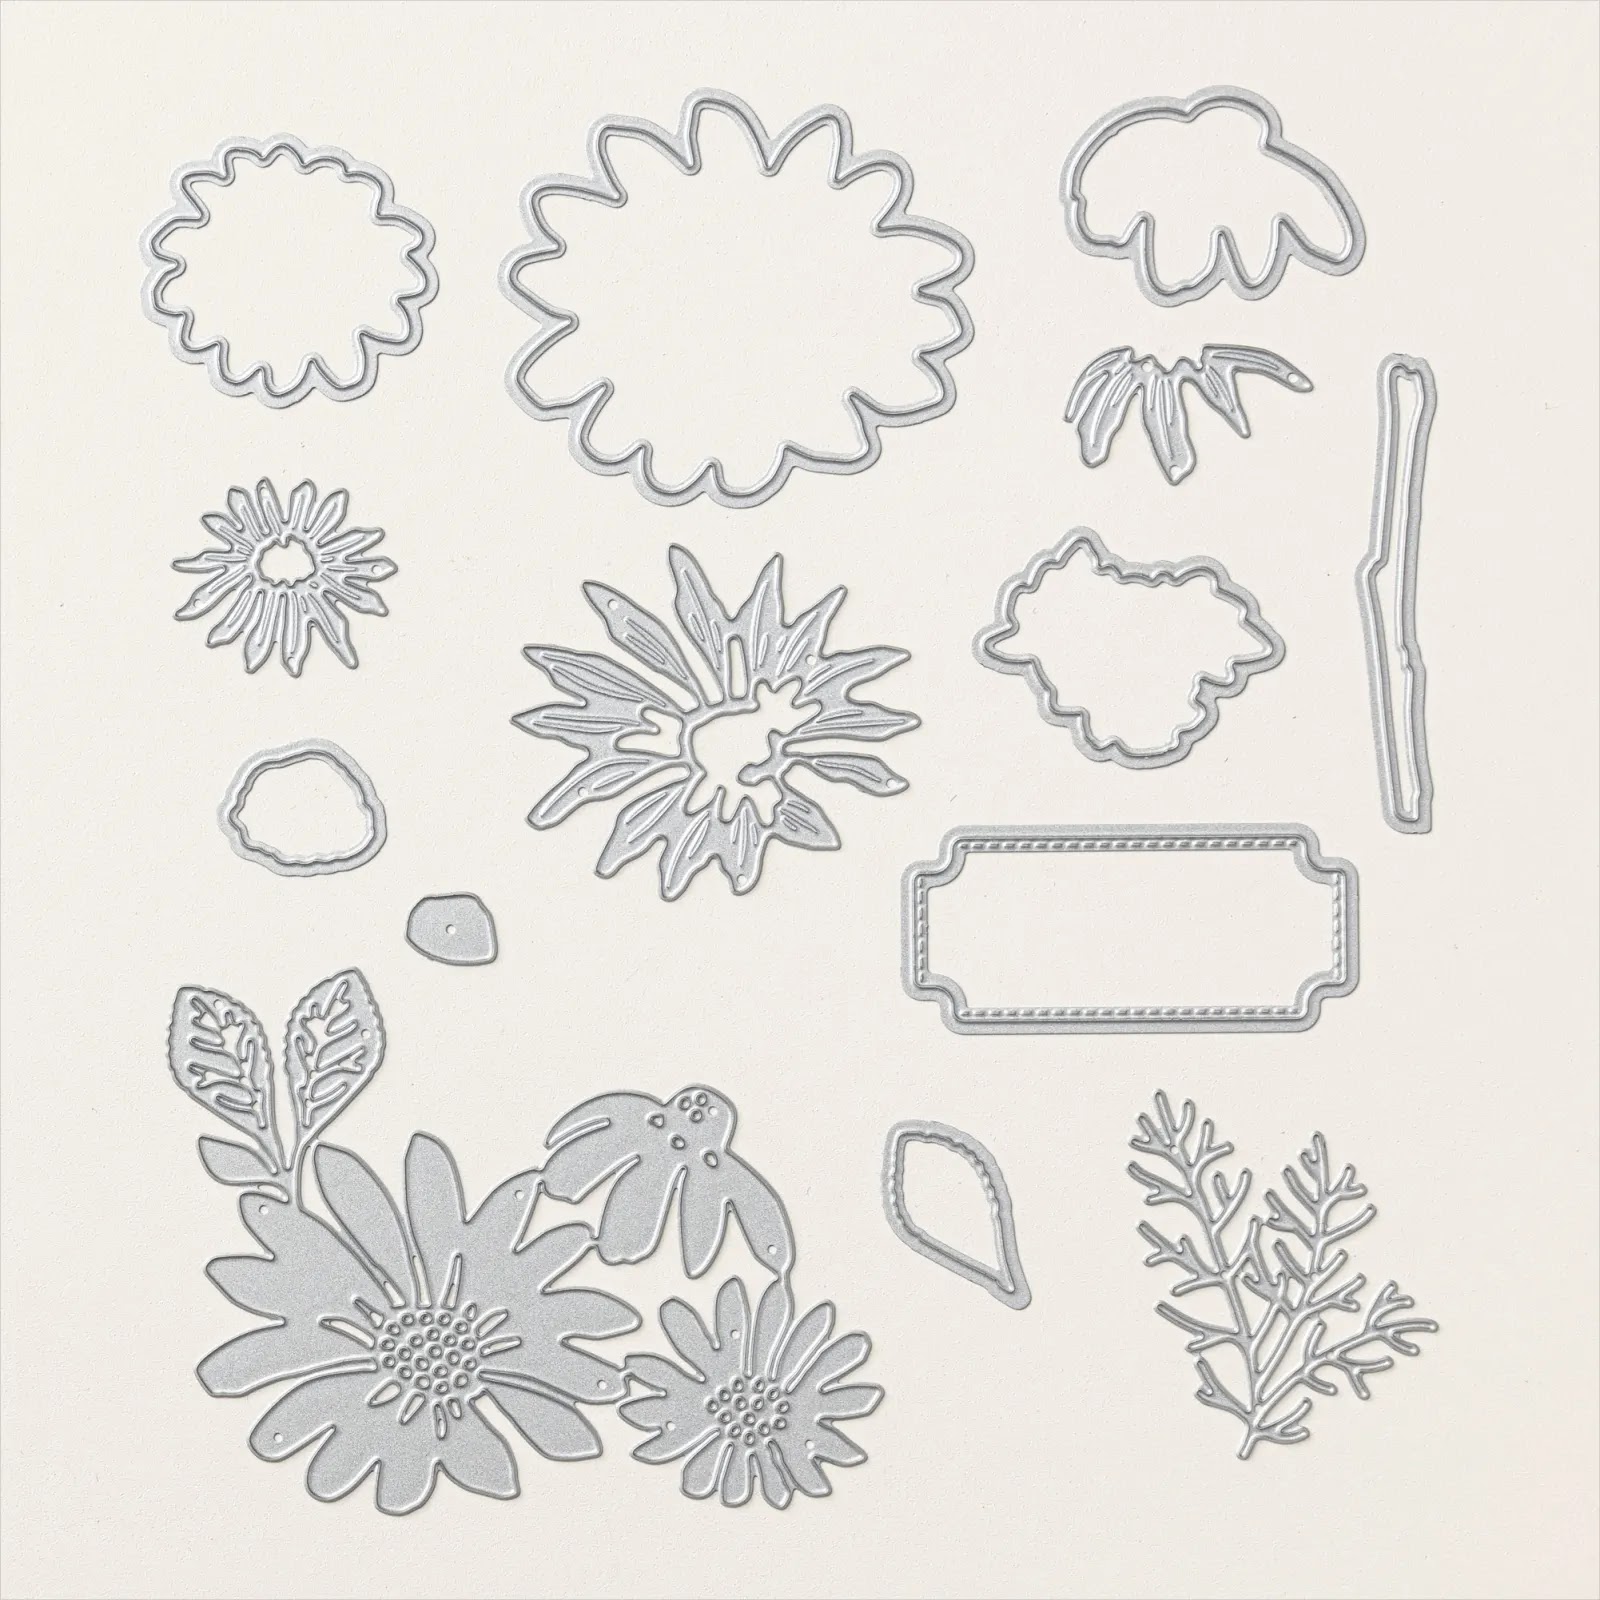
- retiring - and currently available as one of the discounted Last Chance Products - Country Birdhouse (item 163400) - flowers and leaves;

- recently retired Country Flowers (item 163410) - leafy clump;
- retiring - and currently available as one of the discounted Last Chance Products - Delicate Forest (item 162679) - leafy stems;

- Impressions Abloom (item 165610) - little flowers (these little flowers were used both on their own and as centers for the larger Country Birdhouse die cut flowers). For the tiny circles added to the centers of these little flowers I used the circles that are the "punch out" circles that result from die cutting the small circle tag from the Tags To Go dies (item 165576);
.webp)
.webp)
- retiring - and currently available as one of the discounted Last Chance Products - Playing In The Rain (item 160550) - I used one of the cloud die cuts as a base "shrub", tucked into the bottom edge of the DSP matting frame on the first project; and

- Gallery Blooms (item 165212) - small foliage, including the Queen Anne's Lace.

To add a little more colour ("shading") to cardstock die cuts I used Small Blending Brushes (item 160518) to apply Classic Stampin' inks to the die cuts. For a little additional visual texture - particularly for foliage die cuts - I lightly spritzed the shaded cardstock die cuts with water using one of the Stampin' Spritzers (item 126185 - package of 2), allowing to either air dry or blotting dry with paper towel.
On the first project I used the Everyday Arches dies (item 164629) to cut the window opening in the Country Woods 12" x 12" Designer Series Paper (item 163393) matting panel; and the Perennial Postage dies (item 162607) to cut the sentiment label.


For the bodies and limbs of my postal carrier "vintagey" paper dolls I used the Tags To Go dies - the rectangular tag die for the body bases; the key dies for the arms and legs; and for the heads the retiring - and currently available as one of the discounted Last Chance Products - Around It All dies (item 164725).

Just a quick summary of the additional basic tools and supplies I used to complete my projects this week:
- Paper Trimmer (item 152392) - for trimming cardstock and Designer Series Paper, and for scoring the card fold line for the "Archie" card;
- Bone Folder (item 102300) - for burnishing the scored card fold line to ensure a crisp fold;
- Stampin' Cut & Emboss Machine (item 149653) - for all die cutting;
- Paper Snips Scissors (item 103579) - these sharp little scissors are great for doing any necessary trimming of die cuts, and for closely trimming the stamped envelope images;
- Take Your Pick Tool (item 144107) - the spatula and tacky putty tips are definitely a great help for manipulating and placing small die cuts; and
- for the main adhesive, Multipurpose Liquid Glue (item 110755).
On with the projects!


To complete this project, framed using an easel wood frame from Dollarama - outside dimensions 6 3/4" x 4 3/4", back opening 6" x 4", and glass removed - I used the following additional supplies:
- Crumb Cake ink refill (item 121029), Basic Gray ink (item 149165), Real Red ink (item 147084), Old Olive ink refill (item 100531), Mossy Meadow ink (item 147111), and Misty Moonlight ink (item 153118) to colour the image panel - the watercolour paper panel was trimmed to fit the frame's back opening;
- Soft Seafoam cardstock (item 146988), Lemon Lime Twist cardstock (item 144245), Old Olive cardstock (item 100702), and Mossy Meadow cardstock (item 133676) for the foliage die cuts;
- Old Olive ink (item 147090) for shading the Soft Seafoam cardstock foliage die cuts, and Mossy Meadow ink for shading all other cardstock foliage die cuts;
- Pretty In Pink cardstock (item 163793) for flower die cuts - shaded using Real Red ink;
- Lemon Lolly cardstock (item 161720) for the additional small flower die cuts that were used as centers for the larger flowers - shaded using Daffodil Delight ink (item 147094);
- Pecan Pie cardstock (item 161717) and Early Espresso cardstock (item 119686) for the flowers' small circle centers;
- Crumb Cake ink refill to colour the envelope images - after cutting out the images I used a small tipped black Sharpie marker to colour the envelope edges, then sponged the edges with Crumb Cake ink (item 147116);
- Early Espresso ink (item 147114) sponged around the inside edges of the window opening die cut in the Country Woods DSP panel - the wood grain patterned DSP panel was trimmed to fit the frame's back opening prior to die cutting the window opening;
- Crumb Cake and Early Espresso inks to shade the die cut sentiment label - after initially colouring the label with Crumb Cake ink I lightly spritzed the label with water using one of the Stampin' Spritzers, and after the label was thoroughly dry sponged additional Crumb Cake ink and the Early Espresso ink around the edges; and
- Mini Stampin' Dimensionals (item 144108) to attach, and slightly pop up, the sentiment label and the little envelope in the mail box.
The three stand alone paper dolls - ready to be slipped in a junk journal or added to another art project, are 5" tall (excluding extra height added with "hair" or other head adornments); and the larger and framed pencil-wielding doll is a companion for the framed scissors-wielding doll shared in my March 28, 2025, blog post "More Paper Dolls!" (https://archiesatelier.blogspot.com/2025/03/more-paper-dolls-hello-today-i-am.html) - I used another re-purposed shadow box frame from Dollar Tree with the same inside dimensions - 7 1/8" tall by just under 4" wide.
Additional stamp sets and dies used to complete the paper dolls:
- the Eiffel Tower cancelled stamp image from the retired Ranunculus Romance stamp set (item 157968);
- partial script and splatter images from the Online Exclusives Elements Of Text stamp set (item 164774);

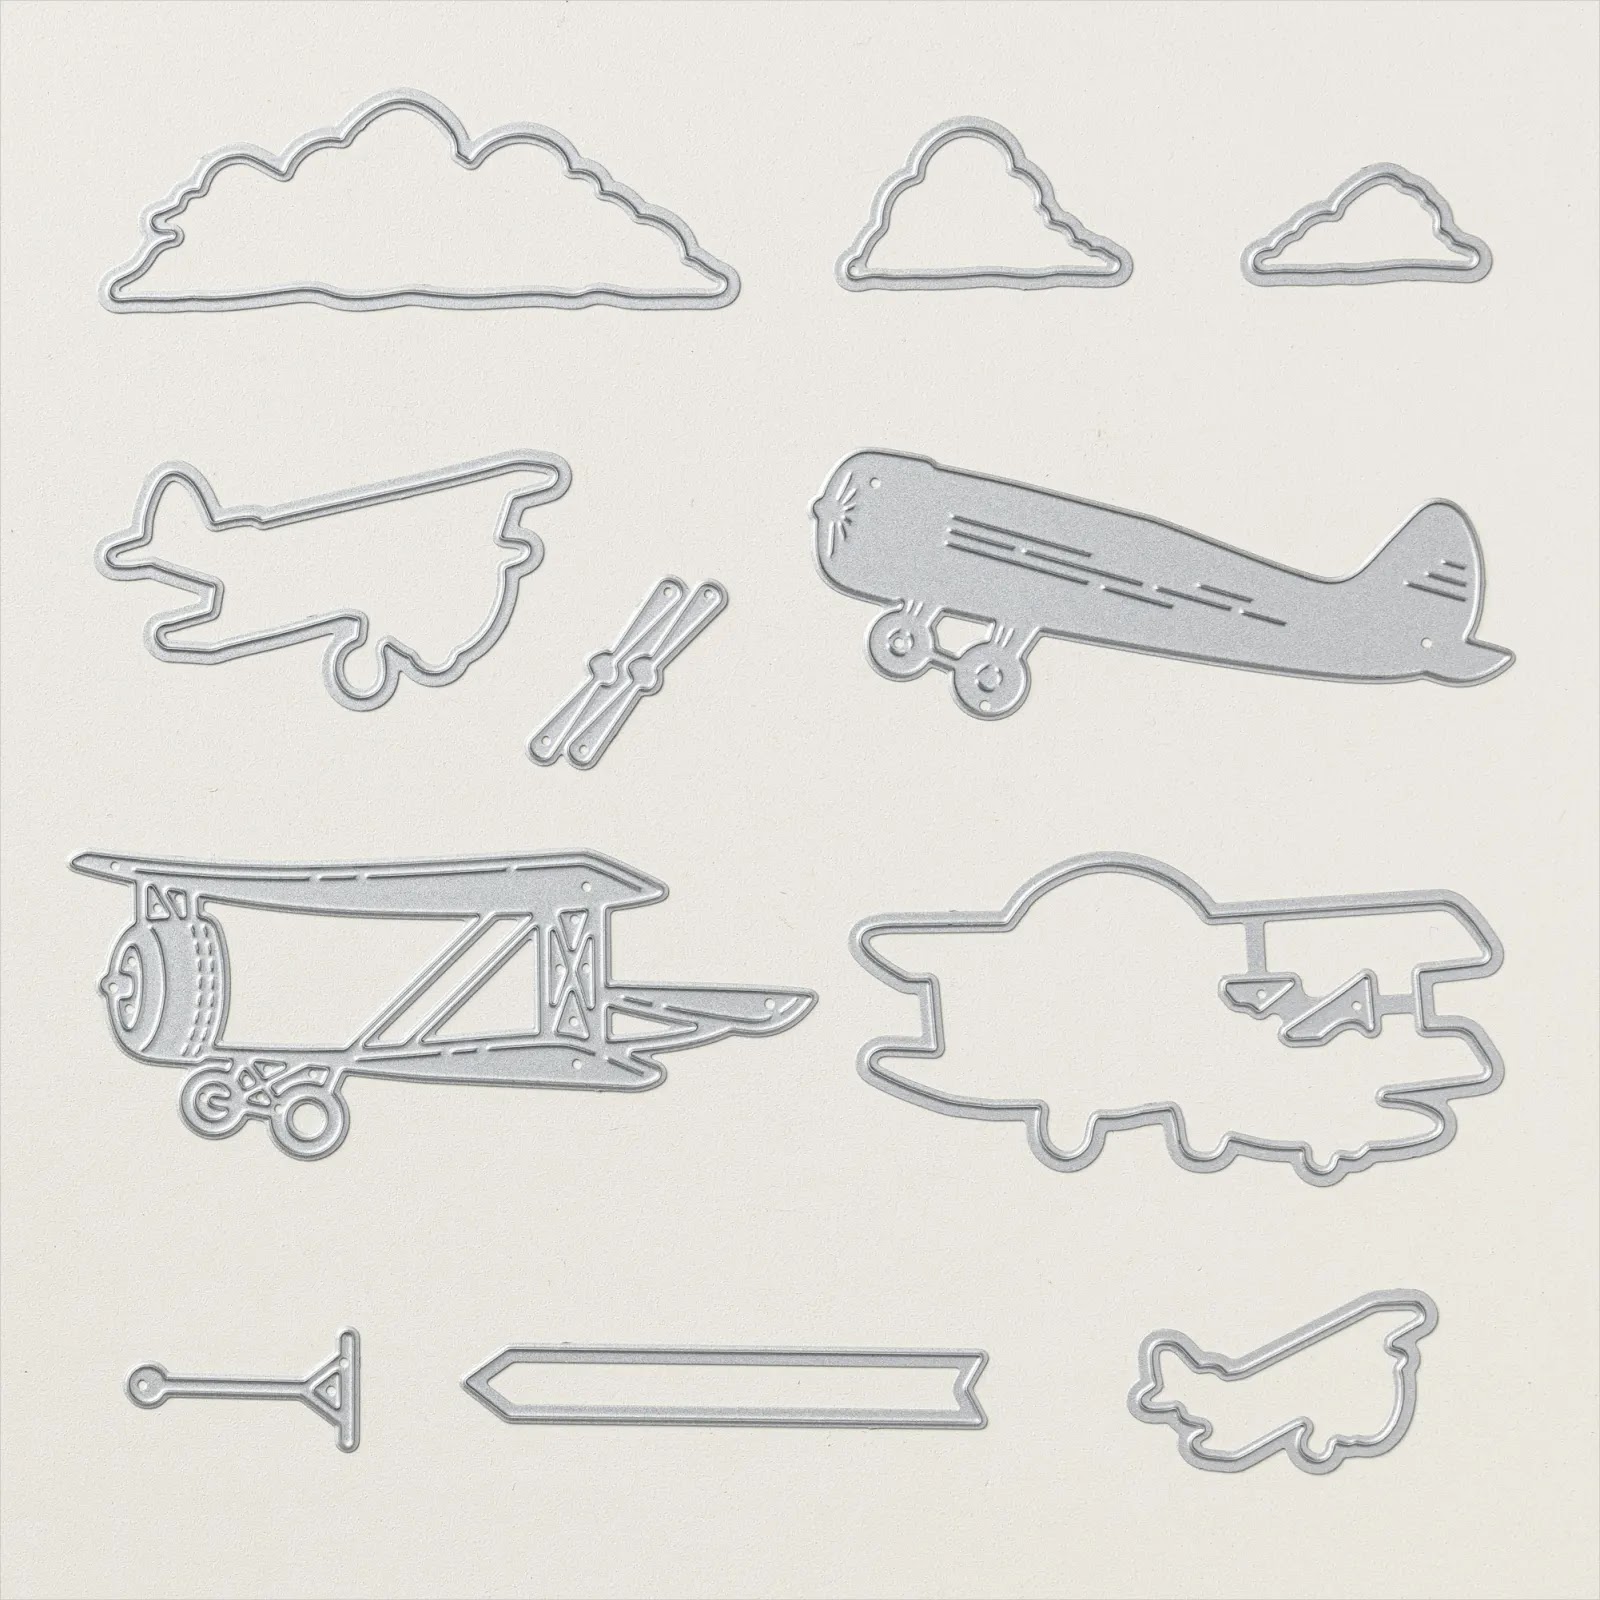
- for a nod to air mail, small airplane image from the retired Adventurous Sky stamp set (item 163439) - die cut using the retiring, and currently available as one of the discounted Last Chance products, Adventurous Sky dies (item 163446). The image was coloured using Crumb Cake and Basic Gray inks, with Early Espresso ink sponged around the die cut edges;
- the retiring Country Birdhouse dies, retiring Cheerful Daisies dies (item 161296), the retired Country Flowers dies, and the Impressions Abloom dies to die cut flowers and foliage used for hair and other head adornments;
- Gallery Blooms dies for small leafy stem held in the "hand" of the cancelled hearts doll;
- butterfly cancelled stamp embossing die from Perennial Postage dies for the "face" of framed pencil-wielding doll. I used the embossing die before using the Around It All dies to die cut the head from watercolour paper;
- Trusty Tools dies (item 162722) for the pencil - base die cut from watercolour paper, and the lead and wood collar around the lead coloured using, respectively, Basic Gray ink and Crumb Cake ink; body die cut from Peach Pie cardstock (item 163799); ferrule die cut from small scrap of silver cardstock I had in my stash; and eraser die cut from scrap of Pretty In Pink cardstock (item 163793). Assembled pencil shaded with Crumb Cake ink;

- rounded corner rectangle die from Nested Essentials dies (item 161597) to die cut large backing body base for the pencil-wielding doll - die cut from Crumb Cake cardstock (item 120953), and shaded using Crumb Cake ink; and

- 2" x 1 1/4" rectangular postage die from Perennial Postage dies to die cut from Basic White Thick cardstock (item 159229) the base for DSP stamp used on body front of pencil-wielding doll. The edges of the die cut sponged with Crumb Cake ink. For the "stamp" I trimmed a section from one of the patterned papers from the Beautiful Gallery 6" x 6" Designer Series Paper (item 165196) to a size to allow a narrow border of the base die cut to show around all edges. I sponged all edges of the DSP panel with Crumb Cake ink. After gluing the DSP to the base die cut I stamped the postage cancelling curving lines.


Additional supplies used to complete the dolls:
- Adhesive-Backed Textured Dots (item 163338) - over several of the limb and neck "joints" I added one of the large dots;

- Real Red cardstock (item 102482), shaded with Cherry Cobbler ink (item 147083) for the Impressions Abloom flower hair on the Eiffel Tower doll;
- Pretty Peacock cardstock (item 150880) for the Country Flowers "leafy clump" hair on the air mail doll - I brushed the tips of the leaves with Craft Stampin' White Ink, using one of the finger Sponge Daubers to apply the ink;
- Copper Clay cardstock (item 161721) - currently available as one of the discounted Last Chance Products - for the Cheerful Daisies flower hair on the pencil-wielding doll - shaded with Pecan Pie ink;
- Smoky Slate cardstock (item 131202), shaded with Basic Gray ink, for the large Country Birdhouse flower head adornment on the cancelled hearts doll - Poppy Parade cardstock (item 119793), shaded with Real Red ink (item 147084), for the small Impressions Abloom center flower, and Basic Black cardstock for the small circle center;
- Real Red ink to colour all heart images; and
- Smoky Slate patterned paper from the Country Lace 12" x 12" Designer Series Paper (item 163415) for the frame's background panel for the pencil-wielding doll. After the trimmed DSP was glued to the frame's MDF backing panel I sponged all edges of the DSP panel with Basic Gray ink.


My "Archie" project this week, included at the bottom of this blog post, is a 4" x 3 1/2" top-fold Basic White Thick cardstock (item 159229) card. I used StāzOn Jet Black Ink (item 101406) to stamp the potted-flower-toting feline image from the retired Online Exclusives Fluffiest Friends stamp set (item 162846) on watercolour paper, colouring him with Pumpkin Pie ink (item 147086), Pecan Pie ink (item 161665), Real Red ink (item 147084), and Mossy Meadow ink (item 147111); and die cutting him using the co-ordinating - and also retired - Fluffiest Friends dies (item 162849). I used StāzOn Jet Black Ink to stamp the sentiment from the Sending Love stamp set on watercolour paper, die cutting the sentiment label using the Perennial Postage dies (item 162607); and shading the label using Crumb Cake ink (item 147116). To the card front I added a 3 7/8" x 3 3/8" panel of Basic Black cardstock (item 121045); a 3 5/8" x 2 1/4" panel of Pumpkin Pie patterned paper from the retiring - and currently available as one of the discounted Last Chance Products - Brights 6" x 6" Designer Series Paper Assortment Stack (item 163775); a 1 5/8" x 1 1/8" panel of Peach Pie patterned paper from the retiring - and currently available as one of the discounted Last Chance Products - 2024-2026 In Colour 6" x 6" Designer Series Paper Assortment Stack (item 163777); and two large and two small of the Peach Pie dots from the (unfortunately!) retired 2024-2026 In Colour Resin Dots (item 163389).


Suite And Suite Products Sale!

Just a reminder that the Suite And Suite Products Buy One, Get One 50% Off Sale continues until June 30, 2025! The sale applies to all available suite collections and suite products - including Online Exclusives suite collections and suite products! The 50% discount will apply to the lower-priced item selected, and the discount will appear in your cart once two suite products have been added to your cart. During this sale you can mix and match suites and suite products - you are not restricted to selecting products from the same suite! Be sure to take advantage of this opportunity to add some of your wish list items to your own collection!
Thank you for visiting my blog! I had a lot of fun working on my "in the mail" projects - and you can definitely never have too many paper dolls!
Stampin' Up! advises that the following products I used this week are not currently available, but I have included the date that Stampin' Up! expects the products to again be available for ordering:
- StāzOn Jet Black Ink (item 101406) - week of June 30, 2025; and
- Gallery Blooms dies (item 165212) - week of July 28, 2025.
If you are interested in purchasing any of the available Stampin’ Up!® products I have used in my projects, and you live in Canada and do not have a Stampin' Up! demonstrator, please do not hesitate to visit my online store found on my website https://archiesatelier.stampinup.net/ at your convenience, or simply click under the "Shop With Me" tab on the right sidebar of my blog, which will take you directly to my website and online store. I very much appreciate your business and would be very pleased to be your demonstrator! If you need any assistance please do not hesitate to contact me (lmccoyarchie@gmail.com) and I will try my best to help! The digital version of the May 2025-April 2026 Annual Catalogue is available for you to access at your convenience on my website. If visiting the online store don't forget to check out all the available suite collections and individual suite products, as well as all the Last Chance Products! Just a reminder that all Last Chance Products remain available only while supplies last!
Have fun creating!
Laurel
*It has come to my attention that quite often email correspondence from me is delivered to the recipient's spam or junk mail folder - if you have corresponded with me I have replied so be sure to check your spam or junk mail folder! Thank you!!

"There are few things in life more heartwarming than to be
welcomed by a cat."
- Tay Hohoff -
Comments
Post a Comment