Sweet & Just A Little Spooky!

Hello! This week I decided to get into the spirit of Halloween, and today I am sharing a few projects I worked on this week using the Stampin’ Up!® Spooky Halloween Bundle (item 166199), and the Fright Night Bundle (item 166107). Each of these Bundles are part of the July release of new Online Exclusives products, and are the only Halloween stamp and die sets to be released this year by Stampin’ Up!®.
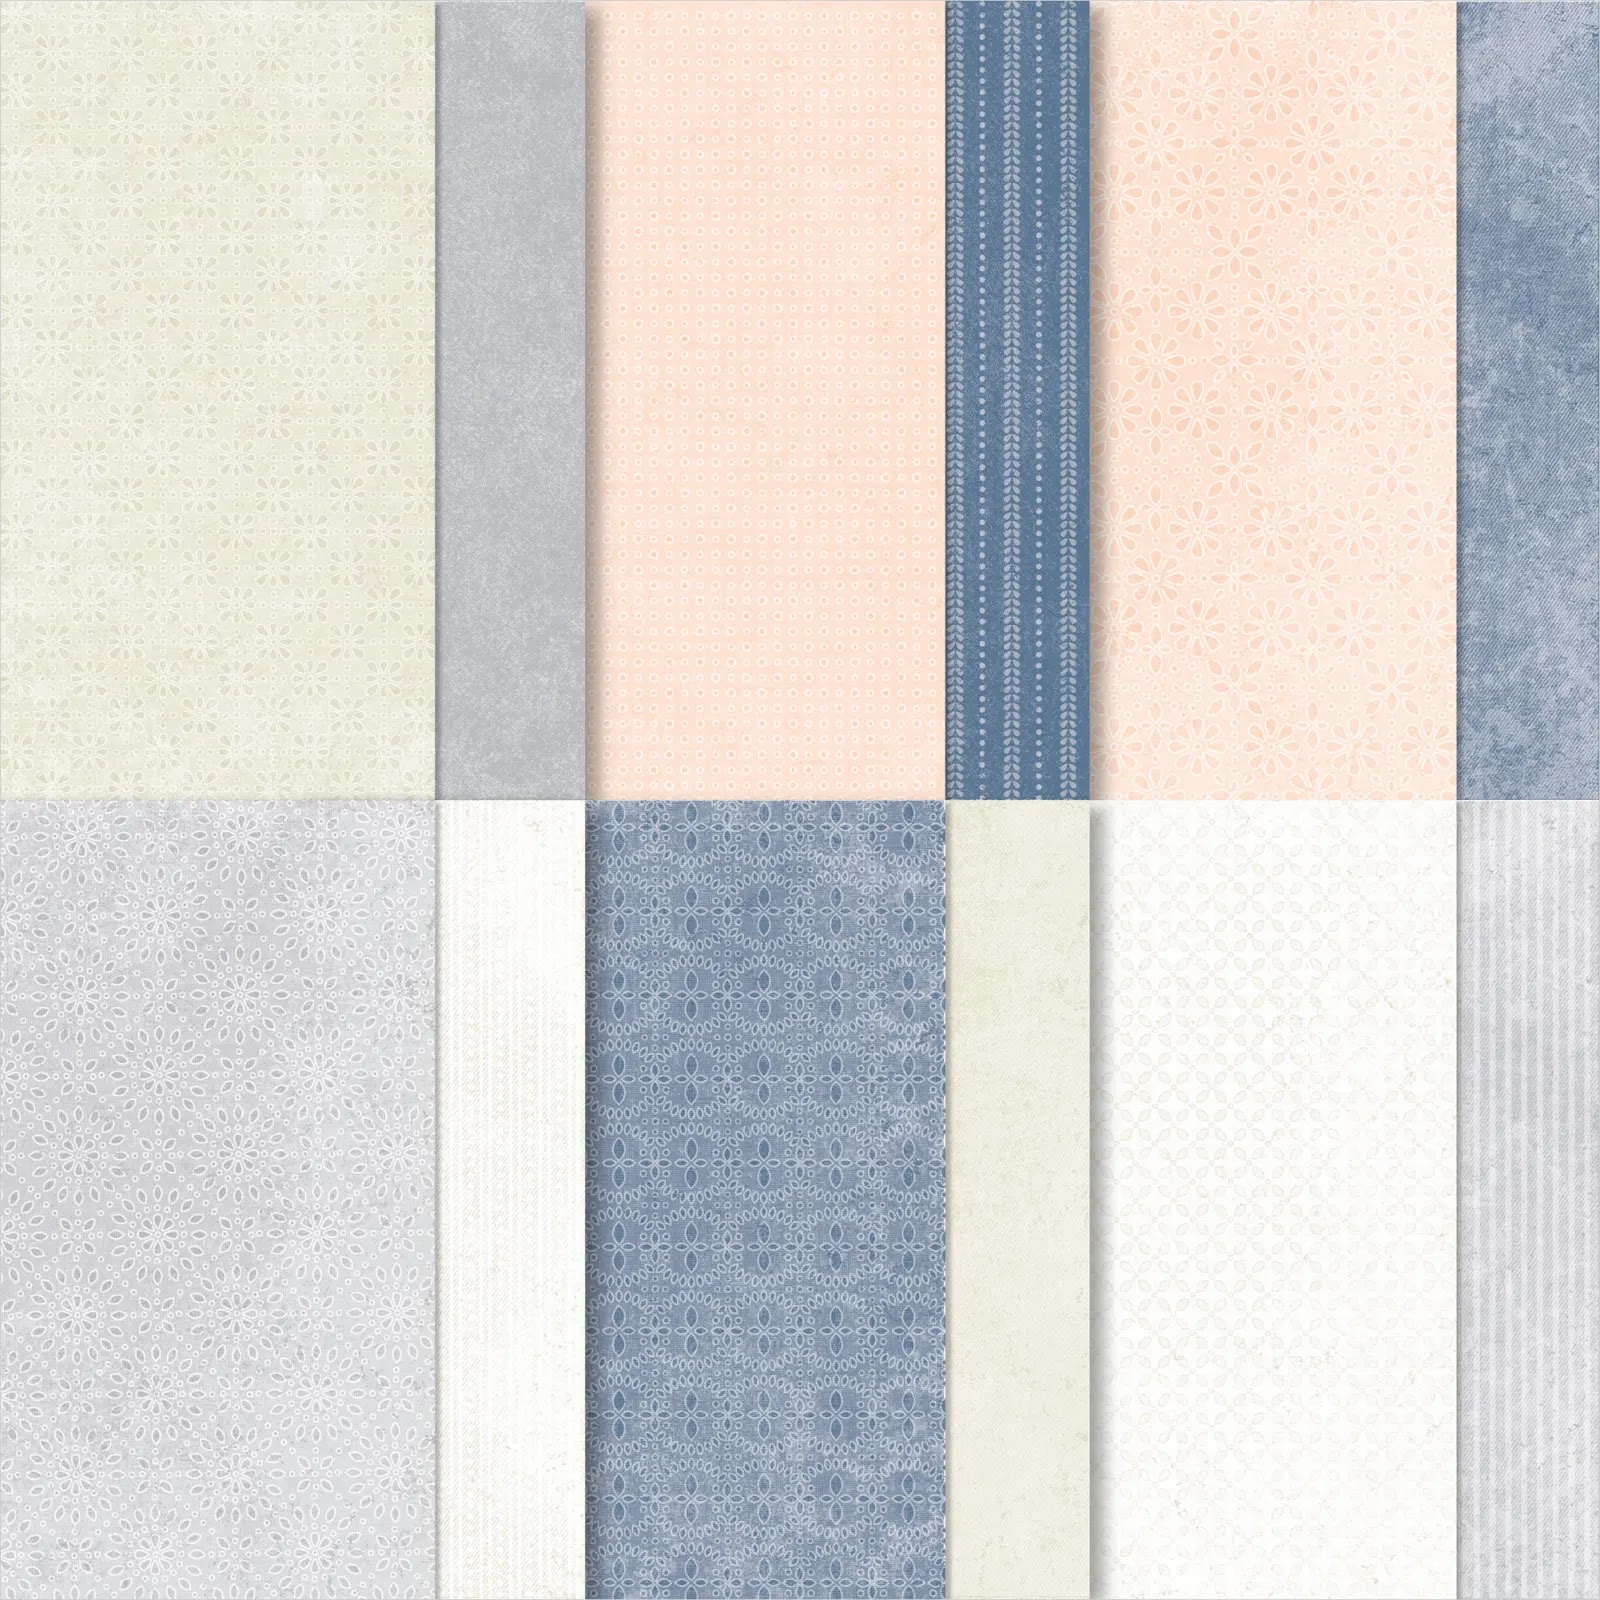
The Spooky Halloween Bundle includes the Spooky Halloween photopolymer stamp set - also referred to as the Sweet & Spooky stamp set in the online store - (item 166192) and the co-ordinating Spooky Halloween dies (item 166198). The Spooky Halloween Bundle is featured as part of the Spooky Sweet Collection (item 166205), which also includes the Spooky Sweet 12" x 12" Specialty Designer Series Paper (item 166191), Iridescent Treat Bags (item 166204 - package of twenty), Shimmer Star Foam Stickers (item 166202), and the Petunia Pop Iridescent Ribbon (item 166203). All items included in the Suite Collection, including the stamp set and dies, are also available individually.
.webp)
.webp)
.webp)
The Fright Night Bundle includes the Fright Night cling stamp set (item 166103) and the co-ordinating Fright Night dies (item 166106).
.webp)
.webp)
Of course to complete my projects this week I also used additional current, and a few recently retired Stampin’ Up!® products, including:
- Online Exclusives Everyday Arches dies (item 164629);

- Gallery Blooms dies (item 165212) - foliage die cuts;

- square dies from Stylish Shapes dies (item 159183);

- Online Exclusives Elements Of Text stamp set (item 164774);

- wood grain patterned paper from Country Woods 12" x 12" Designer Series Paper (item 163393);

- Smoky Slate patterned paper from Country Lace 12" x 12" Designer Series Paper (item 163415);
- painted canvas patterned paper from the Beautiful Gallery 6" x 6" Designer Series Paper (item 165196);

- Online Exclusives Botanical Textures 12" x 12" Designer Series Paper (item 165545) - the gray tones of this DSP make it perfect for "spooky season" projects!;
.webp)
- Pumpkin Pie and Lemon Lime Twist patterned papers from the recently retired Brights 6" x 6" Designer Series Paper Stack (item 163775); and

- Gorgeous Grape patterned paper from the recently retired Regals 6" x 6" Designer Series Paper Stack (item 163774).

All images and sentiments were stamped using StāzOn Jet Black Ink (item 101406); and the images for colouring were stamped on watercolour paper and coloured using the following Classic Stampin' inks and Classic Stampin' ink refills mixed with a little water and applied with small paint brushes:
- Pumpkin Pie ink (item 147086);
- Real Red ink (item 147084);
- Misty Moonlight ink (item 153118);
- Lemon Lime Twist ink refill (item 144092);
- Granny Apple Green ink refill (item 147163);
- Highland Heather ink refill (item 147167);
- Crumb Cake ink refill (item 121029); and
- Basic Gray ink refill (item 149166).
For foliage die cuts I used Basic Black cardstock (item 121045), and Smoky Slate cardstock (item 131202). I also used Smoky Slate cardstock for the house, fence, and spider web die cuts, and shaded the Smoky Slate cardstock die cuts (including foliage) with either Basic Gray ink (item 149165), or a combination of Basic Gray ink, Crumb Cake ink (item 147116), and Early Espresso ink (item 147114). I used Blending Brushes (item 153611) and Small Blending Brushes (item 160518) to apply the inks to the cardstock die cuts. For a little additional visual interest I often lightly spritzed the shaded cardstock die cuts with water using one of the Stampin' Spritzers (item 126185), either allowing the spritzed die cuts to air dry or blotting them dry with paper towel.
An item that I have just recently added to my collection of supplies, and which is quickly becoming one of those essential supplies - especially for "spooky season" projects - is the Black Stampin' Dimensionals Combo Pack (item 1500893 - includes two sheets each of the "standard" [3/8"] Dimensionals and of the Mini [1/4"] Dimensionals).

Just a brief summary of the additional basic tools and supplies I used to complete my projects this week:
- Stampin' Cut & Emboss Machine (item 149653) for all die cutting;
- Paper Trimmer (item 152392) - for trimming cardstock, watercolour paper, and DSP, and for scoring card fold lines. To ensure crisp folds I used my Bone Folder (item 102300) to burnish the scored and folded lines;
- Paper Snips Scissors (item 103579) - these sharp little scissors are great for doing any necessary trimming of die cuts, and for trimming the DSP backing paper for the haunted house die cut. As I mentioned in previous blog posts Stampin' Up! advised that the manufacturer had ceased production of the Paper Snips Scissors, and, consequently Stampin' Up! would be limited to the supply of the scissors currently on hand, and that as soon as the on hand supply was depleted the scissors would be removed from the online store. Unfortunately these scissors are now no longer available, but Stampin' Up! is exploring alternative manufacturing options with the hope that these scissors - or a very similar product - can be brought back in the not-too-distant future;
- Take Your Pick Tool (item 144107) - the spatula and tacky putty tips are definitely a great help for manipulating and placing small die cuts and embellishments; and
- for the main adhesive, Multipurpose Liquid Glue (item 110755). On two of the projects I had to glue DSP to a larger cardboard base, and in these instances I first used an old paint brush to spread the glue over the base, and immediately after laying the DSP over the prepared base used a brayer (Stampin' Brayer - item 162936) to roll over the DSP to ensure even coverage of the liquid glue and good even adhesion of the DSP to the base surface. The Multipurpose Liquid Glue bottle is duel tipped: a pen tip and a broad tip. The broad tip at the base of the bottle is great for applying the glue over a larger surface. I do transfer some of the contents of each new glue bottle to a smaller bottle equipped with a very fine tip and pin stopper, as a very fine tip gives me more control in dispensing glue - and anything that can help relieve the stress of applying liquid glue to a small or detailed die cut is very much appreciated!


To complete this project that was framed using a slightly distressed thrift store black wood frame, glass removed, with inside back dimensions of 7 1/8" x 5 1/8", I used the following additional supplies:
- wood grain patterned paper from the Country Woods DSP to cover the medium weight cardboard panel trimmed to fit the frame's inside back dimensions;
- Everyday Arches dies to cut the scene's back panel from Smoky Slate cardstock (shaded with Basic Gray ink - item 149165); and the scene's framing arch, and the "hill" from Basic Black cardstock (item 121045);
- script and splatter images from the Elements Of Text stamp set to stamp a scrap of Smoky Slate patterned paper from the Country Lace DSP that was then trimmed to fit behind the die cut house;
- after gluing the bottom edge of the house to the top of the "hill" I used Dimensionals from the Black Stampin' Dimensionals Combo Pack to attach the house to the scene's back panel;
- watercolour paper for the sentiment banner - shaded with Basic Gray ink (item 149165). I first stamped the sentiment and then die cut the banner; and
- strips trimmed from Foam Adhesive Sheets (item 152815) to attach the framed scene panel to the Country Woods DSP back panel.


In addition to a repainted thrift store wood frame, glass removed, with inside back dimensions of 5 1/8" x 3 5/8" I used the following additional supplies to complete this small decor project:
- painted canvas patterned paper from the Beautiful Gallery DSP to cover a medium weight cardboard panel trimmed to fit the frame's inside back dimensions;
- Basic Black Stampin' Write Marker (item 162481) to add splatters to the Beautiful Gallery DSP background panel by flicking the brush tip against the marker lid;

- watercolour paper for the stamped and die cut image tag - shaded with Crumb Cake ink (item 147116) and Early Espresso ink (item 147114);
- Basic Black cardstock (item 121045) for the die cut base tag - glued offset to the back of the image tag so it appears that the image tag is casting a shadow;
- strips trimmed from Foam Adhesive Sheets (item 152815) to attach the two tags to the DSP background panel; and
- one large dot from the Adhesive-Backed Textured Dots (item 163338) added to each of the middle top and bottom of the image tag. I did secure each of these dots with a tiny dab of Multipurpose Liquid Glue.


Additional supplies used to complete this 4 7/8" x 3 3/8" top-fold card:
- Gorgeous Grape cardstock (item 146987) for the card base;
- Basic Black cardstock (item 121045) for the Everyday Arches frame; the base banner; the front panel's 4 3/4" x 3 3/16" matting panel; and inside panel's 4 3/4" x 3 1/4" matting panel;
- Basic White Thick cardstock (item 159229) for the front panel's 4 5/8" x 3 1/8" matting panel; and the 4 5/8" x 3 1/8" inside panel;
- watercolour paper for the sentiment banner - shaded with Basic Gray ink (item 149165). The sentiment was stamped, and then the banner die cut;
- after adding the two strips of DSP to the left side of the Everyday Arches frame I used a tiny staple to secure the strip of the second pattern of Gorgeous Grape DSP that was wrapped around the strips and the edge of the frame;
- Stampin' Dimensionals (item 104430), trimmed as necessary, to attach and slightly pop up the trick-or-treater; and
- one small and one large of the black dots from the Online Exclusives Neutral Matte Dots (item 165561) added to the card front.
.webp)


Additional supplies used to complete this 4 1/2" square top-fold card:
- Gorgeous Grape cardstock (item 146987) for the card base;
- Basic Black cardstock (item 121045) for the front panel's 3 5/8" square matting panel (edges scraped with the blade of my craft knife); and the inside panel's 4" square matting panel;
- Basic White Thick cardstock (item 159229) for the front panel's 3 1/2" square matting panel - 2" square window opening cut using the Stylish Shapes dies; and the 3 5/8" square inside panel;
- Basic Black Stampin' Write Marker (item 162481) to add splatters to the Basic White Thick cardstock matting panel by flicking the brush tip against the marker lid;
- watercolour paper for the sentiment banner - shaded with Pecan Pie ink (item 161665) and Early Espresso ink (item 147114). Again I stamped the sentiment before die cutting the banner; and
- Stampin' Dimensionals (item 104430) to attach the Basic White Thick cardstock matting panel to the Gorgeous Grape DSP panel; and, trimmed as necessary, behind the portions of the trick-or-treaters that overhang into the window opening in the Basic White Thick cardstock matting panel.

Additional supplies used to complete this 4" x 3" top-fold card:
- Basic White Thick cardstock (item 159229) for the card base;
- Smoky Slate cardstock (item 131202) for the die cut "Boo!" - shaded with both Basic Gray ink (item 149165) and Memento Tuxedo Black Ink (item 132708); and
- Stampin' Dimensionals (item 104430) - trimmed as necessary - to attach and slightly pop up the oh so scary trick-or treater😱.


Additional supplies used to complete this 3" square gift card:
- Basic White Thick cardstock (item 159229) for the card base;
- watercolour paper for the 2 3/8" square die cut using the Stylish Shapes dies - coloured by ink smooshing with Lemon Lime Twist ink refill (item 144092); and
- strips trimmed from Foam Adhesive Sheets (item 152815) to attach the die cut watercolour paper square.


Additional supplies used to complete this 6" x 5" top-fold card:
- Basic Black 12" x 12" cardstock (item 166786) for the card base;
- a 5" x 2 3/4" panel of watercolour paper coloured with Highland Heather ink refill (item 147167) and Pumpkin Pie ink (item 147086), mixed with water, and applied in stripes with a paint brush (and lightly spritzed with water);
- Gorgeous Grape cardstock (item 146987) for the 5 1/8" x 2 7/8" matting panel for the watercolour paper panel;
- Basic Black cardstock (item 121045) for the die cut foliage;
- watercolour paper for the sentiment banner - shaded with Pecan Pie ink (item 161665) and Early Espresso ink (item 147114). Again I stamped the sentiment before die cutting the banner;
- Stampin' Dimensionals (item 104430) - trimmed as necessary - to attach and slightly pop up the trick-or-treater and the sentiment banner; and
- Basic White Thick cardstock (item 159229) for the 5 3/4" x 4 3/4" inside panel.
For the second "Archie" card, included at the bottom of this blog post, I used Basic White Thick cardstock (item 159229) for the base of the 4" x 5" top-fold card. The sentiment banner was die cut from Smoky Slate cardstock (item 131202), and shaded with Basic Gray ink (item 149165). I used Stampin' Dimensionals (item 104430) - trimmed as necessary - to attach and slightly pop up the trick-or-treating Archie. Although Archie was never a costume-wearer he certainly would have been an adorable trick-or-treater, and sometimes a guy just has to do what it takes to get a few more fishy treats!
Thank you for visiting my blog! I certainly enjoyed getting into the Halloween spirit with my projects this week! As crafters we know that it is never too early to start on our seasonal projects!!
Stampin' Up! advises that the following products I used this week are not currently available, but I have included the date that Stampin' Up! expects the products to again be available for ordering:
- StāzOn Jet Black Ink (item 101406) - week of July 28, 2025; and
- Gallery Blooms dies (item 165212) - week of July 28, 2025.
If you are interested in purchasing any of the available Stampin’ Up!® products I have used in my projects, and you live in Canada and do not have a Stampin' Up! demonstrator, please do not hesitate to visit my online store found on my website https://archiesatelier.stampinup.net/ at your convenience, or simply click under the "Shop With Me" tab on the right sidebar of my blog, which will take you directly to my website and online store. I very much appreciate your business and would be very pleased to be your demonstrator! If you need any assistance please do not hesitate to contact me (lmccoyarchie@gmail.com) and I will try my best to help! The digital version of the May 2025-April 2026 Annual Catalogue is available for you to access at your convenience on my website. If visiting the online store don't forget to check out the entire line of Online Exclusives products - including all the new products released July 1 - as well as all the Last Chance Products! Just a reminder that all Last Chance Products remain available only while supplies last!
Have fun creating!
Laurel
*It has come to my attention that quite often email correspondence from me is delivered to the recipient's spam or junk mail folder - if you have corresponded with me I have replied so be sure to check your spam or junk mail folder! Thank you!!


"There are two means of refuge from the misery of life - music and cats."
- Albert Schweitzer -
Comments
Post a Comment