Mini Clipboard Tags!

Hello! Today I am sharing a few mini clipboard tags I worked on this week using the Stampin’ Up!® soon-to-be-released Online Exclusives Just A Note Bundle (item 166102). This Bundle, which includes the Just A Note cling stamp set (item 166098) and the co-ordinating Just A Note dies (item 166101), will be part of the July 1, 2025, Online Exclusives new product release. Of course the stamp set and dies will also be available separately, but, if purchased together using the Bundle item number the 10% Bundle Savings will apply!
.webp)
.webp)
I made two sizes of clipboard tags - the bases of the larger tags are 3" x 2 3/8"; and the bases of the smaller tags are 2 5/8" x 1 7/8" - and thought that the garden-themed tags could be slipped into pockets in garden-themed albums or junk journals; used as gift tags (for garden-themed gifts of course!); added to card fronts; or grouped and displayed together as a sampler. To make the tags I combined several additional current, retiring, and retired Stampin’ Up!® products, including the following dies and stamps:
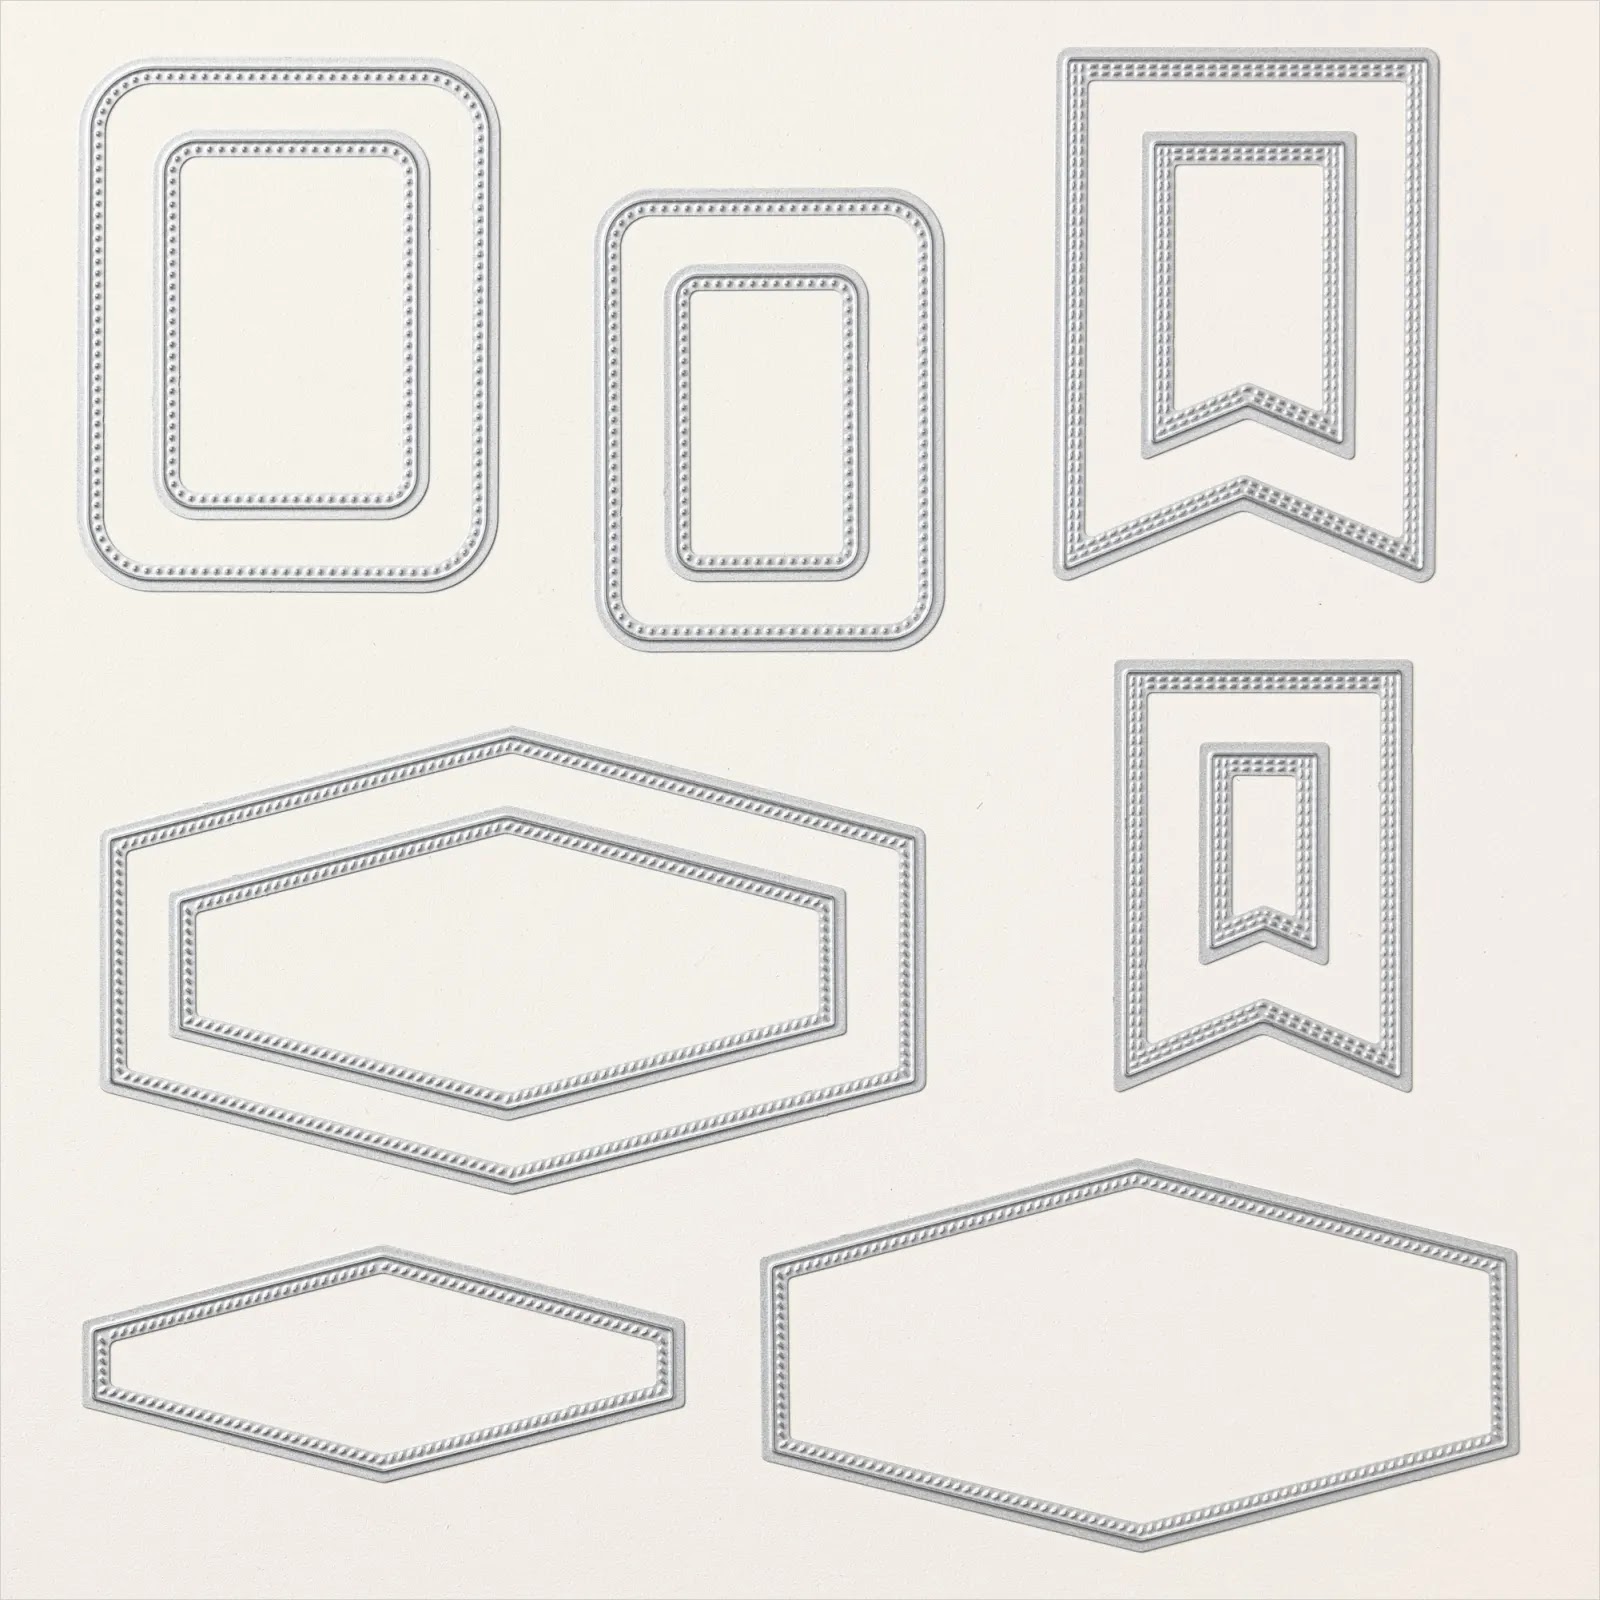
- rounded corner rectangle dies from the Nested Essentials dies (item 161597) - used for clipboard bases, and to die cut the "note paper";
- Trusty Tools dies (item 162722) - pencils, and clip fastener on small clipboard with sunflower and arrow;

- Online Exclusives Impressions Abloom dies (item 165610) - flowers, flower center circles, stems, leaves. I also used the Impressions Abloom stamp set (item 165605) and the dies to stamp and die cut, respectively, the daisy flower image. To stamp the flower image on watercolour paper I used Old Olive ink (item 147090), Mossy Meadow ink (item 147111), and Pecan Pie ink (item 161665). *The Impressions Abloom dies and Impressions Abloom stamp set are also available together in the Impressions Abloom Bundle (item 165611)*;
.webp)
.webp)
- Storybook Garden Patch dies (item 164666) - small spikey foliage (carrot top);

- Gallery Blooms dies (item 165212) - additional foliage and floral stems;

- retiring - and currently available as one of the discounted Last Chance Products - Country Birdhouse dies (item 163400) - flowers;

- retiring - and also currently available as one of the discounted Last Chance Products - Around It All dies (item 164725) - to die cut dragonfly image circle;

Alphabet À La Mode dies (item 160750) - number die cuts;

- Online Exclusives Mixed Florals stamp set (item 164639) and the co-ordinating Mixed Florals dies (item 164641) - to stamp and die cut, respectively, the ladybug images. *The Mixed Florals stamp set and co-ordinating Mixed Florals dies are also available together in the Mixed Florals Bundle (item 164642)*;


- Online Exclusives Elements Of Text stamp set (item 164774) - splatter images;

- retired Quiet Meadow stamp set (item 155082) - tall flowers stamped on one of the chalkboard tags;
- retired Ranunculus Romance stamp set (item 157968) - ledger text used on two of the chalkboard tags; and
- retired Sale-A-Bration Detailed Dogwood stamp set (item 162953) - dragonfly with text wings, and "No." label images.
For the clipboard bases I used Pecan Pie cardstock (item 161717), shaded with Pecan Pie ink (item 161665), and Early Espresso ink (item 147114); Crumb Cake cardstock (item 120953), shaded with Crumb Cake ink (item 147116), and Early Espresso ink; and, for the chalkboards, Basic Black cardstock (item 121045). For a more subtle chalkboard effect I used Craft Stampin' White Ink (item 147277) to stamp the images (and for the leaf printing on the dragonfly chalkboard), using one of the finger Sponge Daubers (item 133773 - package of 5) to lightly rub additional Craft Stampin' White Ink over and around the edges of the Basic Black cardstock chalkboard. For the white line border on the base chalkboard tag for the "No." 5 label tag I used a 0.7mm Uni Posca white paint marker to trace around the inside of the next smaller size of the rounded corner rectangle dies from the Nested Essentials dies.
For the clips I used Smoky Slate cardstock (item 131202), and Gray Granite cardstock (item 146983), shaded with combinations of Basic Gray ink (item 149165), Crumb Cake ink, Pecan Pie ink, and Early Espresso ink. For the die cut clip fasteners I used Basic Black cardstock, highlighted with Craft Stampin' White Ink; Gray Granite cardstock, shaded with Early Espresso ink; and Basic Gray cardstock (item 121044), shaded with Early Espresso ink. To cut the cardstock circles I used the Country Birdhouse dies, and, for the larger circles, I used the negative circles from the clip die cuts. For additional fasteners I used both small and large Adhesive-Backed Textured Dots (item 163338).

For the binder clip I used Basic Black cardstock, highlighted with Craft Stampin' White Ink, and scraps of silver cardstock for the binder clip "arms".
For the note paper I used Pool Party ink (item 147107) to stamp the Just A Note lines on watercolour paper, and after die cutting using the Nested Essentials dies, used Crumb Cake ink for shading, and to add a few splatters.
I used StāzOn Jet Black Ink (item 101406) to stamp the dragonfly images - one on Crumb Cake cardstock and one on watercolour paper; the "No." label images on watercolour paper; and the ladybug images on watercolour paper. The ladybug wings were coloured using Real Red ink (item 147084) mixed with a little water and applied with a small paint brush. The dragonfly wings were coloured in the same manner using Crumb Cake ink refill (item 121029). After die cutting the watercolour paper image I used Crumb Cake ink refill to add splatters, and additional Crumb Cake ink and Early Espresso ink for shading. The fussy cut "No." labels were shaded with Crumb Cake and Early Espresso inks.
For the die cut foliage I used Lemon Lime Twist cardstock (item 144245), Garden Green cardstock (item 102584), Old Olive cardstock (item 100702), and Mossy Meadow cardstock (item 133676), all shaded with Mossy Meadow ink (item 147111).
For flower, and flower center die cuts I used:
- Basic White Thick cardstock (item 159229);
- Pool Party cardstock (item 122924), shaded with Pool Party ink;
- Lost Lagoon cardstock (item 133679), shaded with Lost Lagoon ink (item 161678);
- Flirty Flamingo cardstock (item 141416), shaded with Real Red ink;
- Highland Heather cardstock (item 146986), and Gorgeous Grape cardstock (item 146987);
- Daffodil Delight cardstock (item 119683), petal tips shaded with Pumpkin Pie ink (item 147086);
- Poppy Parade cardstock (item 119793), shaded with Real Red ink; and
- Pecan Pie cardstock, shaded with Pecan Pie and Early Espresso inks. (For the large circle center on the small Country Birdhouse stacked flowers on the small tag with arrow I used the the negative circle from the clip die cut; and for the small circle center on the small Basic White Thick cardstock flower on the daisy/ladybugs tag I used the negative circle from a die cut made using one of the Tags To Go dies - item 165576).
.webp)
For additional flower centers I used Very Vanilla and Basic Black dots from the Online Exclusives Neutral Matte Dots (item 165561).
.webp)
For the arrows and heart die cuts I used Poppy Parade cardstock, shaded with Real Red ink, and Cherry Cobbler ink (item 147083).
For the die cut numbers I used Pecan Pie cardstock, shaded with Pecan Pie, Basic Gray, and Early Espresso inks.
For each pencil I used:
- watercolour paper for the pencil base - I coloured the collar with Crumb Cake ink refill, and the lead with Basic Gray ink;
- Daffodil Delight cardstock, shaded with Pumpkin Pie ink, for the barrel;
- Pretty In Pink cardstock (item 163793) for the eraser; and
- small scrap of silver cardstock for the eraser band - I used a stylus and scoreboard to score decorative lines in the strip of silver cardstock before I trimmed the cardstock to fit on each pencil.
For the "No." 5 chalkboard tag I die cut the Gallery Blooms floral stem from watercolour paper, and coloured it using Berry Burst ink (item 147143), and Mossy Meadow ink.
To add a little more visual texture to shaded cardstock die cuts - including the tag bases - I lightly spritzed the shaded cardstock die cuts with water using one of the Stampin' Spritzers (item 126185 - package of 2), allowing to air dry or blotting dry with paper towel. After many of the die cuts were dry - i.e. tag bases and clips - I added more ink shading around the edges.
Just a brief note regarding the additional basic tools and supplies I used to complete my projects this week:
- Stampin' Cut & Emboss Machine (item 149653) - for all die cutting;
- stylus and scoreboard (Simply Scored Scoring Tool - item 122334) - for scoring decorative lines on silver cardstock strip that was trimmed for using as the eraser bands on the Trusty Tools pencils;
- Paper Snips Scissors (item 103579) - these sharp little scissors are great for doing any necessary trimming of die cuts, and for fussy cutting the "No." label images;
- Small Blending Brushes (item 160518 - package of 3) - to apply ink to cardstock die cuts;
- Take Your Pick Tool (item 144107) - the spatula and tacky putty tips are definitely a great help for manipulating and placing small die cuts and embellishments; and
- for the main adhesive, Multipurpose Liquid Glue (item 110755).


Suite And Suite Products Sale!

Just a reminder that there are now only a few more days left in the Suite And Suite Products Buy One, Get One 50% Off Sale! Until June 30, 2025, the sale applies to all available suite collections and suite products - including Online Exclusives suite collections and suite products! The 50% discount will apply to the lower-priced item selected, and the discount will appear in your cart once two suite products have been added to your cart. During this sale you can mix and match suites and suite products - you are not restricted to selecting products from the same suite! Be sure to take advantage of this opportunity to add some of your wish list items to your own collection!
Thank you for visiting my blog! I had a lot of fun working on my mini clipboard tags, and am certainly looking forward to exploring more possibilities with the Just A Note Bundle!
Stampin' Up! advises that the following products I used this week are not currently available, but I have included the date that Stampin' Up! expects the products to again be available for ordering:
- StāzOn Jet Black Ink (item 101406) - week of June 30, 2025; and
- Gallery Blooms dies (item 165212) - week of July 28, 2025.
If you are interested in purchasing any of the available Stampin’ Up!® products I have used in my projects, and you live in Canada and do not have a Stampin' Up! demonstrator, please do not hesitate to visit my online store found on my website https://archiesatelier.stampinup.net/ at your convenience, or simply click under the "Shop With Me" tab on the right sidebar of my blog, which will take you directly to my website and online store. I very much appreciate your business and would be very pleased to be your demonstrator! If you need any assistance please do not hesitate to contact me (lmccoyarchie@gmail.com) and I will try my best to help! The digital version of the May 2025-April 2026 Annual Catalogue is available for you to access at your convenience on my website. If visiting the online store don't forget to check out all the available suite collections and individual suite products, as well as all the Last Chance Products! Just a reminder that all Last Chance Products remain available only while supplies last!
Online Exclusives New Product Release!
If you need a break from the Canada Day festivities why not take a few minutes to check out all the exciting products - in addition to the Just A Note Bundle - included in the Online Exclusives July 1, 2025, new product release!
Have fun creating!
Laurel
*It has come to my attention that quite often email correspondence from me is delivered to the recipient's spam or junk mail folder - if you have corresponded with me I have replied so be sure to check your spam or junk mail folder! Thank you!!

- Benjamin Franklin -
Comments
Post a Comment