Another Tote Without A Note!

Hello! Today I am sharing a little project I worked on this week using the Stampin’ Up!® Notes & Totes dies (item 165240), which are featured in the May 2025-April 2026 Annual Catalogue.

I had so much fun working on my two previous projects using these dies shared in my May 2, 2025, blog post (https://archiesatelier.blogspot.com/2025/05/notes-totes-at-beach-and-in-garden.html) that I apparently decided to do a series! For this week's project I was inspired by the upcoming annual end-of-year art show held at a local high school that showcases the artwork of some very talented young artists - and is definitely a show that I look forward to attending each year - lots of inspiration! With this show in mind, and the fact that one of my favourite things to shop for (or window shop at least) are art supplies, I thought it would be fun to make an art supply tote bag! Just a fun little project for the craft room.
Just a brief aside before I get on with the project description. Although this is by no means an original thought on my part I do feel very strongly about the therapeutic benefits of crafting. I have discovered through personal experience - as have many fellow crafters - that crafting can help us cope with the vicissitudes that, unfortunately, are a part of everyone's life. When you do not have the energy or inclination to take on a large project even a few minutes spent playing with a few scraps of paper or some ink can be a help. And, who knows, the few minutes spent here and there may later become an inspiration for a larger project. For me combining crafting with time outside - even if it is digging dandelions - and a well-balanced junk food diet helps too!
A quick summary of the additional basic tools and supplies I used to complete my project:
- Paper Trimmer (item 152392) - for trimming cardstock and Designer Series Paper panels;
- Stampin' Cut & Emboss Machine (item 149653) - for all die cutting and embossing;
- stylus and scoreboard (Simply Scored Scoring Tool - item 122334) for scoring decorative lines on the trimmed die cut sections used for the ferrule and crimp on the two paint brushes;
- Paper Snips Scissors (item 103579) - these sharp little scissors are great for doing any necessary trimming of die cuts - i.e. trimming the sections for the paint tubes;
- Take Your Pick Tool (item 144107) - the tacky putty tip is definitely a great help for picking up and placing small die cuts and embellishments; and
- for the main adhesive, Multipurpose Liquid Glue (item 110755).
On with the project!


For this project I began with a 7" square black wood frame from Dollar Tree - glass removed, and the frame edges distressed with a fine grit sandpaper. A perfect complement for an art supply theme is the Full Of Life 6" x 6" Designer Series Paper (item 163357) - and I used one full sheet for the background panel, and another trimmed "paint swatch" panel for one of the inserts in the tote bag.

I matted the Full Of Life DSP background panel with a panel of Basic White Thick cardstock (item 159229), trimmed to allow a 1/16" border on all sides. The matted DSP panel was then glued to the Basic Black cardstock (item 121045) base panel, trimmed to fit the frame's back opening (just under 7" square). To adhere the DSP background panel to the Basic White Thick cardstock matting panel I used double-sided tape (Tear & Tape Adhesive - item 154031).
The tote bag was constructed in the same manner as I used for my two previous projects. I cut the bag bases and pocket from the linen patterned paper from the Online Exclusives Woven Textures 12" x 12" Designer Series Paper (item 165560), sponging the edges with Crumb Cake ink (item 147116); and the handles, decorative strips, bottom piece, and pocket details from Basic Black cardstock. Using the small flower die from the Online Exclusives Impressions Abloom dies (item 165610) I cut the small flower embellishment added to the pocket "closure" from Pumpkin Pie cardstock (item 105117). I used the small Notes & Totes tag die to make the tiny Basic Black cardstock circle used for the flower center (it is the punch out circle from the hole in the tag).

.webp)
I used the flip-top lotion bottle die to make the paint tubes: from silver cardstock I had in my stash I die cut one complete bottle, which I used as a base over which I glued the trimmed die cut sections for the lids (Basic Black cardstock), the label bases (Basic White Thick cardstock), and the paint colour labels (Granny Apple Green cardstock - item 146990; Crushed Curry cardstock - item 131199; Fresh Freesia cardstock - item 155613; and Real Red cardstock - item 102482). Behind the small hole in each lid I glued a small scrap of Basic White Thick cardstock. Using one of the Sponge Daubers (item 133773 - package of five) I rubbed some Craft Stampin' White Ink (item 147277) around the edges of the lids and the coloured cardstock labels. I used a fine grit sandpaper to "rough up" the exposed silver cardstock sections of the paint tubes.


I used the Trusty Tools dies (item 163274) to make the paint brushes and the coloured pencils (I even kept the number of pencils under President Trump's recommended maximum number of five 😉 - such a recommendation being just one of so many reasons he is no friend of artists!)

For the paint brushes I cut one complete brush base used for the handle from Early Espresso cardstock (item 119686) that had been embossed using the retiring - and currently available as one of the discounted Last Chance Products - Timber 3D Embossing Folder (item 156406), the inside panel of which I had dragged with my Early Espresso ink pad (item 147114) before embossing; and one from Crumb Cake cardstock (item 120953) that had been embossed using the Timber 3D Embossing Folder, the inside panel of which I had dragged with my Crumb Cake ink pad prior to embossing.
.webp)
Over each base paint brush die cut I glued the additional trimmed die cut sections. For the bristles I used Basic Beige cardstock (item 164511) and Very Vanilla cardstock (item 166784), shaded with Crumb Cake ink applied using one of the Small Blending Brushes (item 160518); for the ferrule and crimp of each brush I used silver cardstock from my stash - scoring two horizontal decorative lines on the trimmed die cut sections; and for the "paint" Crushed Curry cardstock and Real Red cardstock. These "paint" pieces were die cut using the bristles die, with the top edge torn.
I cut the four pencils from watercolour paper - using Crumb Cake ink to colour the collars; and Highland Heather ink refill (item 147167), Granny Apple Green ink refill (item 147163), Real Red ink (item 147084), and Balmy Blue ink refill (item 147168) to colour the leads and barrels.
Using the Online Exclusives Around It All dies (item 164725) I cut various sizes of circles from watercolour paper that had been coloured using Pumpkin Pie ink (item 147086) and/or Real Red ink; and from two Daffodil Delight patterned papers from the retiring - and currently available as one of the discounted Last Chance Products - Brights 6" x 6" Designer Series Paper Stack (item 163775). I used one of the Stampin' Dimensionals (item 104430) to attach and pop up four of the smallest circles. Using two of the large circle dies I cut the circle frame from Basic Black cardstock - I used low tack tape to hold the two dies together while I passed the dies and cardstock through the Stampin' Cut & Emboss Machine.


For the two "paintings" in the bag I resurrected two old Stampin' Up!® stamp sets (wood block mounted!) - only one of which I was able to definitively identify from researching my old Catalogues: the tall double poppy image is from the Oh, So Lovely stamp set (item 109499), which was a Level 1 Hostess stamp set in the Fall-Winter Collection 2007 Catalogue. I was not able to identify the stamp set for the other flower image - I would definitely be interested if someone has the answer! I have a few mounted stamps from this unidentified stamp set but I did not keep the set together . . . The two images were stamped on watercolour paper using Stazon Jet Black Ink (item 101406), and coloured using Real Red ink, Highland Heather ink refill, Pumpkin Pie ink, Old Olive ink refill (item 100531), and Balmy Blue ink refill. The trimmed watercolour paper image panels were matted with Basic Black cardstock.
Using the Mini Alphabet dies (item 162934) I cut the "ART" letters from Basic Black cardstock.

To complete the project I added two large and one small of the Peach Pie dots from Party Dots (item 164602).


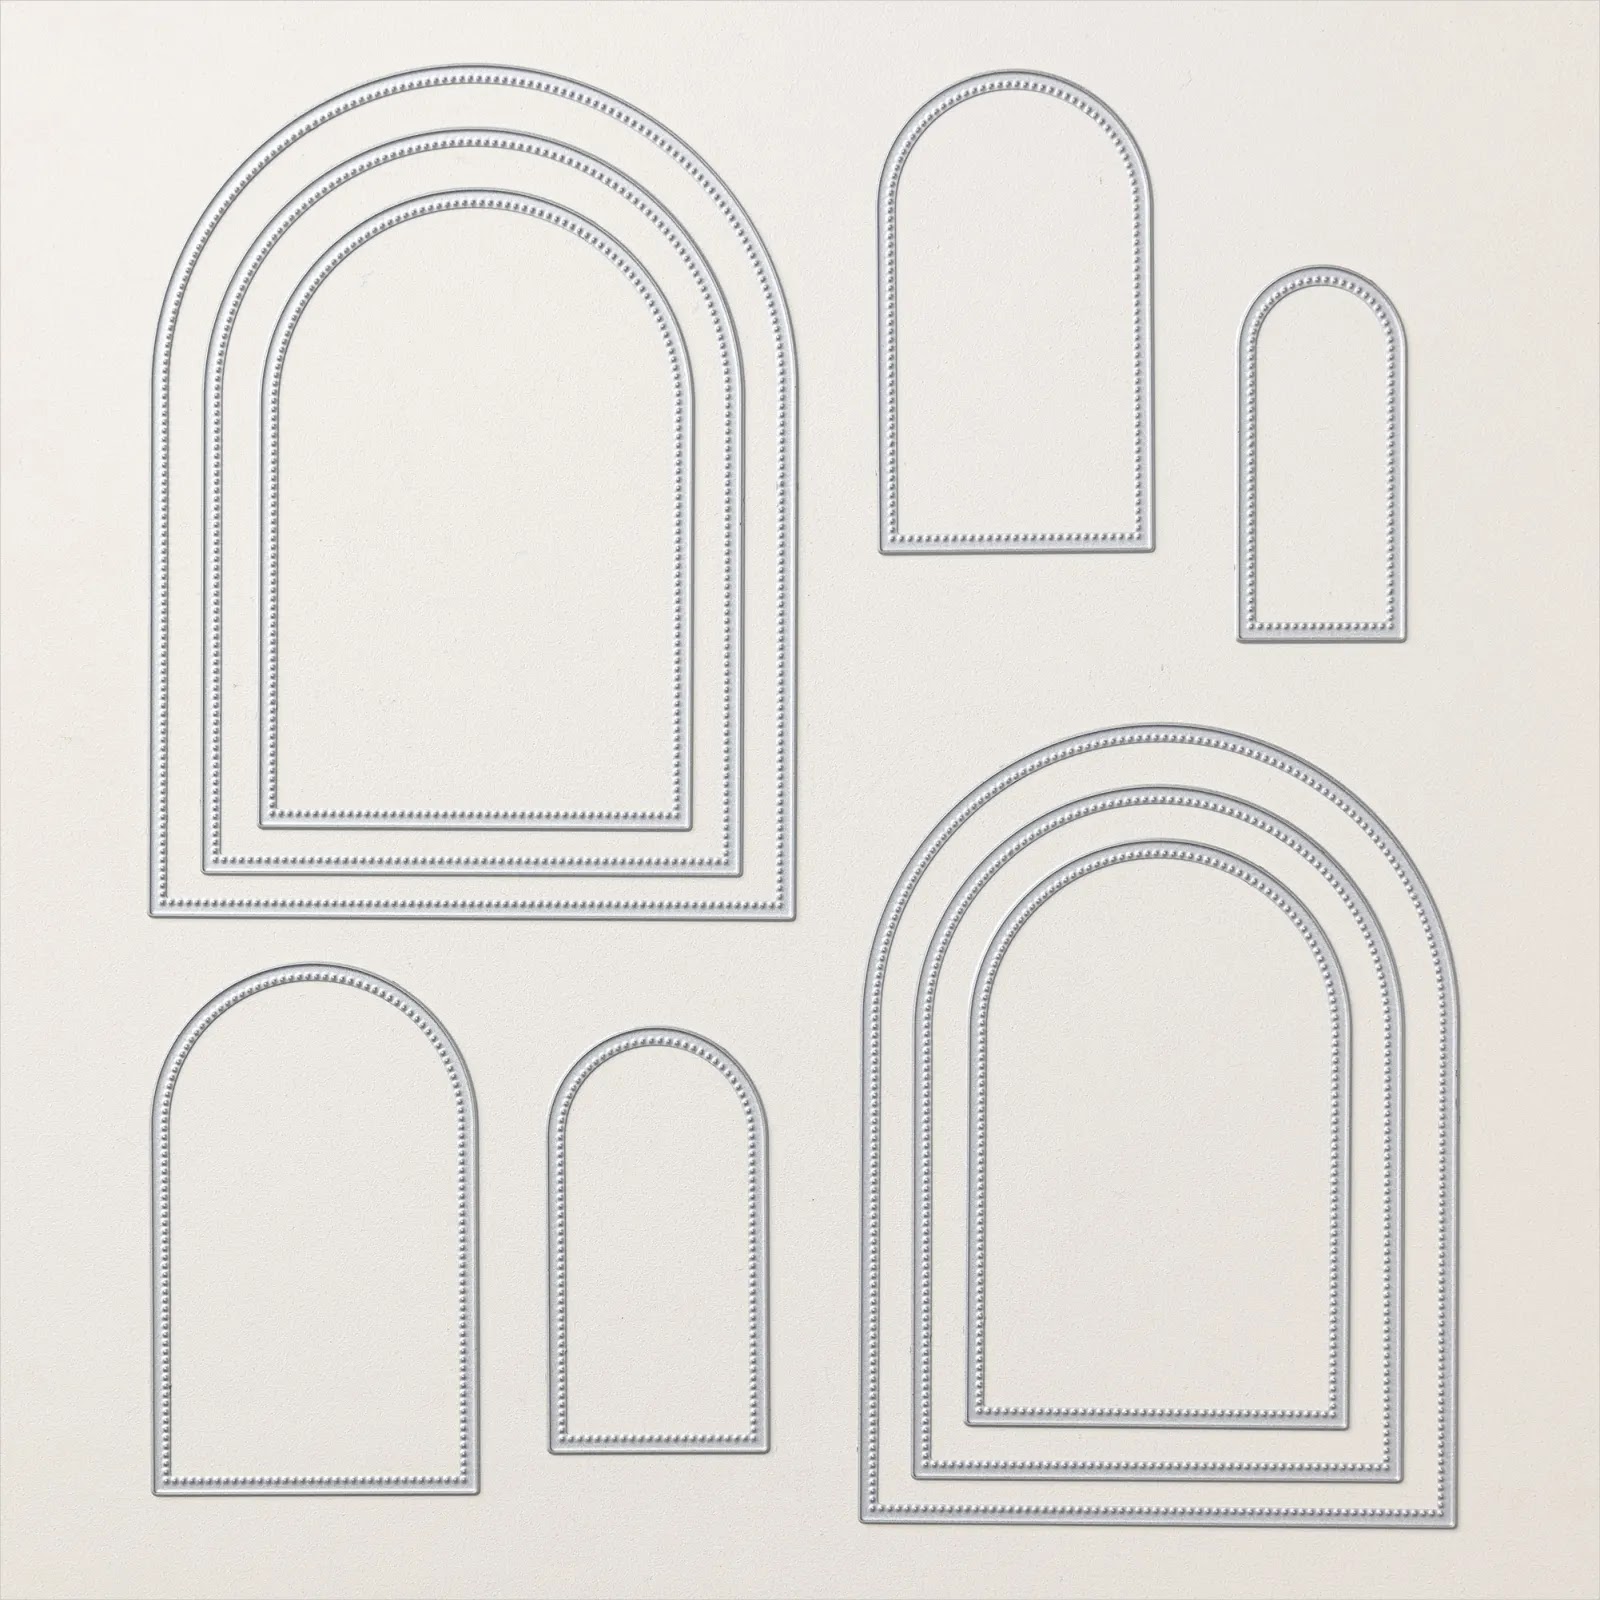
I felt compelled to make one other small project this week using another long-retired Stampin’ Up!® stamp set: the Peace Within stamp set (item 114312), featured in the 2009-2010 Idea Book & Catalogue. I stamped the image and sentiment on watercolour paper using Stazon Jet Black Ink (item 101406); colouring the image using Pumpkin Pie ink (item 147086), Pecan Pie ink (item 161665), Old Olive ink (item 147090), Real Red ink (item 147084), and Crumb Cake ink refill (item 121029). I used the Online Exclusives Everyday Arches dies (item 164629) to die cut the image panel, and the Basic Black cardstock (item 121045) matting panel.
After removing the glass from the Dollar Tree 5" x 7" black plastic arch easel frame I used the glass as a template to cut a backing panel from medium weight cardboard, over which I glued some woodgrain patterned paper from the Country Woods 12" x 12" Designer Series Paper (item 163393). I shaded the edges of the DSP panel with Crumb Cake ink (item 147116).

Using the Impressions Abloom dies (item 165610) I cut the two large and six small flowers from Pretty In Pink cardstock (item 163793), shading them with Real Red ink; the two flower centers from Pecan Pie cardstock (item 161717); and the two four-leafed stems from Old Olive cardstock (item 100702), shading them with Mossy Meadow ink (item 147111). The additional foliage was cut using the Gallery Blooms dies (item 165212) - featured in the May 2025-April 2026 Annual Catalogue as part of the Beautiful Gallery Suite Collection (item 165217) - also from Old Olive cardstock and shaded with Mossy Meadow ink.

I used one of the Stampin' Dimensionals (item 104430) to attach each of the two flower center die cuts; and to complete the project I added two large and three small of the Pretty In Pink dots from Party Dots (item 164602). Although Archie was always strictly an indoor cat I am sure he would have enjoyed immensely a nap in such a tranquil setting!😺
Thank you for visiting my blog! I did enjoy working on these projects this week - and resurrecting a few of my long retired Stampin’ Up!® stamp sets.
Unfortunately Stampin' Up! advises that the following products I used this week are not currently available, but I have indicated below the date that Stampin' Up! expects the products to again be available for ordering:
- Jet Black Stazon Ink (item 101406) - week of May 19, 2025;
- Craft Stampin' White Ink [Uninked Stampin' Pad & White Craft Refill] (item 147277) - week of May 26, 2025; and
- Everyday Arches dies (item 164629) - week of June 2, 2025.
If you are interested in purchasing any of the available Stampin’ Up!® products I have used in my projects, and you live in Canada and do not have a Stampin' Up! demonstrator, please do not hesitate to visit my online store found on my website https://archiesatelier.stampinup.net/ at your convenience, or simply click under the "Shop With Me" tab on the right sidebar of my blog, which will take you directly to my website and online store. I very much appreciate your business and would be very pleased to be your demonstrator! If you need any assistance please do not hesitate to contact me (lmccoyarchie@gmail.com) and I will try my best to help! The digital version of the May 2025-April 2026 Annual Catalogue is now available for you to access at your convenience on my website. If visiting the online store don't forget to check out the full line of Online Exclusives products, including the new products released on May 6, 2025! Just a reminder that all Last Chance Products remain available only while supplies last!
Have fun creating!
Laurel
*It has come to my attention that quite often email correspondence from me is delivered to the recipient's spam or junk mail folder - if you have corresponded with me I have replied so be sure to check your spam or junk mail folder! Thank you!!

November 1, 2008 - May 10, 2025
A sweet and gentle soul, and enthusiastic project supervisor!
Comments
Post a Comment