Welcoming Spring With Storybook Friends!

Hello! What better way to welcome the first days of spring than with a few decor projects using the sweet bunny images - and a couple of the sentiments - from the Stampin’ Up!® Storybook Friends Bundle (item 164675)! This Bundle, which includes the Storybook Friends photopolymer stamp set (item 164668) and the co-ordinating Storybook Friends dies (item 164674), is featured in the January-April 2025 Mini Catalogue as part of the Storybook Moments Suite Collection (item 164681). Of course the stamp set and dies can be purchased separately from the Bundle - however, if you would like both the stamp set and the co-ordinating dies be sure to use the Bundle item number when submitting an order to ensure that you receive the 10% Bundled Savings!


For my three decor projects this week I stamped the bunny images on watercolour paper using Stazon Jet Black Ink (item 101406), colouring the images after die cutting them by using small paint brushes to apply Classic Stampin' inks/Classic Stampin' ink refills mixed with a little water.
The two sentiments were stamped on Designer Series Paper using Memento Tuxedo Black Ink (item 132708).
All project foliage was die cut from Soft Seafoam cardstock (item 146988). The cardstock die cuts were shaded with Old Olive ink (item 147090) applied using one of the Small Blending Brushes (item 160518 - package of three). After applying the ink I lightly spritzed the die cuts with water using one of the Stampin' Spritzers (item 126185 - package of two), blotting dry with paper towel to create a slightly mottled effect. To die cut the foliage I used the following dies:
- Grove (item 157844) - five-leafed sprig;

- retiring - and currently available as one of the discounted Last Chance Products - Changing Leaves (item 164138) - three-leafed sprig [the Hybrid Embossing Folder is also included with these dies];

- Delicate Forest (item 162679) - multi-leafed sprigs

- Country Flowers (item 163410) - leafy clump; and
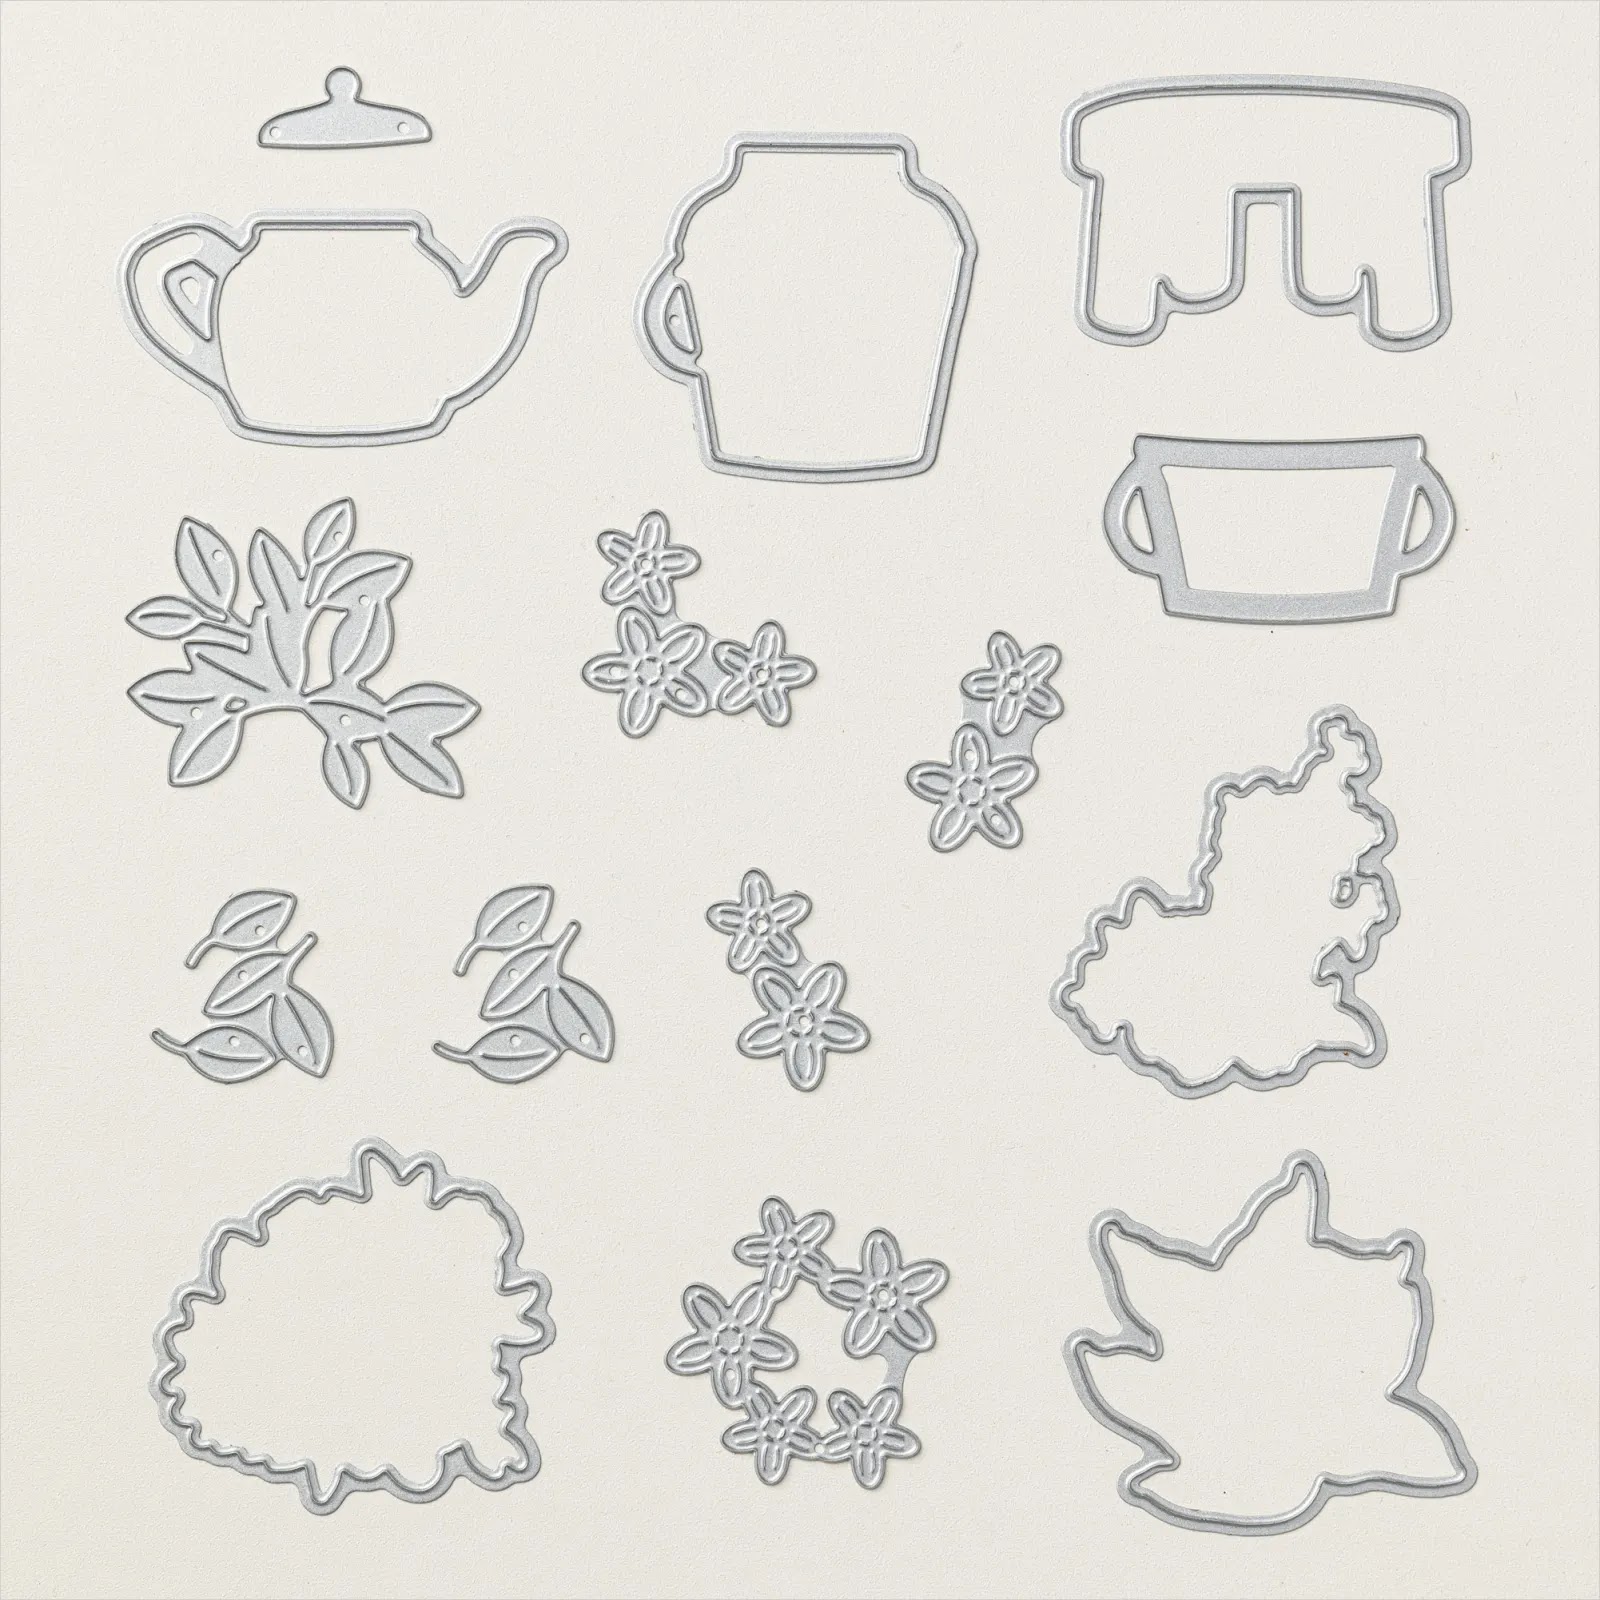
- Storybook Garden Patch (item 164666) - small spiky sprig.

Additional dies used:
- Country Birdhouse (item 163400) - two sizes of the same style of small flower;

- Around It All (item 164725) - to die cut the Designer Series Paper "wonky" circle on the "Happy Spring" project;

- retiring - and currently available as one of the discounted Last Chance Products - Greetings Of The Season (item 164112) - I used the long arrow tag die (trimmed) to die cut the DSP sentiment banner on the "Happy Spring" project;

- Stylish Shapes (item 159183) - banner die to die cut the DSP sentiment banner on the "Easter Greetings" project; and

- Cheerful Daisies (item 161296) - on the large framed bunny project I die cut the six coneflowers/daisies from watercolour paper - coloured using a combination of Classic Stampin' ink/Classic Stampin' ink refill washes and ink blending (applying ink using one of the Small Blending Brushes).

A few additional items used for the projects - courtesy of my local dollar stores and thrift shop:
- from Dollarama a light toned wood frame - outside dimensions 13 1/2" square, inside dimensions just under 12" square - glass removed, and frame sides and corners distressed using a medium grit sandpaper;
- from the thrift shop an 11' tall x 10 5/8" wide x 1/8" thick wood bunny shape;
- from Dollar Tree a 7" square white frame - glass removed and the frame sides and corners distressed using a medium grit sandpaper;
- from Dollar Tree a 4 3/8" tall x 3 1/4" wide x 1/16" thick wood egg shape ornament (sold in a package of ten); and
- from Dollarama a 6 1/4" diameter embroidery hoop.
Just a brief summary of the basic tools and supplies I used to complete my projects this week:
- Paper Trimmer (item 152392) - for trimming Designer Series Paper panels and strips;

- Stampin' Cut & Emboss Machine (item 149653) - for all die cutting;

- Paper Snips Scissors (item 103579) - these sharp little scissors are perfect for doing any necessary trimming of die cuts;
- Take Your Pick Tool (item 144107) - the paper piercer, mini spatula, and tacky putty tips are definitely a great help for picking up and placing small die cuts; and


- for the main adhesive, Multipurpose Liquid Glue (item 110755). When gluing DSP (or strips of DSP) to a large base surface, such as the MDF/cardboard backing panels for the framed projects, and the wood bunny and egg shapes, I use the Stampin' Brayer (item 162936) to roll over the DSP immediately after gluing it to the base surface to ensure even coverage of the liquid glue and good even adhesion of the DSP to the base surface. I do transfer some of the contents of each bottle of Multipurpose Liquid Glue I get to a small plastic bottle that has a fine-tip applicator and large-headed pin stopper, as the fine-tip applicator makes it much easier to apply a fine line or small dabs of glue required to adhere small die cuts - i.e. the delicate foliage die cuts. The broad tip on one end of the Multipurpose Liquid Glue bottle is great for applying the glue to a larger surface area. When applying glue to a larger surface area I will also often use an old small flat tipped paint brush to help spread the glue over the surface.


On with the projects!


Additional supplies used to complete the first project:
- a just slightly less than full sheet of Lost Lagoon patterned paper from the Storybook Moments 12" x 12" Specialty Designer Series Paper (item 164662) to cover the frame's thin MDF back panel;

- Smoky Slate striped patterned paper from the Country Lace 12" x 12" Designer Series Paper (item 163415) to cover the large wood bunny shape - after the glue was thoroughly dry I used a fine grit sandpaper to remove the excess paper from around the edges of the wood shape;

- Crumb Cake ink refill (item 121029), Basic Gray ink (item 149165), Real Red ink (item 147084), Pool Party ink (item 147107), Daffodil Delight ink refill (item 119672), and Pumpkin Pie ink (item 147086) to colour the bunny images; and
- Pecan Pie ink (item 161669), Daffodil Delight ink refill, and Crushed Curry watercolour pencil (Watercolour Pencils Assortment 2 - item 149014) to colour the coneflowers/daisies.


Additional supplies used to complete the second project:
- a 7" square piece of floral patterned paper from the Floral Delight 12" x 12" Designer Series Paper (item 164700) to cover the frame's cardboard back panel;

- a 5 5/8" square panel trimmed from a Lost Lagoon/Boho Blue/Old Olive plaid patterned paper from the Timeless Plaid 6" x 6" Designer Series Paper (item 164678) for the panel centered over the Floral Delight DSP background panel;

- glued over the Timeless Plaid DSP panel a 6" x 1 1/4" strip of Crushed Curry patterned paper from the 6" x 6" Designer Series Paper Assortments-Regals (item 163774), and a 6 3/4" x 3/4" strip of Daffodil Delight gingham patterned paper from the Floral Delight DSP;

- to cover the wood egg shape I cut 1/2" or 1/4" wide strips of Floral Delight DSP; Crushed Curry and Old Olive patterned papers from the 6" x 6" Designer Series Paper Assortments-Regals; Old Olive/Mossy Meadow striped patterned paper from the Season Of Green & Gold 12" x 12" Specialty Designer Series Paper (item 164324); and Pretty Peacock patterned paper from the Thoughtful Journey 6" x 6" Designer Series Paper (item 163303) - I trimmed the sections of the DSP strips overhanging the wood shape with my craft knife, and then gently rubbed around the shape edges with a fine grit sandpaper;


- Lost Lagoon/Pretty Peacock wavy striped patterned paper from the Bright & Beautiful 6" x 6" Designer Series Paper (item 161449) for the sentiment banner - I die cut the banner before I stamped the sentiment;

- Daffodil Delight cardstock (item 119683) for the five larger Country Birdhouse flowers;
- Crushed Curry cardstock (item 131199) for the nine smaller Country Birdhouse flowers;
- Peach Pie dots from Party Dots (item 164602) - nine small dots added to flower centers, and an additional two small dots and three large dots added to the background panels and strips; and

- Crumb Cake ink refill (item 121029), Basic Gray ink (item 149165), Real Red ink (item 147084), and Daffodil Delight ink refill (item 119672) to colour the bunny images.
And finally . . .

Additional supplies used to complete the "Happy Spring" embroidery hoop project:
- after separating the two hoops I glued a leftover piece of Shy Shamrock/white floral patterned paper from the Sale-A-Bration Bloom Impressions 12" x 12" Designer Series Paper (Sale-A-Bration item 164944) to the back of the inside hoop - I used my craft knife to trim the excess paper from around the rim of the hoop;
- Pretty In Pink patterned papers from the 2024-2026 In Colour 6" x 6" Designer Series Paper Assortments (item 163777) for the "wonky" circle Around It All die cut, and the trimmed Greetings Of The Season sentiment banner;

- Pretty In Pink cardstock for all Country Birdhouse flowers;
- six small and one large of the Pool Party dots from Party Dots (item 164602) added to flower centers; and
- Crumb Cake ink refill (item 121029), Basic Gray ink (item 149165), and Real Red ink to colour the bunny images.
Thank you for visiting my blog! I had a lot of fun working on these spring and Easter themed decor projects this week - certainly experiencing spring fever as the snow melts and the temperature rises!
Unfortunately Stampin' Up! advises that the following products I used this week are not currently available, but I have indicated below the date that Stampin' Up! expects the products to again be available for ordering:
- Stazon Jet Black Ink (item 101406) - week of March 31, 2025;
- Memento Tuxedo Black Ink Pad (item 132708) - also now week of March 31, 2025; and
- Party Dots (item 164602) - week of April 14, 2025.
Just a reminder that the sales period for the May 2024-April 2025 Annual Catalogue ends on May 5, 2025, at which time the five 2023-2025 In Colours (Copper Clay, Wild Wheat, Boho Blue, Moody Mauve, and Pebbled Path) - and all products in these colours, including cardstock, Classic Stampin' ink pads, Classic Stampin' ink refills, Stampin' Blends, the five-pack Stampin' Write Marker Assortment, and the 2023-2025 In Colours 6" x 6" Designer Series Paper Assortments - will be retiring so you may want to check your supplies and submit orders for any required products well in advance of the Annual Catalogue end date because retiring In Colours products usually do sell out very quickly!
The good news is that with the launch on May 6, 2025, of the May 2025-April 2026 Annual Catalogue will come the release of the new five 2025-2027 In Colours!
If you are interested in purchasing any of the available Stampin’ Up!® products I have used in my projects - or you need to restock your supplies of retiring 2023-2025 In Colours products - and you live in Canada and do not have a Stampin' Up! demonstrator, please do not hesitate to visit my online store found on my website https://archiesatelier.stampinup.net/ at your convenience, or simply click under the "Shop With Me" tab on the right sidebar of my blog, which will take you directly to my website and online store. I very much appreciate your business and would be very pleased to be your demonstrator! If you need any assistance please do not hesitate to contact me (lmccoyarchie@gmail.com) and I will try my best to help! The digital versions of the May 2024-April 2025 Annual Catalogue, January-April 2025 Mini Catalogue, and the companion (and digital-only) January 2025 Scrapbooking Brochure, are all available for you to access at your convenience on my website (https://archiesatelier.stampinup.net/). As of May 6, 2025, the digital version of the May 2025-April 2026 Annual Catalogue will be available for you to access at your convenience on my website. If visiting the online store don't forget to check out all the exciting Online Exclusives products, as well as all the retiring Last Chance Products! There are certainly some great Last Chance Products bargains to be had but these retiring products are only available while supplies last!
Have fun creating!
Laurel
*It has come to my attention that quite often email correspondence from me is delivered to the recipient's spam or junk mail folder - if you have corresponded with me I have replied so be sure to check your spam or junk mail folder! Thank you!!

Is this not everyone's reaction to the news these days?
Comments
Post a Comment