Looking Forward To Spring And Easter!

Hello! Last week on an excursion to my local Dollar Tree I picked up two 3/4" thick MDF shapes - a carrot and an egg - which I thought would make great bases for a couple of spring/Easter themed decor projects this week. For my two projects I combined the MDF shapes with a variety of Stampin’ Up!® products, including:
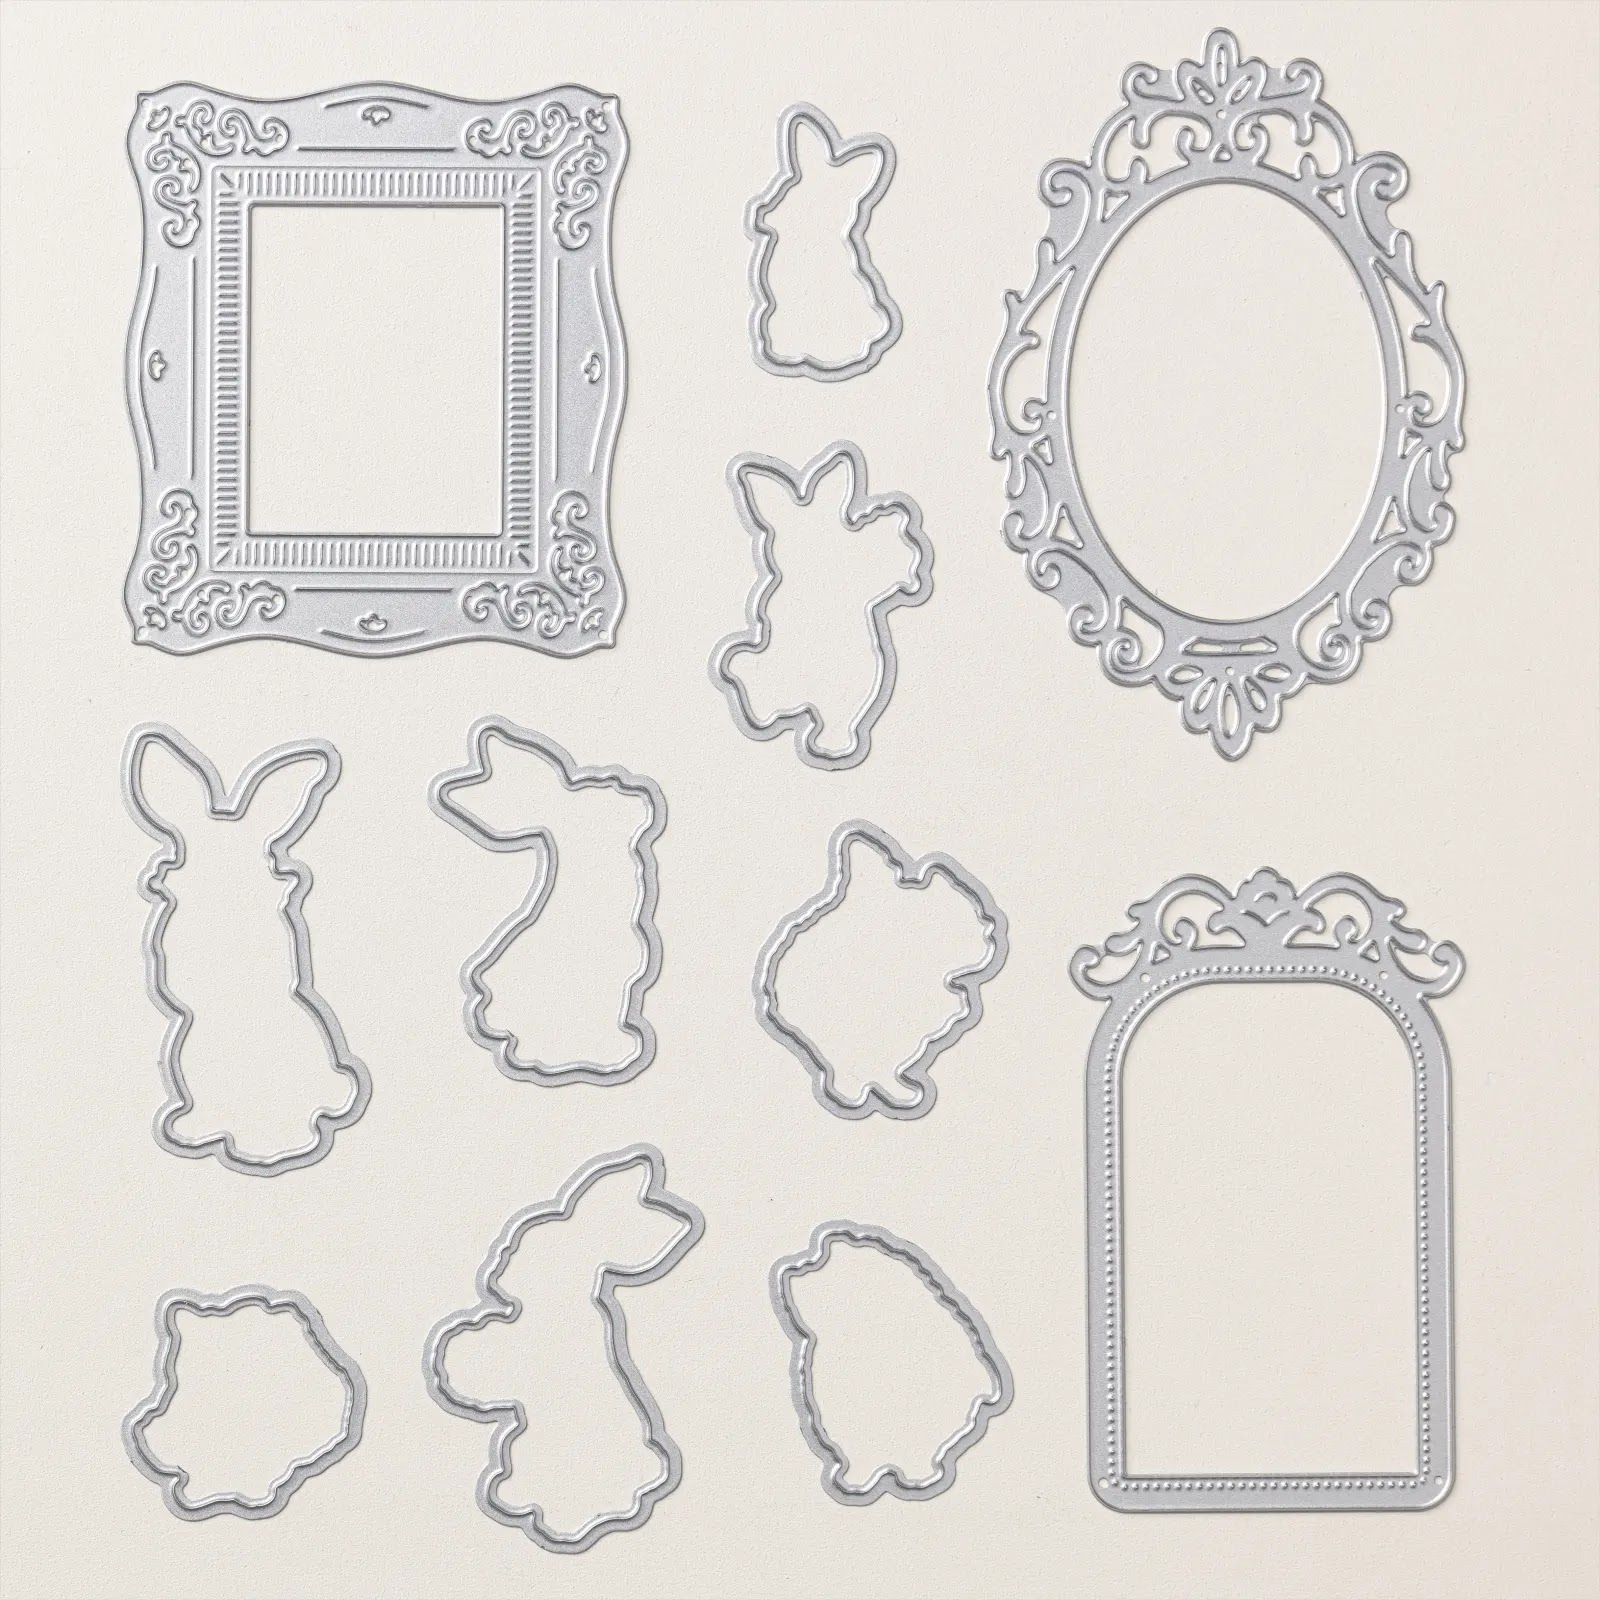
- bunny images stamped using the Storybook Friends photopolymer stamp set (item 164668), and die cut using the co-ordinating Storybook Friends dies (item 164674) - if you would like to take advantage of the 10% Bundled Savings the stamp set and dies are also available together in the Storybook Friends Bundle (item 164675);

- retiring - and currently available as one of the discounted Last Chance Products - Simply Zinnia dies (item 163479) - to die cut cardstock petal layers, blossoms, and blossom stems;

- Country Birdhouse dies (item 163400) - to die cut small cardstock flowers;

- Country Flowers dies (item 163410) - to die cut cardstock leafy clumps; the Cheerful Daisies dies (item 161296) - to die cut two large cardstock spiky sprigs used on the carrot; Delicate Forest dies (item 162679) - to die cut cardstock leafy sprigs; and the retiring - and currently available as one of the discounted Last Chance Products - Changing Leaves dies (item 164138) - to die cut cardstock three-leafed sprigs, and the berry sprig used on the Easter egg;


- Grow With Love dies (item 164803) - to die cut the small cardstock circles used for the centers of the Country Birdhouse flowers;

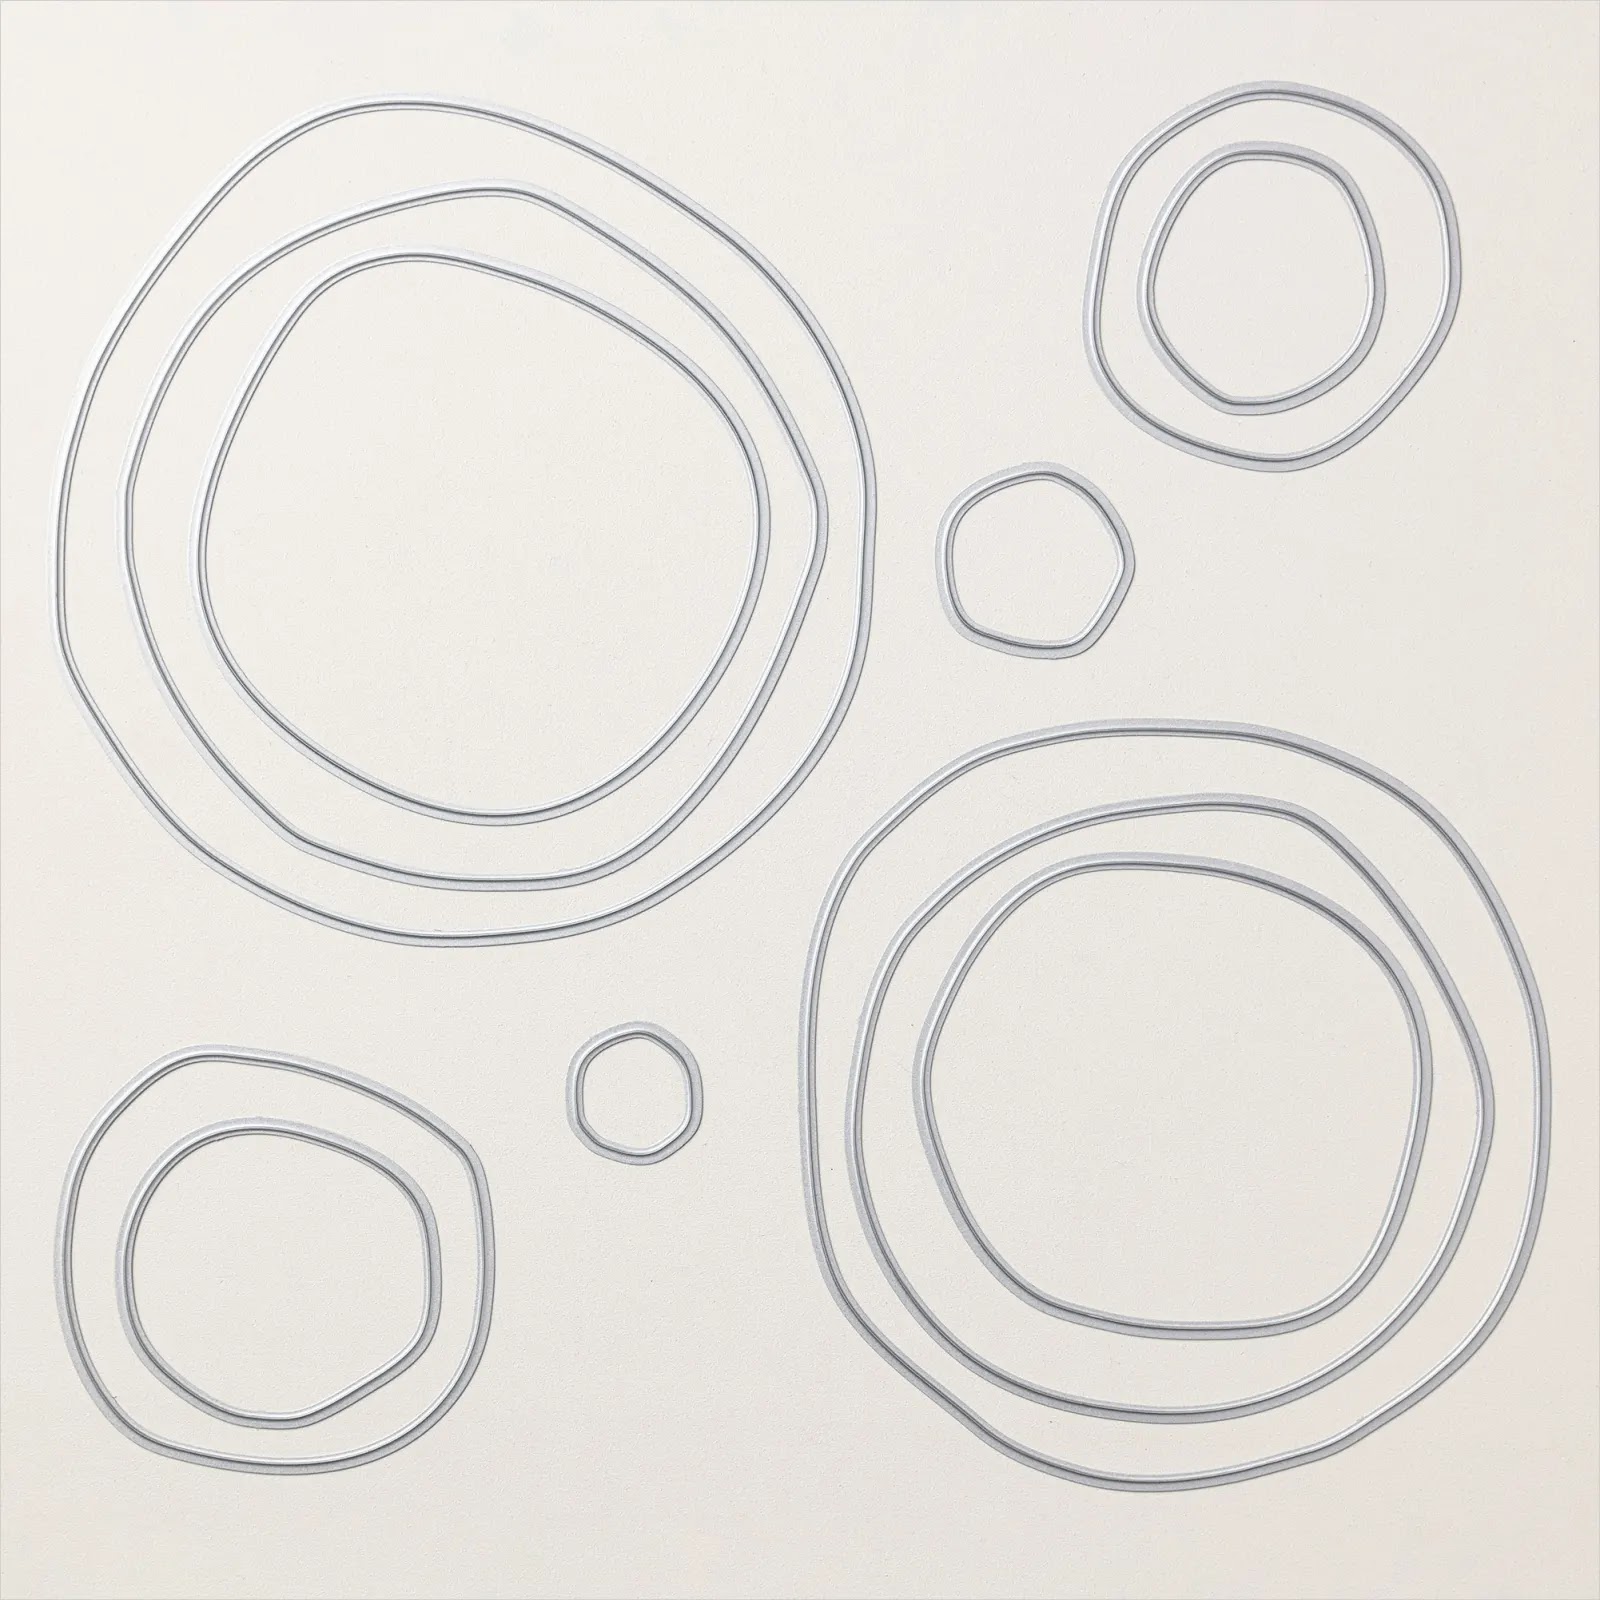
- Around It All dies (item 164725) - to die cut the two cardstock "wonky" circles used under the buttons on the centers of the Simply Zinnia flowers on the Easter egg;
Alphabet À La Mode dies (item 160750) - to die cut the cardstock letters for "Happy Easter" on the Easter egg; and

- Designer Series Papers.
Just a quick run down of the basic tools and supplies I used to complete my projects this week:
- Paper Trimmer (item 152392) - for trimming Designer Series Paper strips;

- Stampin' Cut & Emboss Machine (item 149653) - for all die cutting;

- Paper Snips Scissors (item 103579) - these sharp little scissors are perfect for doing any necessary trimming of die cuts;
- Take Your Pick Tool (item 144107) - the paper piercer, mini spatula, and tacky putty tips are definitely a great help for picking up and placing small die cuts; and


- for the main adhesive, Multipurpose Liquid Glue (item 110755). When gluing DSP to a large base surface, such as the MDF shapes, I use the Stampin' Brayer (item 162936) to roll over the DSP immediately after gluing it to the base surface to ensure even coverage of the liquid glue and good even adhesion of the DSP to the base surface. I do transfer some of the contents of each bottle of Multipurpose Liquid Glue I get to a small plastic bottle that has a fine-tip applicator and large-headed pin stopper, as the fine-tip applicator makes it much easier to apply a fine line or small dabs of glue required to adhere small die cuts - i.e. the delicate alphabet die cuts. The broad tip on one end of the Multipurpose Liquid Glue bottle is great for applying the glue to a larger surface area. When applying glue to a larger surface area I will often use an old small flat tipped paint brush to help spread the glue over the surface.


I used Stazon Jet Black Ink (item 101406) to stamp the bunny images on watercolour paper, and coloured the images by using fine-tipped paint brushes to apply Classic Stampin' inks/Classic Stampin' ink refills mixed with a little water.

To add shading to most of the cardstock die cuts I used Small Blending Brushes (package of three - item 160518) to apply Classic Stampin' inks to the cardstock die cuts, adding a little additional visual texture (slightly mottled effect) by lightly spritzing the shaded cardstock die cuts with water (Stampin' Spritzers - item 126185) and blotting dry with paper towel.


On with the projects!


For a base panel (which can be hung on the wall) for the 10" tall x 5 3/4" wide MDF carrot I used a 12" long x just under 4 1/2" wide x 1 1/8" deep three-compartment bamboo tray I picked up at Dollarama. I used the underside of the tray as the front of the panel, and after adding two trimmed pieces of heavy weight cardboard to level up the space between the edge of the tray and the tray's back panel in order to provide a level surface to which I could glue the MDF carrot, I glued on an 11 3/4" x 4 1/4" piece of Old Olive/Mossy Meadow patterned paper from the Season Of Green & Gold 12" x 12" Specialty Designer Series Paper (item 164324), all edges of which I distressed using a fine grit sandpaper - I trimmed the DSP to allow for a small border of the back side of the tray to show around all sides of the DSP.

To cover the stem portion of the MDF carrot I used an Old Olive checked patterned paper from the Timeless Plaid 6" x 6" Designer Series Paper (item 164678); and to cover the body of the carrot a Pumpkin Pie striped patterned paper from the 6" x 6" Designer Series Paper Assortments-Brights (item 163775). After gluing the papers to the MDF base I used a fine grit sandpaper to remove the overhanging sections of DSP - which also distressed the edges of the DSP adhered to the MDF base.


To complete the project I used the following additional supplies:
- Pumpkin Pie cardstock (item 105117) for all die cut flowers and blossoms - all shaded with Pumpkin Pie ink (item 147086);
- Early Espresso cardstock (item 119686) for the die cut circles for the centers of the Country Birdhouse flowers;
- Old Olive cardstock (item 100702) for all die cut foliage - all shaded with Mossy Meadow ink (item 147111);
- Crumb Cake ink (item 147116), Basic Gray ink (item 149165), Real Red ink (item 147084), and Pumpkin Pie ink to colour the bunny images;
- Stampin' Dimensionals (item 104430) - trimmed as necessary - to attach and pop up the dress-wearing bunny; and
- Linen Thread (item 104199) knotted through the center of the "almost Crumb Cake" button from my stash used as the center of the large Simply Zinnia flower.


To cover the front of the just under 8" tall x 6 1/2" wide shelf-sitter MDF egg I trimmed strips of various widths from four patterns of the Floral Delight 12" x 12" Designer Series Paper (item 164700), and from two Old Olive/Mossy Meadow patterns of the Season Of Green & Gold 12" x 12" Specialty Designer Series Paper (item 164324). To cover the 3/4" wide edge of the egg I used two strips trimmed from the same Old Olive/Mossy Meadow striped patterned paper from the Season Of Green & Gold DSP that I used on the front of the egg.

To complete the project I used the following additional supplies:
- Lemon Lolly cardstock (item 161720) for the four Country Birdhouse flowers; and shaded with Daffodil Delight ink (item 147094) for the two petal layers for each of the two large Simply Zinnia flowers, and the one Simply Zinnia blossom;
- Crushed Curry cardstock (item 131199) for the bottom (third) petal layer for each of the two large Simply Zinnia flowers;
- Soft Seafoam cardstock (item 146988) - shaded with Old Olive ink (item 147090) for all die cut foliage;
- Basic White Thick cardstock (item 159229) for all circle and letter die cuts;
- Crumb Cake ink (item 147116), Basic Gray ink (item 149165), Real Red ink (item 147084), and Daffodil Delight ink refill (item 119672) to colour the bunny images; and
- Mini Stampin' Dimensionals (item 144108) to attach and pop up the small bunny image.
The two large "almost Soft Seafoam" buttons used for the centers of the two large flowers were from my stash.
In addition to the numerous new Online Exclusives products released on March 4, 2025, Stampin' Up! has added two new all-inclusive card making kits to the Kits Collection this month:
Welcoming Garden Kit (item 165661)
This Kit includes the supplies necessary to complete nine 4 1/4" x 5 1/2" cards, three each of three designs:
- Welcoming Garden photopolymer stamp set, and clear block
- Crumb Cake Stampin' Spot;
- nine printed envelopes;
- pre-cut flowers and garden gates;
- sufficient adhesive to complete the nine pre-designed cards; and
- step-by-step illustrated instructions.
%20kit%20contents.webp)
%20stamp%20images.webp)
%20finished%20projects.webp)
This Kit includes the supplies necessary to complete six cards, two each of three designs:
- Maritime Moments photopolymer stamp set, and clear block;
- Gray Granite Stampin' Spot;
- six printed envelopes;
- printed sentiments, and die cut images;
- twine;
- sufficient adhesive to complete the six pre-designed cards; and
- step-by-step illustrated instructions.
%20kit%20contents.webp)
%20stamp%20images.webp)
%20finished%20projects.webp)
Thank you for visiting my blog! I had a lot of fun working on these two spring/Easter decor projects - certainly a nice distraction from the daily barrage of increasingly bad news!
Unfortunately Stampin' Up! advises that the following products I used this week are not currently available, but I have indicated below the date that Stampin' Up! expects the products to again be available for ordering:
- Basic White Thick cardstock (item 159229) - week of March 24, 2025; and
- Alphabet À La Mode dies (item 160750) - week of March 10, 2025.
If you are interested in purchasing any of the available Stampin’ Up!® products I have used in my projects, and you live in Canada and do not have a Stampin' Up! demonstrator, please do not hesitate to visit my online store found on my website https://archiesatelier.stampinup.net/ at your convenience, or simply click under the "Shop With Me" tab on the right sidebar of my blog, which will take you directly to my website and online store. I very much appreciate your business and would be very pleased to be your demonstrator! If you need any assistance please do not hesitate to contact me (lmccoyarchie@gmail.com) and I will try my best to help! The digital versions of the May 2024-April 2025 Annual Catalogue, January-April 2025 Mini Catalogue, and the companion (and digital-only) January 2025 Scrapbooking Brochure, are all available for you to access at your convenience on my website (https://archiesatelier.stampinup.net/). If visiting the online store don't forget to check out the exciting new Online Exclusives products, as well as all the retiring Last Chance Products - there are certainly some great bargains to be had!
Have fun creating!
Laurel
*It has come to my attention that quite often email correspondence from me is delivered to the recipient's spam or junk mail folder - if you have corresponded with me I have replied so be sure to check your spam or junk mail folder! Thank you!!

Hiding behind your tail makes you inconspicuous when the search is on for the stinky bomb culprit!😸
Comments
Post a Comment