May The Circle Be Unbroken!
(playing with the Around It All dies)

Hello! Today I am sharing some card projects I worked on this week using the Stampin’ Up!® Online Exclusives Around It All dies (item 164725). These "wonky" circle dies are so much fun to play with - as soon as I saw them I immediately thought they would make great funky flowers! The twelve dies range in size from 5 3/8" to 3/4" - so lots of possibilities!

For my projects I used several techniques for the circles I die cut from watercolour paper - often combining several of the techniques:
- using Stazon Jet Black Ink (item 101406) to stamp images that I coloured by using small paint brushes to apply Classic Stampin' inks/Classic Stampin' ink refills mixed with a little water;
- using Classic Stampin' inks/ink refills for colouring either with watercolour washes, ink "smooshing" (pressing the ink pad onto or adding drops of ink refill to a clean block or other clean plastic surface such as a craft mat, mixing the ink or refill with some water and then either swiping the watercolour paper die cut across the inked surface or pressing it into the inked surface, drying it and then repeating the process as many times until the desired effect was achieved), or ink blending (using Blending Brushes - item 153611 and/or Small Blending Brushes - item 160518 to apply Classic Stampin' inks). For additional visual texture - a mottled effect - I sometimes lightly spritzed the coloured circle with water (Stampin' Spritzers - item 126185), blotting dry with paper towel;
- using Classic Stampin' inks to stamp text - or partial text - from the Online Exclusives Elements of Text stamp set (item 164774);

- embossing using the Online Exclusives Plaster Painting 3D Embossing Folder (item 164656);

- making frames by using two of the nesting dies simultaneously when die cutting the watercolour paper. I used low-tack tape to hold the two dies in place when passing the dies and watercolour paper through the Stampin' Cut & Emboss Machine (item 149653) - even though with the wonky circles I wasn't concerned with getting even frame sides; and
- stacking several sizes of die cut circles to make the funky flowers.
Just a brief note regarding the basic tools and supplies I used to complete my projects this week in addition to the Stampin' Cut & Emboss Machine that was used for all die cutting and embossing:
- Paper Trimmer (item 152392) - for trimming cardstock and Designer Series Paper - can also be used for scoring;
- stylus and scoreboard (Simply Scored Scoring Tool - item 122334) for scoring fold lines on cardstock;
- Bone Folder (item 102300) for burnishing scored fold lines;
- Paper Snips Scissors (item 103579) - in addition to helping make fussy cutting a lot easier, these sharp little scissors are great for trimming die cuts;
- Take Your Pick Tool (item 144107) - the paper piercer, mini spatula, and tacky putty tips are definitely a great help for picking up and placing small die cuts and embellishments; and
- for the main adhesive, Multipurpose Liquid Glue (item 110755).
I also used Stazon Jet Black Ink to stamp the sentiments.
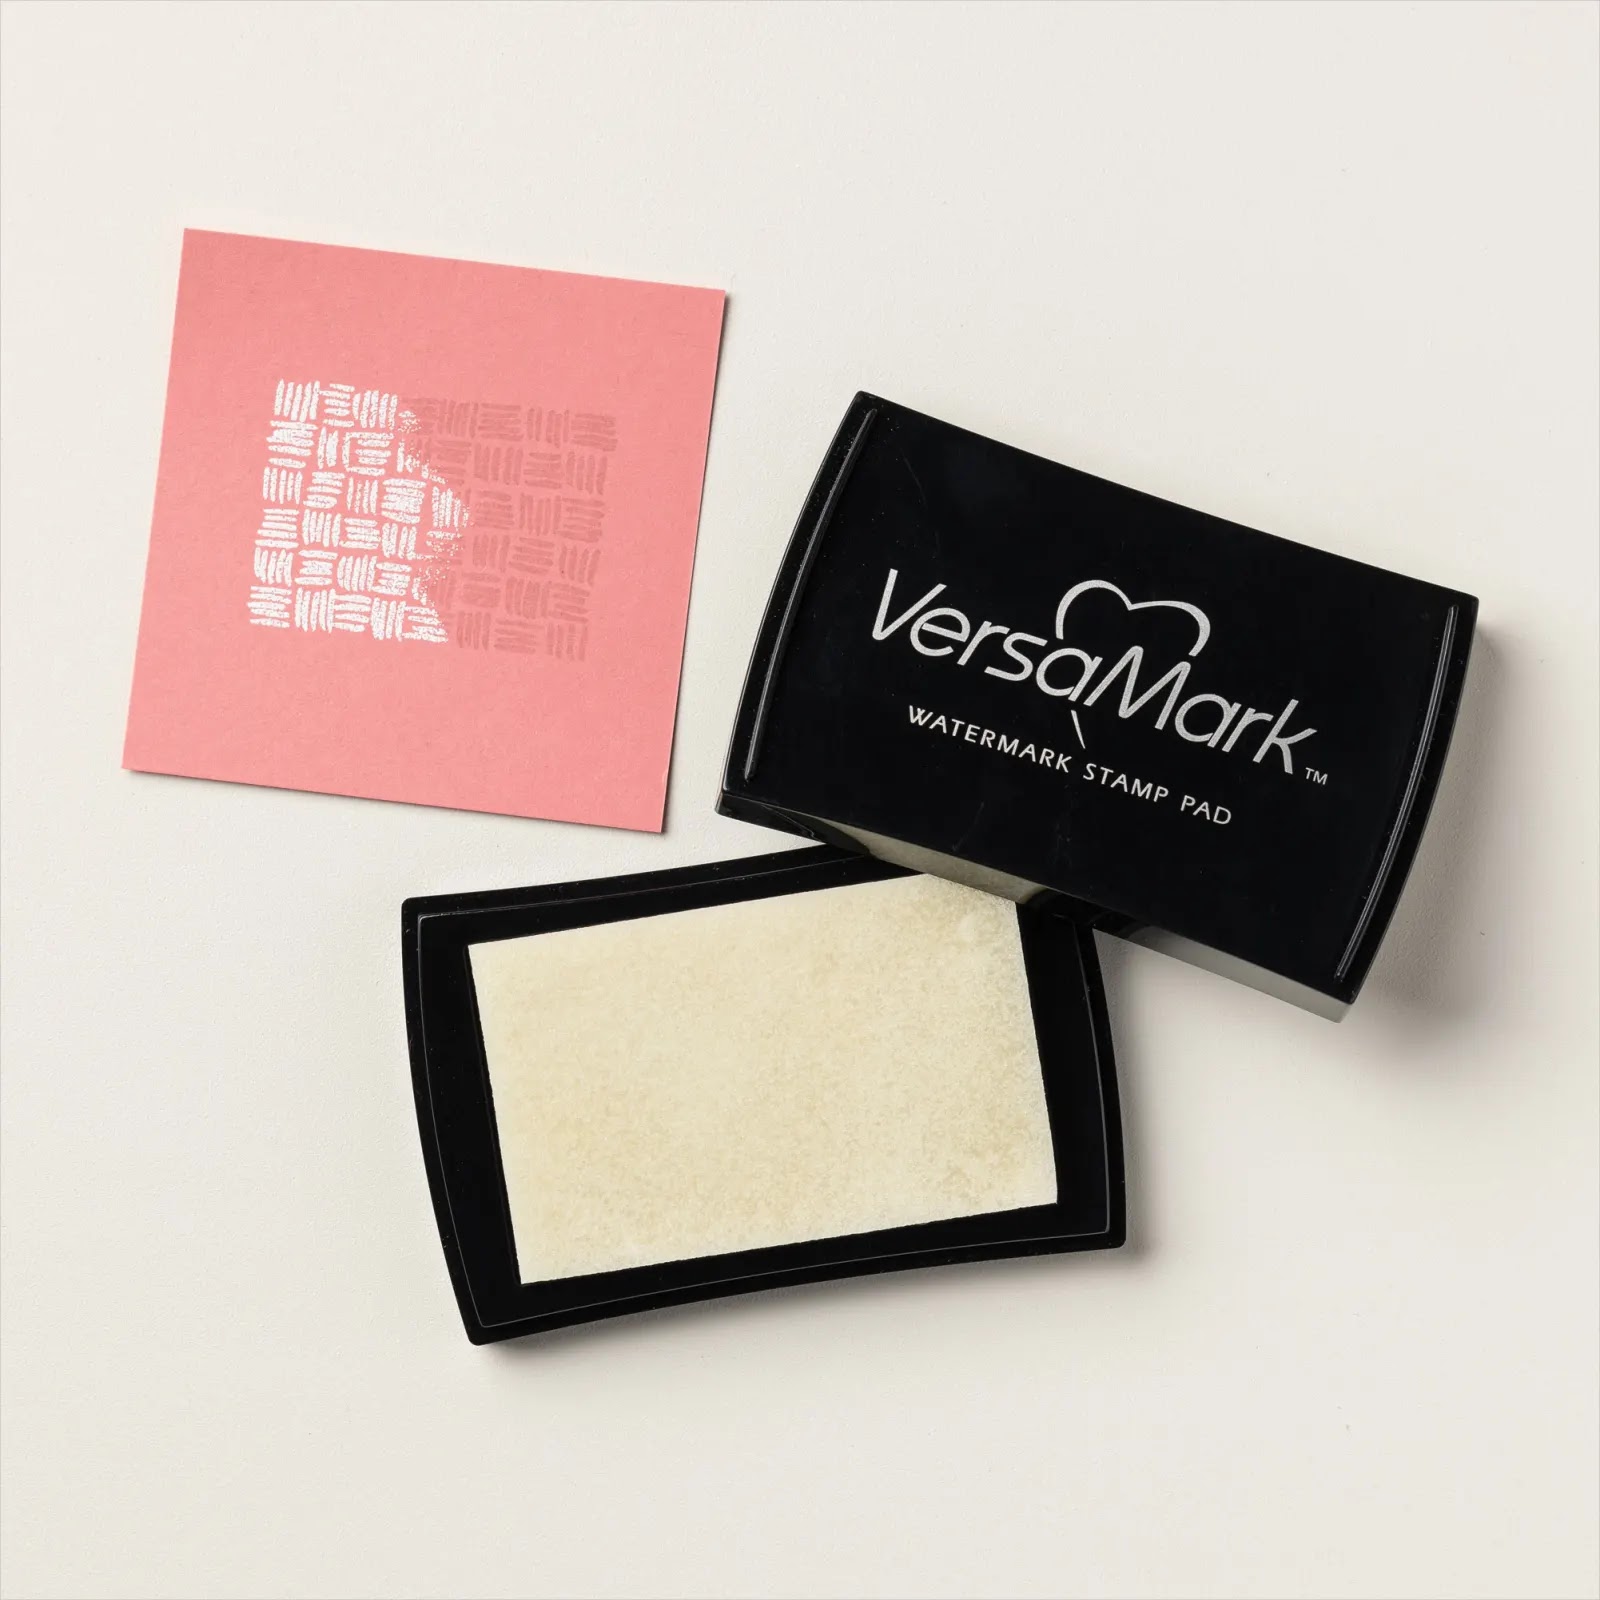
To heat emboss one of the Paper Butterfly Accents (item 162612) on the first card I also used the following:
- VersaMark Ink Pad (item 102283) - to make sure that the butterfly was thoroughly coated with this specialized tacky embossing ink I pressed the butterfly into the ink pad;
- gold embossing powder (WOW! Embossing Powder-Metallics - item 165678); and
- to heat/activate the embossing powder a heat gun (Heat Tool - item 129053).


On with the projects!


In addition to the gold heat embossed butterfly I used the following supplies to complete this 4 3/4" square top-fold card:
- Basic White Thick cardstock (item 159229) for the card base;
- Pumpkin Pie ink (item 147086), Blueberry Bushel ink refill (item 147176), and Azure Afternoon ink refill (item 161668) to colour the die cut circles/frames;
- Azure Afternoon patterned paper from the 6" x 6" Designer Series Paper Assortments-Brights (item 163775) for the 4 1/2" square background panel; and

- two small and two large of the Azure Afternoon dots from Rainbow Adhesive-Backed Dots (item 162758) added to the card front.


Additional supplies used to complete this 5" square top-fold card:
- Lemon Lime Twist cardstock (item 144245) for the card base;
- Basic White Thick cardstock (item 159229) for card front's 4 3/4" square panel, and 4 5/8" square inside panel;
- Basic Black cardstock (item 121045) for card front's 4 5/8" square panel, and 4 3/4" square inside matting panel;
- Coastal Cabana patterned paper from 6" x 6" Designer Series Paper Assortments-Brights (item 163775) for card front's 2 1/2" x 4 5/8" panel, and 1/2" x 4 5/8" inside strip;
- Lemon Lime Twist ink refill (item 144092), Granny Apple Green ink refill (item 147163), and Old Olive ink (item 147090) to colour the three embossed circle die cuts;
- retiring Changing Leaves dies (item 164138) to die cut the two trimmed large leaf die cuts from watercolour paper;

- Lemon Lime Twist ink refill, Granny Apple Green ink refill, and Mossy Meadow ink (item 147111) to colour the embossed large leaf die cut;
- Pool Party ink refill (item 122933), Old Olive ink, and Mossy Meadow ink to colour the unembossed large leaf die cut;
- retiring Changing Leaves stamp set (item 164351) for sentiment stamped on the watercolour paper sentiment banner that was die cut using the Stylish Shapes dies (item 159183);


- Basic Black baker's twine from Baker's Twine Essentials Pack (item 155475) for knot tied through the white button from my stash that I used for the flower center; and
- two of the small and one of the large Pool Party dots from Party Dots (item 164602) added to card front.


Additional supplies used to complete this 4" square top-fold card:
- Basic Gray cardstock (item 121044) for the card base;
- Basic Black cardstock (item 121045) for 2 3/4" square die cut using the Stylish Shapes dies (item 159183); front panel's 3 7/8" square and 3 5/8" square matting panels; and inside panel's 3 3/4" square matting panel;
- Smoky Slate cardstock (item 1312012) for front panel's 3 3/4" square matting panel; and 3 1/2" square inside panel;
- Smoky Slate patterned paper from Country Lace 12" x 12" Designer Series Paper (item 163415) for card front's 3 1/2" square panel;

- Country Flowers stamp set (item 163405) for sentiment. Immediately after stamping the sentiment I rubbed over the ink with a paper towel to slightly smear the ink. The edges and torn ends of the trimmed strip were sponged with Crumb Cake ink (item 147116);

- Mixed Florals stamp set (item 164639) for the floral images - the image on the inside panel was stamped using Basic Gray ink (item 149165); and the Elements Of Text stamp set (item 164774) for the splatter images;

- Calypso Coral ink refill (item 122934), Pool Party ink refill (item 122933), Old Olive ink (item 147090), Pecan Pie ink (item 161665), and Basic Gray ink to colour the floral image circle; and
- one small and two large of the Flirty Flamingo dots from Rainbow Adhesive-Backed Dots (item 162758) added to card front.
The three following top-fold cards are all 4" x 3" and I used Lemon Lime Twist cardstock (item 144245), Basic White Thick cardstock (item 159229), and Early Espresso cardstock (item 119686) for the card bases.


Additional supplies used to complete the first card:
- Basic Black cardstock (item 121045) for the 3 7/8" x 2 7/8" matting panel;
- two patterns of Coastal Cabana paper from the 6" x 6" Designer Series Paper Assortments-Brights (item 163775) for the 3 3/4" x 2 3/4" panel and 2" x 2 3/4" strip;
- Lemon Lime Twist cardstock for the 1" x 2 3/4" strip;
- Spotlight On Nature stamp set (item 163579) for the foliage image. Image circle coloured using Lemon Lime Twist ink refill (item 144092), Old Olive ink (item 147090), and Pool Party ink refill (item 122933);

- Grow With Love stamp set (item 164797) for the sentiment. Edges and torn ends of trimmed sentiment strip sponged with Crumb Cake ink (item 147116); and

- two small and one large of the Pool Party dots from Party Dots (item 164602) added to card front.


Additional supplies used to complete the second card:
- text with gold splatters paper from Nature's Sweetness 12" x 12" Specialty Designer Series Paper (item 162616) for 3 3/4" x 1 3/4" panel;

- Country Flowers dies (item 163410) to die cut leafy clump from Old Olive cardstock (item 100702) - shaded with Mossy Meadow ink (item 147111);

- retiring Changing Leaves dies (item 164138) to die cut three-leafed sprig from Mossy Meadow cardstock (item 133676) - shaded with Mossy Meadow ink;
- Grove dies (item 157844) to die cut small leafy sprig from watercolour paper - coloured using Old Olive ink (item 147090) and Mossy Meadow ink; and

- Calypso Coral ink refill (item 122934), Real Red ink (item 147084), and Cherry Cobbler ink (item 147083) to colour the three embossed circle die cuts.
The small white button added to the flower center was from my stash.


Additional supplies used to complete the third card:
- Pecan Pie grid patterned paper from Nature's Sweetness 12" x 12" Specialty Designer Series Paper (item 162616) for card front's 3 5/8" x 1 5/8" panel, and inside panel's 2 5/8" x 11/16" strip - all edges and torn ends sponged with Early Espresso ink (item 147114);
- Basic White Thick cardstock (item 159229) for 3 3/4" x 2 3/4" inside panel;
- Pecan Pie ink (item 161665) and Early Espresso ink to colour the die cut circles and frame - text stamped using Early Espresso ink;
- Grow With Love stamp set (item 164797) for sentiment stamped on watercolour paper - sentiment strip die cut using the straight-edged scalloped-ended rectangle die from the Perennial Postage dies (item 162607) - ends of die cut trimmed and all edges sponged with Early Espresso ink; and

- Mini Stampin' Dimensionals (item 144108) to attach and pop up the sentiment strip.


Additional supplies used to complete this 3 7/8" x 2 3/4" top-fold card:
- Basic White Thick cardstock (item 159229) for the card base;
- Basic Black cardstock (item 121045) for the floral stem die cut using the Thoughtful Wishes dies (item 163313);

- Pecan Pie ink (item 161665) and Early Espresso ink (item 147114) to colour the die cut circle and frame - text stamped using Early Espresso ink; and
- Basic Black Stampin' Write Marker (item 162481) to add splatters to card front by flicking the brush tip against the marker lid.
I used an envelope punch board to make a small envelope from a full piece of Timeless Plaid 6" x 6" Designer Series Paper (item 164678).
SALE-A-BRATION ENDS ON FEBRUARY 28, 2025!
There is exactly one week left in the 2025 annual Sale-A-Bration Promotion! Don't miss out on the opportunity to obtain FREE Stampin’ Up!® products with every $75.00 CDN or $150.00 CDN (before applicable taxes and shippping) purchase of Stampin’ Up!® products until February 28, 2025! Sale-A-Bration is also a great time to join Stampin' Up! as an Independent Demonstrator - and regardless of where you live in Canada and whether you are an avid crafter who would like a nice discount on your own art and crafting supplies or you are interested in establishing a home-based business, you would certainly be most welcome to join my team as one of "Archie's Arties"! Apart from the discount - which is definitely a good thing! - I think one of the best perks of being an Independent Demonstrator is being able to obtain new
Stampin’ Up!® products before they become generally available either as Online Exclusives or Catalogue features. During Sale-A-Bration Stampin' Up! is offering two options for joining, and regardless of which option you select for your Starter Kit all Starter Kits include both free shipping and free business supplies - Starter Kits do not qualify for any of the free Sale-A-Bration products:
Option #1:
For $135.00 CDN you will receive your choice of $165.00 CDN worth of Stampin’ Up!® products in addition to the Handmade Designs cling stamp set (item 165729) and

your choice of any two of the following four collections of ten Stampin' Write Markers:
- Brights (item 161696) - colours are Poppy Parade, Melon Mambo, Flirty Flamingo, Pumpkin Pie, Daffodil Delight, Lemon Lime Twist, Granny Apple Green, Coastal Cabana, Azure Afternoon, and Berry Burst;

- Regals (item 161699) - colours are Cherry Cobbler, Real Red, Cajun Craze, Crushed Curry, Old Olive, Garden Green, Shaded Spruce, Pretty Peacock, Blueberry Bushel, and Gorgeous Grape;

- Neutrals (item 161697) - colours are Mossy Meadow, Misty Moonlight, Night Of Navy, Blackberry Bliss, Early Espresso, Pecan Pie, Crumb Cake, Gray Granite, Smoky Slate, and Basic Gray; and

- Subtles (item 161698) - colours are Petal Pink, Calypso Coral, Lemon Lolly, Soft Sea Foam, Lost Lagoon, Pool Party, Balmy Blue, Highland Heather, Fresh Freesia, and Bubble Bath.

Option #2:
For $135.00 CDN you will receive a total of $206.00 CDN in your choice of Stampin’ Up!® products ($165.00 plus an additional $41.00).

The Friendly Seagulls stamp set (item 164961) is one of the Stampin’ Up!® products that is available for FREE with a $75.00 CDN (before applicable taxes and shipping) purchase of Stampin’ Up!® products, and for this Basic Black cardstock (item 121045) 3 1/2" square top-fold card I combined one of the fussy cut seagulls with a wonky circle die cut coloured using Blueberry Bushel ink refill (item 147176), Azure Afternoon ink refill (item 161668), and Misty Moonlight ink (item 153118) - text stamped using Misty Moonlight ink; a Real Red cardstock (item 102482) heart die cut using the Hot Air Balloon dies (item 162754) and shaded with Real Red ink (item 147084) and Cherry Cobbler ink (item 147083); and a sentiment from the Grow With Love stamp set (item 164797).


The Bloom Impressions 12" x 12" Designer Series Paper (item 164944) is another one of the Stampin’ Up!® products that is available for FREE with a $75.00 CDN (before applicable taxes and shipping) purchase of Stampin’ Up!® products, and I used several patterns from this very pretty paper collection for these two 4" square top-fold cards - using 1/2" and 3/8" wide strips to make the center 2 1/2" square "quilt blocks" in the manner described in my September 27, 2024 blog post (https://archiesatelier.blogspot.com/2024/09/paper-quilting-with-designer-series.html). For each card I used Basic White Thick cardstock (item 159229) for the card bases, and the 2 3/4" matting squares die cut using the Stylish Shapes dies (item 159183); and Basic Black cardstock (item 121045) for matting panels (on the first card scraping the edges with the blade of my craft knife). For the second card I added a 3 3/4" square matting panel trimmed from another pattern of the DSP. I used an envelope punch board to make an envelope for each card from one of the patterns of the DSP used in the card's "quilt block".


Thank you for visiting my blog! I had a lot of fun working on my projects this week - definitely needed a few fun projects and bright colours to distract me from the seemingly endless onslaught of snow!
Unfortunately Stampin' Up! advises that the following products I used this week are not currently available, but I have indicated below the date that Stampin' Up! expects the products to again be available for ordering:
- VersaMark Ink Pad (item 102283) - week of February 24, 2025; and
- Timeless Plaid 6" x 6" Designer Series Paper (item 164678) - week of March 3, 2025.
If you are interested in purchasing any of the available Stampin’ Up!® products I have used in my projects, and you live in Canada and do not have a Stampin' Up! demonstrator, please do not hesitate to visit my online store found on my website https://archiesatelier.stampinup.net/ at your convenience, or simply click under the "Shop With Me" tab on the right sidebar of my blog, which will take you directly to my website and online store. I very much appreciate your business and would be very pleased to be your demonstrator! If you need any assistance please do not hesitate to contact me (lmccoyarchie@gmail.com) and I will try my best to help! The digital versions of the May 2024-April 2025 Annual Catalogue, January-April 2025 Mini Catalogue, the companion (and digital-only) January 2025 Scrapbooking Brochure, and the Sale-A-Bration Brochure are all available for you to access at your convenience on my website (https://archiesatelier.stampinup.net/). If you are shopping during the Sale-A-Bration Promotion don't forget to check out the Last Chance Products - retiring products (such as the Changing Leaves stamp set and the Changing Leaves dies - which also includes the Hybrid Embossing Folder) that will be available only while supplies last - there are certainly some great bargains to be had!
Have fun creating!
Laurel
*It has come to my attention that quite often email correspondence from me is delivered to the recipient's spam or junk mail folder - if you have corresponded with me I have replied so be sure to check your spam or junk mail folder! Thank you!!

Keeping a close eye on the human getting togged up for yet another snow shoveling session!
Comments
Post a Comment