Festive Earring Cards!

Hello! Today I am sharing a few festive earrings and display tent cards that I worked on this week using a variety of Stampin’ Up!® products. I thought the tent cards would let the earrings become part of the festive decor when they were not being worn!
To make the earring bases I used either the small oval (dog tag) die from the Greetings Of The Season dies (item 164112) or the smallest of the rounded corner rectangle dies from the Nested Essentials dies (item 161597) - and always used two base die cuts glued wrong sides together for each earring.

Greetings Of The Season dies - 164112

Nested Essentials dies - 161597
To make the holes to accommodate the earring hooks in the rectangular Nested Essentials die cuts I used my Crop-A-Dile.
The tent cards vary slightly in overall size but for all cards I added a brace, a triple-folded piece of cardstock glued to the inside back and front panels of the card: for the smaller cards holding the earrings made using the Greetings Of The Season die I used a piece of cardstock measuring 2 1/2" x the width of the card, scored on the 2 1/2" side at 1/2" (valley fold), 1 1/4" (center mountain fold) and 2" (valley fold); and for the larger cards holding the earrings made using the Nested Essentials die I used a piece of cardstock measuring 3" x the width of the card, scored on the 3" side at 1/2" (valley fold), 1 1/2" (center mountain fold), and 2 1/2" (valley fold). To attach the w-shaped brace to each card I lined up the bottom fold lines of the two valley folds with the bottom edge of the inside front and back panels respectively.
For each card I began with a scrap cardstock template - 3 1/8" x 2 1/2" for the Greetings Of The Season cards; and 4" x 3" for the Nested Essentials cards. On each template I punched the holes to accommodate the earring hooks using a small craft hammer and hole punch. After completing the front panel of each card - but before adding the brace or completing the back panel - I used the appropriate template and the small craft hammer and hole punch to punch the holes to accommodate the earring hooks in the front panel.
The following products I used in my projects are retiring Last Chance Products (available only while supplies last):
- Snowy Wonder stamp set (item 164334);

- Snowy Wonder dies (item 164124) - discounted to $38.70 - die cut snowflakes and Christmas trees;

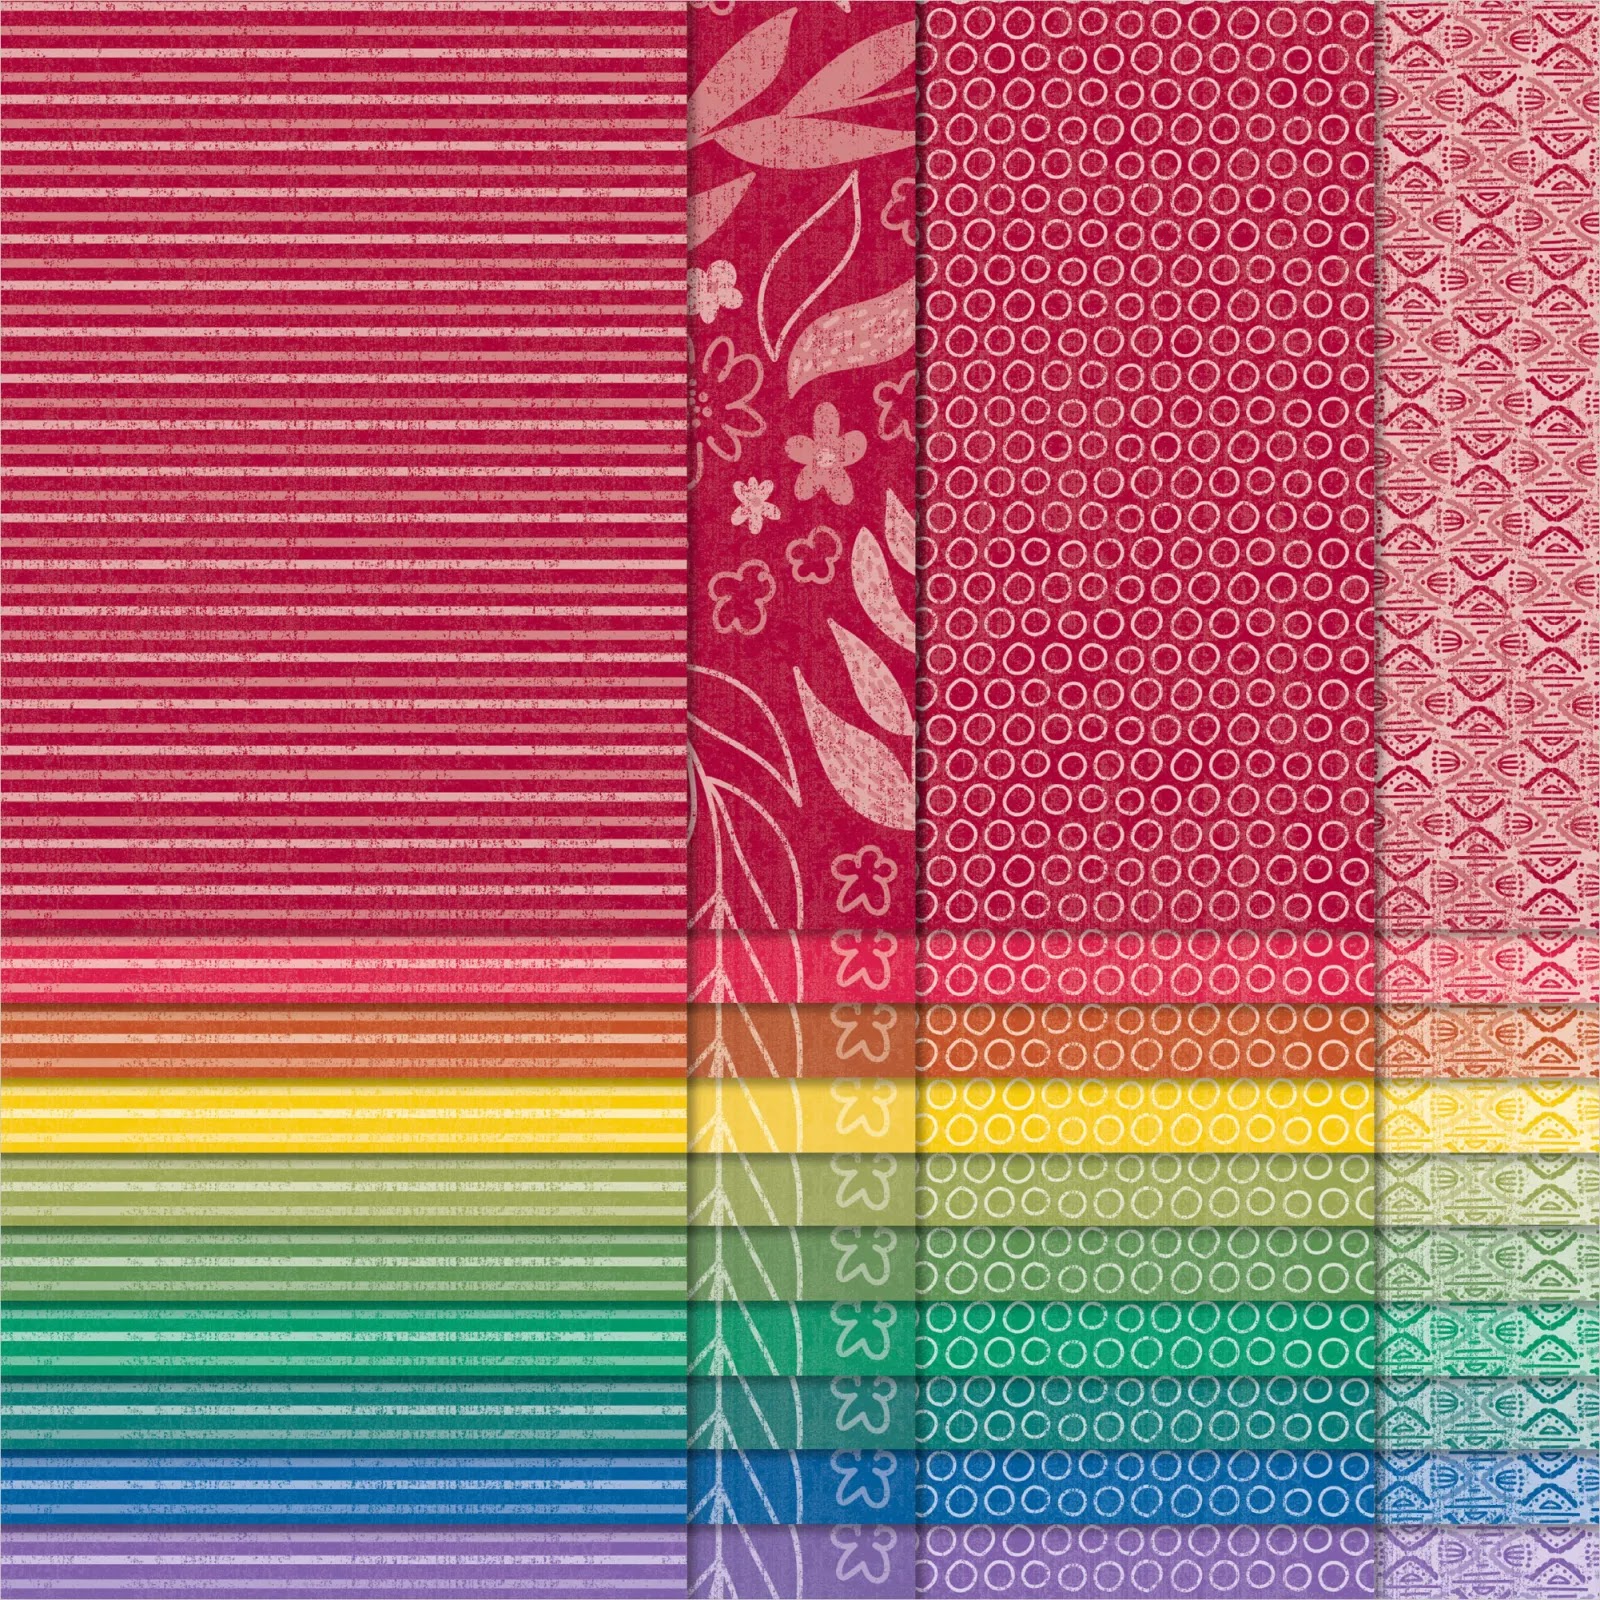
- Snowy Scenes 12" x 12" Designer Series Paper (item 164333);
.webp)
- Filled With Cheer stamp set (item 164362);
.webp)
- Misty Moonlight Stampin' Write Marker from the 2023 New Core Colours Stampin' Write Markers (item 161694) - discounted to $16.50; and
.webp)
- Mini Pocket Envelope dies (item 159167) - discounted to $24.00 - small backing ovals for the Santa and Mrs. Claus buttons.
.webp)
Just a brief summary of the basic tools and supplies I used to complete my projects this week:
- Paper Trimmer (item 152392) - for trimming and scoring cardstock, and for trimming Designer Series Paper;

- Bone Folder (item 102300) for burnishing scored fold lines ;

- Stampin' Cut & Emboss Machine (item 149653) - for all die cutting and embossing;

- Take Your Pick Tool (item 144107) - the paper piercer, mini spatula, and tacky putty tips are a great help for picking up and placing small embellishments and die cuts; and

- for the main adhesive, Multipurpose Liquid Glue (item 110755).

For the heat-embossed snowflake earrings I also used:
- Embossing Buddy - small pouch filled with anti-static powder that is included in the Embossing Additions Tool Kit (item 159971) - used to rub over the cardstock prior to stamping and embossing to help ensure that the embossing powder adheres only to the stamped image;

- VersaMark Ink (item 1022283) to stamp the snowflake images from the Snowy Wonder stamp set;

- gold embossing powder - WOW! Embossing Powder-Metallics (item 165678); and

- a heat gun (Heat Tool - item 129053) to activate the embossing powder.

To add shading to embossed cardstock panels and cardstock die cuts I used Blending Brushes (item 153611) and Small Blending Brushes (item 160518) to apply Classic Stampin' Inks to the cardstock panels/die cuts. For a little additional visual texture I sometimes lightly spritzed the shaded cardstock panels/die cuts with water (Stampin' Spritzers - item 126185) - this gives a slightly mottled look.
.webp)


I used Stazon Jet Black Ink (item 101406) to stamp the snowman images from the Snowy Wonder and Filled With Cheer stamp sets on watercolour paper, using Classic Stampin' inks mixed with a little water and applied with small paint brushes to colour the images.

On with the projects!


Additional supplies to complete these snowman earrings and 4 3/8" x 3 3/8" card:
- Pool Party ink (item 1471067) and Pumpkin Pie ink (item 147086) to colour the snowman images. By flicking the brush of my Wink Of Stella Glitter Brush (item 141897) with my fingers I added some shimmery splatters to the coloured images;
- Pool Party cardstock (item 122924) for the card base, embossed panel (embossed using the Forever Plaid 3D Embossing Folder - item 164049), 1/2" wide strip on back panel, and earring backing die cuts;
.webp)
- Basic White Thick cardstock (item 159229) for the back (sentiment) panel, and for the embossed panel's matting panel;
- Pool Party ink to shade the embossed panel, and to stamp the snowflakes on back panel;
- Stazon Jet Black Ink to stamp the sentiment on back panel (second generation stamping - after inking the stamp I stamped the first impression of the sentiment on scrap paper before using the stamp with the residual ink to stamp the sentiment on the cardstock panel);
- Basic Black cardstock (item 121045) for the sentiment panel's matting panel; and
- Black & Very Vanilla 3/8" Large Check Ribbon (item 161982) for the bow tied around the matted embossed panel, and for the length wrapped around the Pool Party cardstock strip on the back panel. I used two Mini Glue Dots (item 103683) to secure the trimmed ends of the ribbon to the back side of the cardstock strip.
I used Titanium White Acrylic Gouache to add the splatters to the shaded embossed panel by flicking a paint brush loaded with the Gouache over the panel before gluing the embossed panel to the Basic White Thick cardstock matting panel.


Additional supplies used to complete these Filled With Cheer snowman earrings and 3 3/4" x 3" card:
- Misty Moonlight ink (item 153118), Real Red ink (item 147084), Pumpkin Pie ink (item 147086), Old Olive ink (item 147090), and Basic Gray ink (item 149165) to colour the snowman images;
- Misty Moonlight cardstock (item 153081) for the card base;
- Basic White Thick cardstock (item 159229) for the DSP panel's matting panel, back panel (splatters added by flicking the brush tip of the Misty Moonlight Stampin' Write Marker against the marker lid), and trimmed sentiment panel;
- Misty Moonlight ink to stamp the sentiment;
- Real Red striped paper from the 6" x 6" Designer Series Paper Assortments-Regals (item 163774) for the front panel, and back panel strip; and
- Basic Black cardstock (item 121045) for the back panel's matting panel, and earring backing die cuts.


- watercolour paper coloured by ink smooshing with Lemon Lime Twist ink refill (item 144092) and Garden Green ink refill (item 102059) for the die cut Christmas trees (Snowy Wonder dies);
- Garden Green cardstock (item 102584) for the card base, embossed panel (embossed using the Forever Plaid 3D Embossing Folder - item 164049), and all four earring base die cuts;
- Mossy Meadow ink (item 147111) to shade the embossed panel, and all four earring base die cuts;
- Basic White Thick cardstock (item 159229) for the embossed panel's matting panel, and the back (sentiment) panel;
- Stazon Jet Black Ink (item 101406) to stamp the sentiment from the Sophisticated Sled stamp set (item 164340);
.webp)
- Basic Black cardstock (item 121045) for the sentiment panel's matting panel;
- narrow strip of Garden Green striped paper from the 6" x 6" Designer Series Paper Assortments-Regals (item 163774) for the back panel;
- one of the medium Real Red & White Adhesive-Backed Peppermints (item 164050) added to the top of each die cut Christmas tree, and two large and one small added to the sentiment panel; and

- for the bow tied around the shaded and matted front panel before the panels were glued to the front of the card I used Garden Green ribbon from the retired Real Red & Garden Green 3/8" Ribbon Combo Pack (item 159577 - featured in the July-December 2022 Mini Catalogue).


- narrow strips trimmed from Garden Green striped paper from the 6" x 6" Designer Series Paper Assortments-Regals (item 163774), Poppy Parade striped paper from the 6" x 6" Designer Series Paper Assortments-Brights (item 163775), and the Snowy Scenes DSP, all adhered to Basic White Thick cardstock (item 159229) that I had covered with trimmed Adhesive Sheets (item 152334) for the front earring bases - the back bases were cut from the Garden Green striped paper. All edges of both front and back earring bases were shaded with Mossy Meadow ink (item 147111);


- watercolour paper coloured by ink smooshing with Lemon Lime Twist ink refill (item 144092) and Garden Green ink refill (item 102059) for the die cut Christmas trees (Snowy Wonder dies) - edges shaded with Mossy Meadow ink - that were glued to the earring front bases;
- Garden Green cardstock (item 102584) for the card base;
- Real Red cardstock (item 102482) that had been embossed using the Forever Plaid 3 D Embossing Folder (item 164049) for the front panel - edges shaded with Real Red ink (item 147084);
- Basic White Thick cardstock for the embossed panel's matting panel, and for the matting panel for the back panel's layered DSP panel (for the DSP panel I used two patterns from the Snowy Scenes DSP as well as the Garden Green striped paper from the 6" x 6" Designer Series Paper Assortments-Regals);
- one of the medium Real Red & White Adhesive-Backed Peppermints (item 164050) added to the top of each die cut Christmas tree; and
- for the bow glued to the top corner of the embossed panel Garden Green ribbon from the retired Real Red & Garden Green 3/8" Ribbon Combo Pack (item 159577).


Another variation on the theme - additional supplies used to complete these DSP strip earrings and 4" x 3 3/8" card:
- after adhering the narrow strips of DSP to the Basic White Thick cardstock (item 159229) covered with trimmed Adhesive Sheets (item 152334) I cut the earring bases using the Greetings Of The Season dies, cutting the back bases from Basic White Thick cardstock. After gluing the bases together I used a fine grit sandpaper to lightly distress the edges of the DSP covered bases;
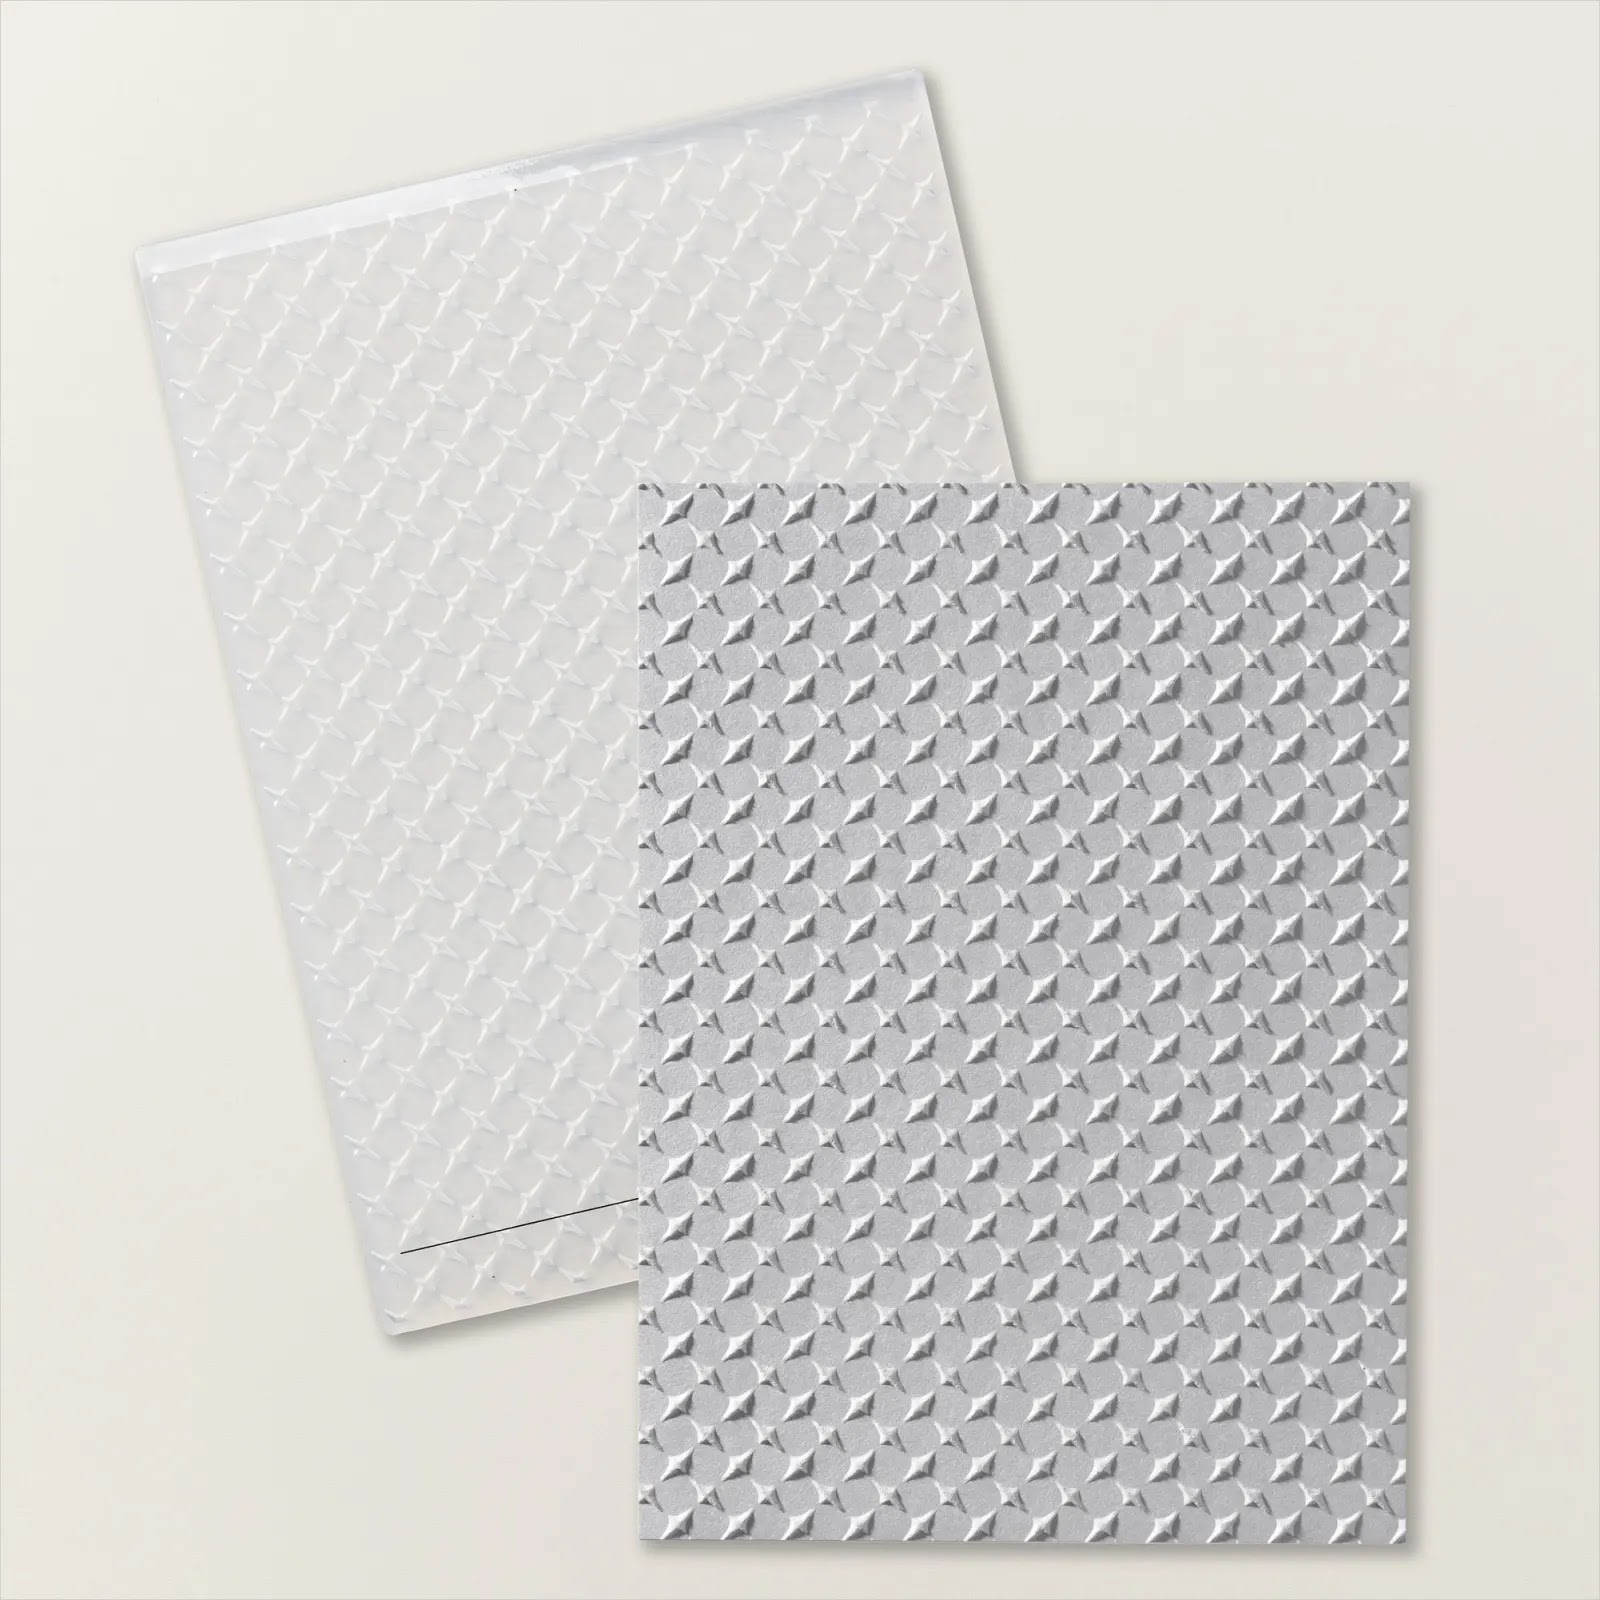
- Garden Green cardstock (item 102584) for the card base, and the panel embossed using the Metal Plate 3D Embossing Folder (item 160766) - I used the debossed side for the up-facing side;
- Mossy Meadow ink (item 147111) to shade all edges of the embossed panel;
- Basic White Thick cardstock for the embossed panel's matting panel, and matting panel for the DSP back panel;
- Basic Black cardstock (item 121045) for additional matting panels for the front and back panels;
- holly berry and leaves patterned paper from the Snowy Scenes DSP for the front and back panels; and
- Garden Green ribbon from the retired Real Red & Garden Green 3/8" Ribbon Combo Pack (item 159577) for the bow tied around the fully matted front panel (before the five-layered panel was glued to the card front).


Additional supplies used to complete these snowflake earrings and 4 1/2" x 3 1/2" card:
- Lemon Lime Twist cardstock (item 144245) shaded with Granny Apple Green ink (item 147095) and Mossy Meadow ink (item 147111), and lightly spritzed with water for both front and back earring bases;
- Basic White Thick cardstock (item 159229) for the five die cut snowflakes - the four earring snowflakes were painted with Wink Of Stella Glitter Brush (item 141897);
- Melon Mambo cardstock (item 115320) for the card base;
- Lemon Lime Twist cardstock embossed using the So Swirly Embossing Folder (item 163791) for the embossed panel;
.webp)
- Basic White Thick cardstock for the embossed panel's matting panel, and for the die cut sentiment tag (sentiment from the Sophisticated Sled stamp set was stamped using Stazon Jet Black Ink);
- Basic Black cardstock (item 121045) for matting panels for front and back panels, and 1/2" wide strip on front panel (I added a decorative score line down the center of this strip);
- Melon Mambo striped paper from the 6" x 6" Designer Series Paper Assortments-Brights (item 163775) for the strip on the front panel, and for the back panel;
- Melon Mambo cardstock for the two small die cut poinsettias - cut using the retired Poinsettia dies (item 153522 - featured in the August-December 2020 Mini Catalogue) - I used a small white button from my stash for the flower center;
- watercolour paper for the two die cut pine branches - cut using the retired Joy Of Noel dies (item 161965 - featured in the September-December 2023 Mini Catalogue) - coloured using Mossy Meadow ink; and
- one of the small black dots from the retired Classic Matte Dots (item 158146) added to the sentiment tag.


Additional supplies used to complete these gold heat-embossed snowflake earrings and 3 3/4" x 3 1/4" card:
- Basic Black cardstock (item 121045) for all four earring bases, front and back panel matting panels, and matting panel for trimmed sentiment panel;
- Cherry Cobbler cardstock (item 119685) for the card base;
- Basic White Thick cardstock (item 159229) for front panel's matting panel, back panel, and sentiment panel;
- Cherry Cobbler/gold patterned paper from Regal Distressed Patterns 12" x 12" Specialty Designer Series Paper (item 164037) for the front panel, and strip for back panel; and

- Cherry Cobbler ink (item 147083) to shade all edges of Regal Distressed Patterns Specialty DSP panels, and to stamp sentiment - for the sentiment I used second generation stamping (after inking the sentiment stamp I first stamped the sentiment on scrap paper and then using the residual ink on the stamp stamped the sentiment on the cardstock).
My last two pairs of earrings were made using some fun festive buttons I had been holding onto for a few years - waiting for just the right project!


I think at some point during the festive season we all feel the bewilderment shown in the expressions of these two reindeer! Additional supplies used to complete these earrings and 3 3/4" x 3 1/8" card:
- Shaded Spruce cardstock (item 146981) for all four earring bases, card base, and line of trees die cut using the Encircled In Nature dies (item 163628);

- Shaded Spruce ink (item 147088) to shade all edges of earring bases - I added a few shimmery splatters to both sides of the earring bases by flicking the brush of my Wink Of Stella Glitter Brush (item 141897) with my fingers; and to shade the die cut line of trees;
- for the embossed panel - Crumb Cake cardstock (item 120095) embossed using the Timber 3D Embossing Folder (item 156406), one inside panel over which I had dragged my Crumb Cake ink pad (item 147116) - I shaded the edges of the trimmed embossed panel with additional Crumb Cake ink. I added a narrow strip of the embossed cardstock to the back panel as a base for the line of trees;
.webp)
- Basic Black cardstock (item 121045) for embossed panel's matting panel, and for the matting panels for the back panel's DSP panels;
- Crumb Cake check patterned paper from Perennial Lavender 12" x 12" Designer Series Paper (item 162593) for back panel's small DSP panel - edges shaded with Crumb Cake ink;

- Shaded Spruce striped paper from the 6" x 6" Designer Series Paper Assortments-Regals (item 163774) for the back panel's larger DSP panel (edges shaded with Shaded Spruce ink); and
- for the bow tied around the matted embossed panel before the panels were glued to the card front Black & Very Vanilla 3/8" Large Check Ribbon (item 161982).
And finally . . .


Additional supplies used to complete the Santa and Mrs. Claus earrings and 4 1/2" x 3 1/2" card:
- Basic Black cardstock (item 121045) for all earring bases, and card base;
- Shaded Spruce cardstock (item 146981) for the buttons' small oval backers - die cut using the Mini Pocket Envelope dies; the back panel's matting panel; and the foliage swag die cut using the Sophisticated Sled dies (item 164133);

- Basic White Thick cardstock (item 159229) for the front panel's matting panel, the back panel, and the trimmed sentiment strip;
- Shaded Spruce circle and striped papers from the 6" x 6" Designer Series Paper Assortments-Regals (item 163774) for front panel and strip, and back panel strip - all edges shaded with Shaded Spruce ink (item 147088);
- Shaded Spruce ink to shade the die cut foliage swag, and to stamp the sentiment from the Sophisticated Sled stamp set (item 164340) - *the Sophisticated Sled stamp set and co-ordinating Sophisticated Sled dies are also available together in the Sophisticated Sled Bundle (item 164134)*;
- Real Red cardstock (item 102482) for the two small flowers die cut using the Country Birdhouse dies (item 163400) - shaded with Real Red ink (item 147084); and

- to the layered flower center I added one small white dot from the retired Classic Matte Dots (item 158146).
Thank you for visiting my blog! I had a lot of fun working on these festive earrings and cards - you can never have too many earrings!
Unfortunately Stampin' Up! advises that the following products that I used in my projects this week are not currently available but I have included the date that Stampin' Up! expects the products to again be available:
- Jet Black Stazon Ink (item 101406) - week of December 16, 2024;
- Real Red & White Adhesive-Backed Peppermints (item 164050) - week of December 23, 2024;
- VersaMark Ink (item 102283) - week of December 23, 2024;
- Adhesive Sheets (item 152334) - week of December 23, 2024;
- Garden Green ink refill (item 102059) - week of December 30, 2024; and
- Garden Green cardstock (item 102584) - TBD.
If you are interested in purchasing any of the available Stampin’ Up!® products I have used in my projects, and you live in Canada and do not have a Stampin' Up! demonstrator, please do not hesitate to visit my online store found on my website https://archiesatelier.stampinup.net/ at your convenience, or simply click under the "Shop With Me" tab on the right sidebar of my blog, which will take you directly to my website and online store. I very much appreciate your business, and if you need any assistance please do not hesitate to contact me (lmccoyarchie@gmail.com) - I would be very pleased to be your demonstrator! The digital version of the May 2024-April 2025 Annual Catalogue is available for you to access at your convenience on my website (https://archiesatelier.stampinup.net/) - as is the digital version of the September-December 2024 Mini Catalogue, and the digital only September 2024 Scrapbooking Brochure - the companion brochure to the Mini Catalogue. When visiting my online store - and checking out the full range of Online Exclusives, and the full selection of all-inclusive crafting kits available in the Kits Collection (kits make great gifts for fellow crafters too!), don't forget to also check out all the retiring Last Chance Products - remember these Last Chance Products will only be available while supplies last! To see the full listing of Last Chance Products select "Last Chance Products" under the "Specials" heading on the main page of my online store.

Have fun creating!
Laurel

Naughty or nice - that is the question!
Comments
Post a Comment