Spotlight On Nature!
(playing with the Spotlight On Nature stamp set)

Hello! This week I started playing with the Stampin' Up! Spotlight On Nature stamp set (item 163579), which is featured in the May 2024-April 2025 Annual Catalogue, and which is also available in the Spotlight On Nature Bundle (item 163581) with the co-ordinating Spotlight On Nature dies (item 163580). Even though I don't have the co-ordinating dies I certainly had fun starting to play with this stamp set, which I was able to borrow from my sister!

I began this week's projects by playing with applying various Classic Stampin' Inks/Classic Stampin' Ink Refills to watercolour paper using a few techniques:
- with a clean broad-tipped paint brush I applied a stroke of clean water across a panel of watercolour paper, then used the same paint brush to mix more water with Classic Stampin' Ink or Classic Stampin' Ink Refill and dabbed the ink/refill and water mixture along the previously laid down stroke of clean water. I blew through a straw aimed at the inked panel to disperse the ink mixture across the watercolour paper panel - I ended up getting a few panels that looked like bare branched trees - one that I think will work great for a late fall/Halloween project;
- using one of the Stampin' Spritzers (item 126185) I lightly spritzed a watercolour paper panel with water and used a paint brush to apply the ink or refill mixed with water to the dampened watercolour paper - letting the ink/refill bleed out across the dampened paper. By loading the paint brush with additional water/ink/refill mixture I added splatters of varying colour intensity by whacking the loaded paint brush against either the handle of another paint brush or my Bone Folder (item 102300) - whatever is handy will work! If the splatters are added before the base layer of ink is thoroughly dry these splatters will bleed into and mingle with the base layer of ink - which is okay of course depending upon the effect you want! When working on any of the techniques a heat gun (Heat Tool - item 129053) comes in very handy to make sure an ink layer is thoroughly dry before proceeding with adding additional ink - i.e. splatters that you want to keep distinct - or over stamping the inked panel. On some watercolour paper panels I skipped the step of applying the base ink layer and just added the splatters; and
- using the Stampin' Brayer (item 162936) to apply Classic Stampin' Ink to a dry watercolour paper panel: I rolled the Brayer over the ink pad to pick up the ink and then rolled the Brayer over the watercolour paper - taking into account the slight texture of the paper, how well inked the ink pad is (or how many passes over the ink pad you make with the Brayer), and a few false starts/hesitations when rolling the Brayer over the paper you can get some very interesting patterns! After playing with this technique I decided to try adding some of the water/ink/refill mixtures to the Brayer - using a paint brush to dab the mixtures onto the Brayer. Rolling the Brayer over dry watercolour paper resulted in some interesting stripey patterns - and by rolling the Brayer in a few different directions you can get an almost plaid pattern.
When using Classic Stampin' Inks for the first two of the above techniques I used the inside of the ink pad lid as a palette - with the ink pad closed I pressed quite hard against the lid to transfer some ink from the pad to the inside of the lid. Another option is to use a clean stamp block (or other clean flat plastic surface) as a palette - transferring the ink to the palette surface by patting the open ink pad against the palette surface. When I used Classic Stampin' Ink Refills I used either the inside of the lid of the co-ordinating colour ink pad or a clean stamp block as a palette - squeezing out a few drops of the refill onto the palette surface.
For the background panels I used the following Classic Stampin' Inks and Classic Stampin' Ink Refills:
- Basic Gray ink and refill (items 149165 and 149166);
- Real Red ink and refill (items 147084 and 103287)
- Granny Apple Green refill (item 147163);
- Mossy Meadow ink (item 147111);
- Misty Moonlight ink (item 153118); and
- Daffodil Delight refill (item 119672).
For all card bases I used Basic White Thick cardstock (item 159229), and for all matting panels Basic Black cardstock (item 121045). On several cards I added strips from the Full Of Life 6" x 6" Designer Series Paper (item 163357).
Just a brief summary of the basic tools and supplies I used to complete my projects this week:
- Paper Trimmer (item 152392) - for trimming paper and cardstock;
- stylus and scoreboard (Simply Scored Scoring Tool - item 122334) - for scoring card fold lines - to ensure crisp folds I also burnish all folded scored lines using my Bone Folder (item 102300);
- Stampin' Cut & Emboss Machine (item 149653) - for all die cutting and embossing;
- Take Your Pick Tool (item 144107) - the paper piercer, mini spatula, and tacky putty tips are a great help for picking up and placing small embellishments; and
- for the main adhesive, Multipurpose Liquid Glue (item 110755).
I won't bore you with excruciating details for each card other than to indicate overall card dimensions and any additional supplies used - I may have got a little carried away with the cards . . .😏
On with the projects!

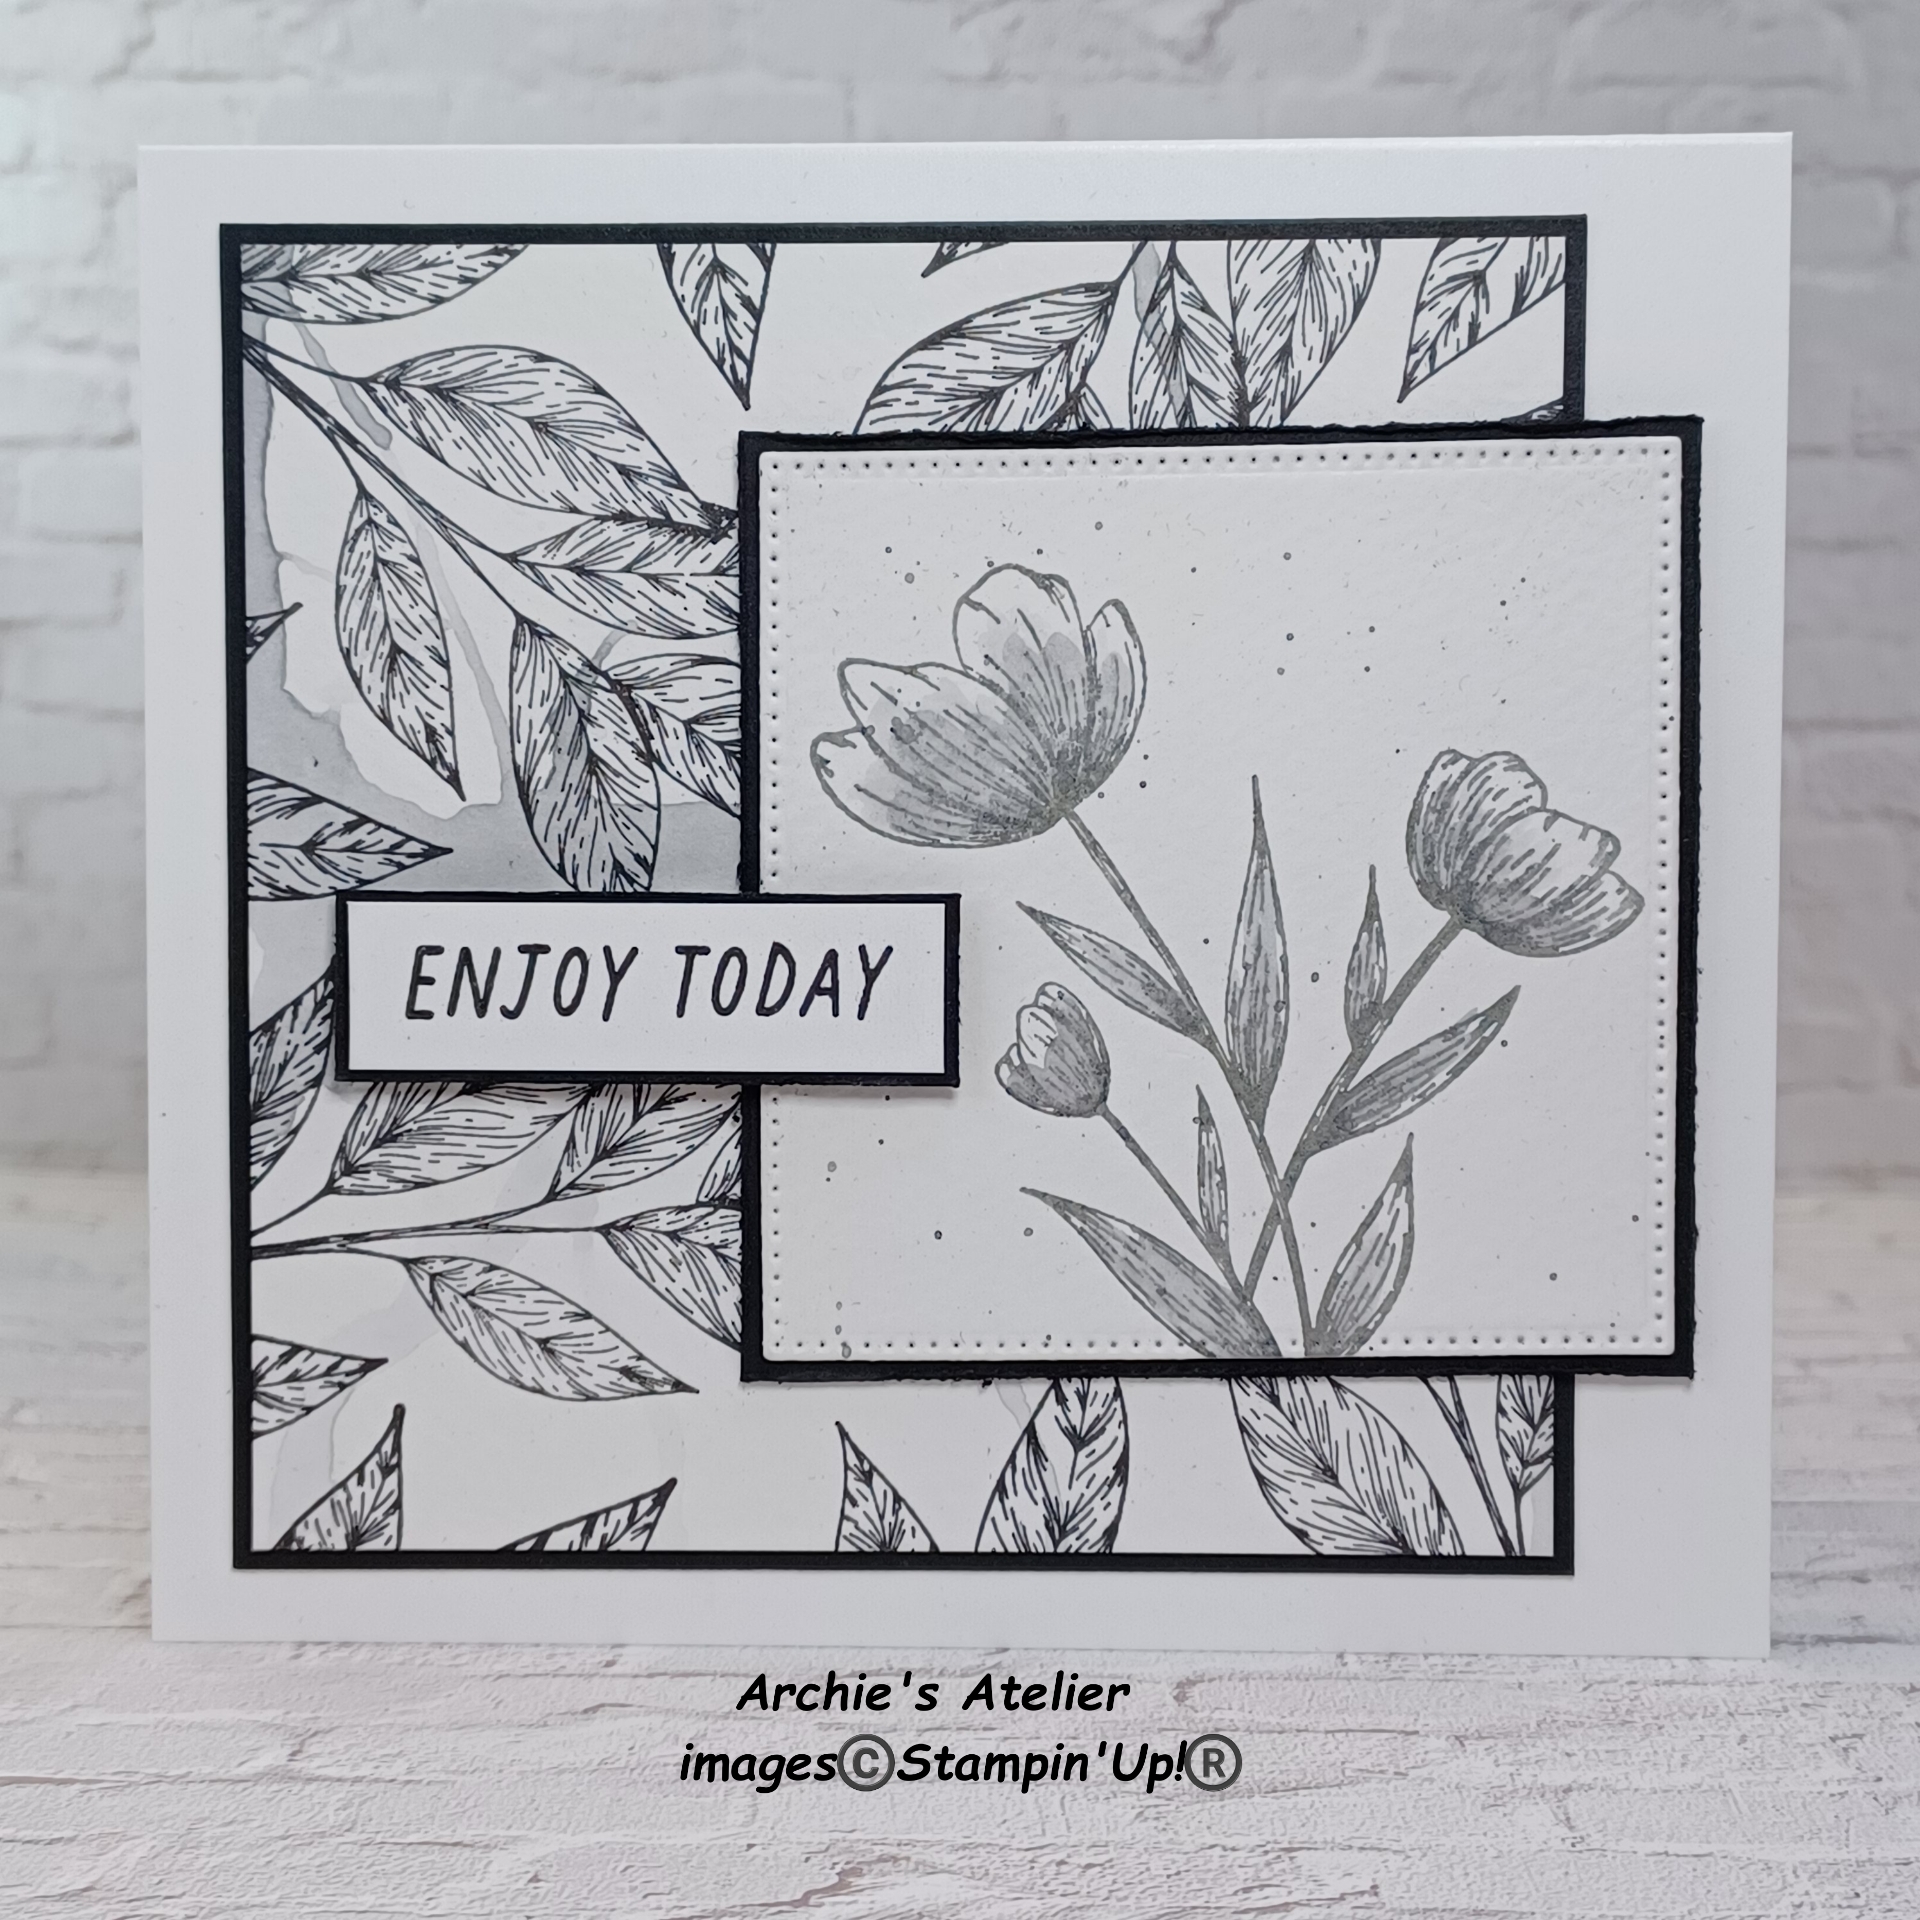

- largest square die from the Stylish Shapes dies (item 159183) to cut the image square;

Stylish Shapes dies - 159183
- Basic Gray ink (item 149165) to colour the tulip image;
- Beach Day stamp set (item 162797) for the "Enjoy Today" sentiment; and

- Mini Stampin' Dimensionals (item 144108) to attach the matted sentiment panel.
I scraped the edges of the Basic Black cardstock matting panels for the tulip image and sentiment panel with the blade of my craft knife.


Additional supplies to complete this 3 1/2" square top-fold card:
- largest circle die from the Stylish Shapes dies (item 159183) to cut image circle;
- 3 1/4" square of Basic Black cardstock for the matting panel;
- Country Flowers stamp set (item 163405) for the sentiment; and

- two large and two small of the Pretty In Pink dots from the 2024-2026 In Colour Resin Dots (item 163389).


For this 4 1/4" x 2 1/4" top-fold gift card I again used the blade of my craft knife to scrape the edges of the Basic Black cardstock matting panel, and added two large and one small of the Pretty In Pink dots from the 2024-2026 In Colour Resin Dots (item 163389).


Additional supplies used to complete this 4 1/8" x 6" top-fold card:
- Pool Party ink (item 147107), Granny Apple Green ink (item 147095), and Pumpkin Pie ink (item 147086) to colour the images;
- Attention Shoppers stamp set (item 163640) for the "thanks" sentiment; and

- for the crosshatch/splatter stamped strip I trimmed a 5 5/8" (ends torn) x 1/2" wide strip from the watercolour paper panel coloured with Granny Apple Green ink refill.


Additional supplies used to complete this 4" x 3" top-fold gift card:
- Old Olive ink (item 147090) and Calypso Coral ink (item 147101) to colour the image;
- Spotlight On Nature stamp set for the "thanks" sentiment; and
- two Mini Stampin' Dimensionals (item 144108) used on the right back side of the sentiment panel - I used a dab of Multipurpose Liquid Glue to secure the image panel overlapping portion of the sentiment panel.


Additional supplies used to complete this 5" square top-fold card:
- Basic White Thick cardstock embossed using the Timber 3D Embossing Folder (item 156406) for the window panel - after embossing the cardstock I cut the window using the largest square die from the Stylish Shapes dies (item 159183);
- double-sided tape (Tear & Tape Adhesive - item 154031) to secure the embossed window panel to the image panel;
- Black & Very Vanilla 3/8" Large Check Ribbon (item 161982) for the bow tied around the matted panel - I used the blade of my craft knife to scrape the edges of the Basic Black cardstock matting panel. After tying the bow around the matted panel I attached the matted panel to the card front using Multipurpose Liquid Glue;
- Garden Meadow stamp set (item 162736) for the "happy birthday!" sentiment; and
.jpg)
- Mini Stampin' Dimensionals (item 144108) to attach the sentiment panel - I also scraped the edges of this panel with the blade of my craft knife.


Additional supplies used to complete this 5" x 3 1/2" top-fold card with Mossy Meadow ink brayered panel:
- Mossy Meadow ink (item 147111) to colour the image;
- Beach Day stamp set (item 162797) for the "Enjoy Today" sentiment;
- Basic Black baker's twine (Baker's Twine Essentials Pack - item 155475) for bow tied around card front - knotted ends secured with tiny dabs of Multipurpose Liquid Glue; and
- Mini Stampin' Dimensionals (item 144108) to secure sentiment panel (ends torn) - I was careful with the placement of the Dimensionals so that they would be on either side of the baker's twine.


- Pool Party ink (item 147107) to colour the image; and
- Country Flowers stamp set (item 163405) for the sentiment - when trimming the sentiment strip I removed the "ever" because well, you never know for sure😏. After tearing the ends of the sentiment strip I scraped the top and bottom edges with the blade of my craft knife.
And finally . . .


- Granny Apple Green ink (item 147095) and Misty Moonlight ink (item 153118) to colour the image; and
- Garden Meadow stamp set (item 162736) for the "happy birthday!" sentiment - I only added glue to the portion of the back of the sentiment panel that overlapped the image panel.
Thank you for visiting my blog! I had a lot of fun working on these cards!
Unfortunately Stampin' Up! advises that the order availability date for the Stampin' Cut & Emboss Machine (item 149653) has been extended to the week of September 30, 2024 😒.
The good news for those looking forward to some quick festive crafting projects is that Stampin' Up! has very recently added two new all-inclusive kits to the Kits Collection:
.jpg)
- the Christmas Ornaments Kit (item 164378) includes step-by-step instructions and all required components - including pre-cut paper greenery, plastic pinecones and berries, pre-tied satin bows, and metallic string - to complete nine 4" metal ring ornaments, three each of three designs; and
.jpg)
- the Christmas Wishes Kit (item 164401) includes step-by-step instructions and all required components - including the Christmas Wishes photopolymer stamp set, clear stamp block, Pretty Peacock Stampin' Spot, pre-cut pieces, sufficient adhesive, and eight envelopes and eight address labels - to complete eight 5 1/2" x 4 1/4" (folded size) cards, four each of two designs.
.jpg)
For those interested in becoming a month-to-month Paper Pumpkin Kit subscriber now is a great time! From September 11, 2024 through to October 10, 2024, all new month-to-month subscribers will receive 40% off their first kit - the October Nests of Christmas Paper Pumpkin Kit!
If you are interested in purchasing any of the available Stampin' Up! products I have used in my projects - or are interested in becoming a Paper Pumpkin Kit month-to-month subscriber - and you live in Canada and do not have a Stampin' Up! demonstrator, please do not hesitate to visit my online store found on my website https://archiesatelier.stampinup.net/ at your convenience, or simply click under the "Shop With Me" tab on the right sidebar of my blog, which will take you directly to my website and online store. I very much appreciate your business, and if you need any assistance please do not hesitate to contact me (lmccoyarchie@gmail.com) - I would be very pleased to be your demonstrator! The digital version of the May 2024-April 2025 Annual Catalogue is available for you to access at your convenience on my website (https://archiesatelier.stampinup.net/) - as is the digital version of the September-December 2024 Mini Catalogue, and the digital only Mini Catalogue companion brochure, the September 2024 Scrapbooking Brochure. When visiting my online store don't forget to check out all the products now available as Online Exclusives, and the great deals on the Clearance Rack!
.jpg)

Have fun creating!
Laurel
*It has come to my attention that quite often email correspondence from me is delivered to the recipient's spam or junk mail folder - if you have corresponded with me I have replied so be sure to check your spam or junk mail folder! Thank you!!

Getting ready to settle down for a morning nap with a best friend!
Comments
Post a Comment