Having Fun With My Jungle Pals!

Hello! Today I am sharing a few card projects I worked on this week using two of the products available during the annual Stampin' Up! Sale-A-Bration Promotion: the Jungle Pals stamp set (item 162950) and the co-ordinating Jungle Pals dies (item 162973). During Sale-A-Bration - which is on now until February 29, 2024 - the Jungle Pals stamp set is one of the free products that can be selected with a purchase of $60.00 or more CDN (before taxes and shipping), and the Jungle Pals dies is one of the free products that can be selected with a purchase of $120.00 or more CDN (before taxes and shipping). With an order of $180.00 or more CDN (before taxes and shipping) you can select both the stamp set and the dies! If you would like to get both items (or any other combination of Sale-A-Bration items) but are unable to submit a qualifying order on your own - we are all, unfortunately, subject to budgetary constraints - even when it comes to art supplies!) - maybe consider combining your order with those of a friend or two.
.jpg)

%20SALE-A-BRATION%202024.jpg)
Jungle Pals dies - 162973
Just a quick note about the standard tools and supplies I used to complete my card projects this week:
- Paper Trimmer (item 152392) - for trimming paper and cardstock - can also be used for scoring;
- stylus and scoreboard (Simply Scored Scoring Tool - item 122334) - for scoring fold lines. For crisp card folds I also burnish all folded scored lines using my Bone Folder (item 102300);
- Stampin' Cut & Emboss Machine (item 149653) - for all die cutting and embossing;
- Paper Snips Scissors (item 103579) - these sharp scissors are great for doing any necessary trimming of die cuts - i.e. separating the wreath die cut using the Natural Prints dies;
- Take Your Pick Tool (item 144107) - the paper piercer, mini spatula, and tacky putty tips are a great help for picking up and placing small embellishments and die cuts (i.e. tiny flower centers!); and
- for the main adhesive, Multipurpose Liquid Glue (item 110755).
All images and sentiments were stamped using Stazon Jet Black Ink (item 101406). All of the Jungle Pals images were stamped on watercolour paper and "watercoloured" using inks from the following Classic Stampin' ink pads applied with a small paint brush and a little water (by pressing down on the lid of the closed ink pad I am able to transfer ink to the inside of the lid, which I can then use as a palette - mixing the ink with a little water as required):
- Pumpkin Pie (item 147086) - tigers;
- Calypso Coral (item 147101) - tigers' noses;
- Daffodil Delight (item 147094), Sweet Sorbet (item 159216), Pumpkin Pie, Granny Apple Green (item 147095), Pool Party (item 147107), and Basic Gray (item 149165) - toucans;
- Crumb Cake (item 147116) - sloths; and
- Granny Apple Green, Old Olive (item 147090), Mossy Meadow (item 147111), and Pecan Pie (item 161665) - crocodiles.
The large foliage die cuts made using the Jungle Pals dies were cut from watercolour paper, and coloured using Granny Apple Green and Mossy Meadow inks applied with Blending Brushes (item 153611) and Small Blending Brushes (item 160518). The leafy vines, also cut from watercolour paper, were "watercoloured" using Granny Apple Green, Mossy Meadow, Pecan Pie and Early Espresso ink (item 147114). The individual flowers, also cut from watercolour paper, were coloured by pressing the die cuts directly into either a Daffodil Delight or Sweet Sorbet ink pad. The small centers for the flowers were cut from Basic Black cardstock (item 121045) using the tiny scalloped circle dies from Paper Florist dies (item 161284) - there are four circles included on the single square die.
.jpg)
For additional foliage, floral stems, and ground cover I used the following dies - with the exception of the stemmed lilies (which were "watercoloured" using Granny Apple Green and Mossy Meadow inks for the stems, and Daffodil Delight and Pumpkin Pie inks for the flowers) the Granny Apple Green and Mossy Meadow inks were applied using Blending Brushes and Small Blending Brushes:
- the retired Honeybee Blooms (item 157951) - tall 3-bladed grass, and stemmed lilies;
%20RETIRED.jpg)
Honeybee Blooms dies - 157951 (retired)
- Natural Prints (item 158800) - wreath on the Lost Lagoon tiger card - snipped to create two sections, and tall and short leafy stems;
.jpg)
Natural Prints dies - 158800
- Around The Bend (item 160649) - double leaves, and leafy curved border; and
.jpg)
Around The Bend dies - 160649
- Garden Meadow (item 162740) - "spiky" grass and "shrub" ground covers used on the crocodile Welcome card, together with the Around The Bend leafy curved border die cut;
.jpg)
Garden Meadow dies - 162740
On with the projects!


Additional supplies used to complete this 5 1/2" square top-fold card:
- Basic White Thick cardstock (item 159229) for the card base, and 4 7/8" panel with 2 3/4" square opening (cut using the Stylish Shapes dies - item 159183) - after cutting the square window opening I used double-sided tape (Tear & Tape Adhesive - item 154031) to secure to the back of the panel an approximately 4 1/2" square of Lemon Lime Twist patterned paper from Stargazing 12" x 12" Designer Series Paper (item 161175);

- Granny Apple Green cardstock (item 146990) for 4 15/16" square matting panel - edges scraped with the blade of my craft knife - this panel was secured to the back of the window panel also using Tear & Tape Adhesive;
- Stampin' Dimensionals (item 104430) to attach toucan and crocodile; and
- three Old Olive shaded dots from Ombre Matte Decorative Dots (item 161448) added to bottom left corner of window panel.


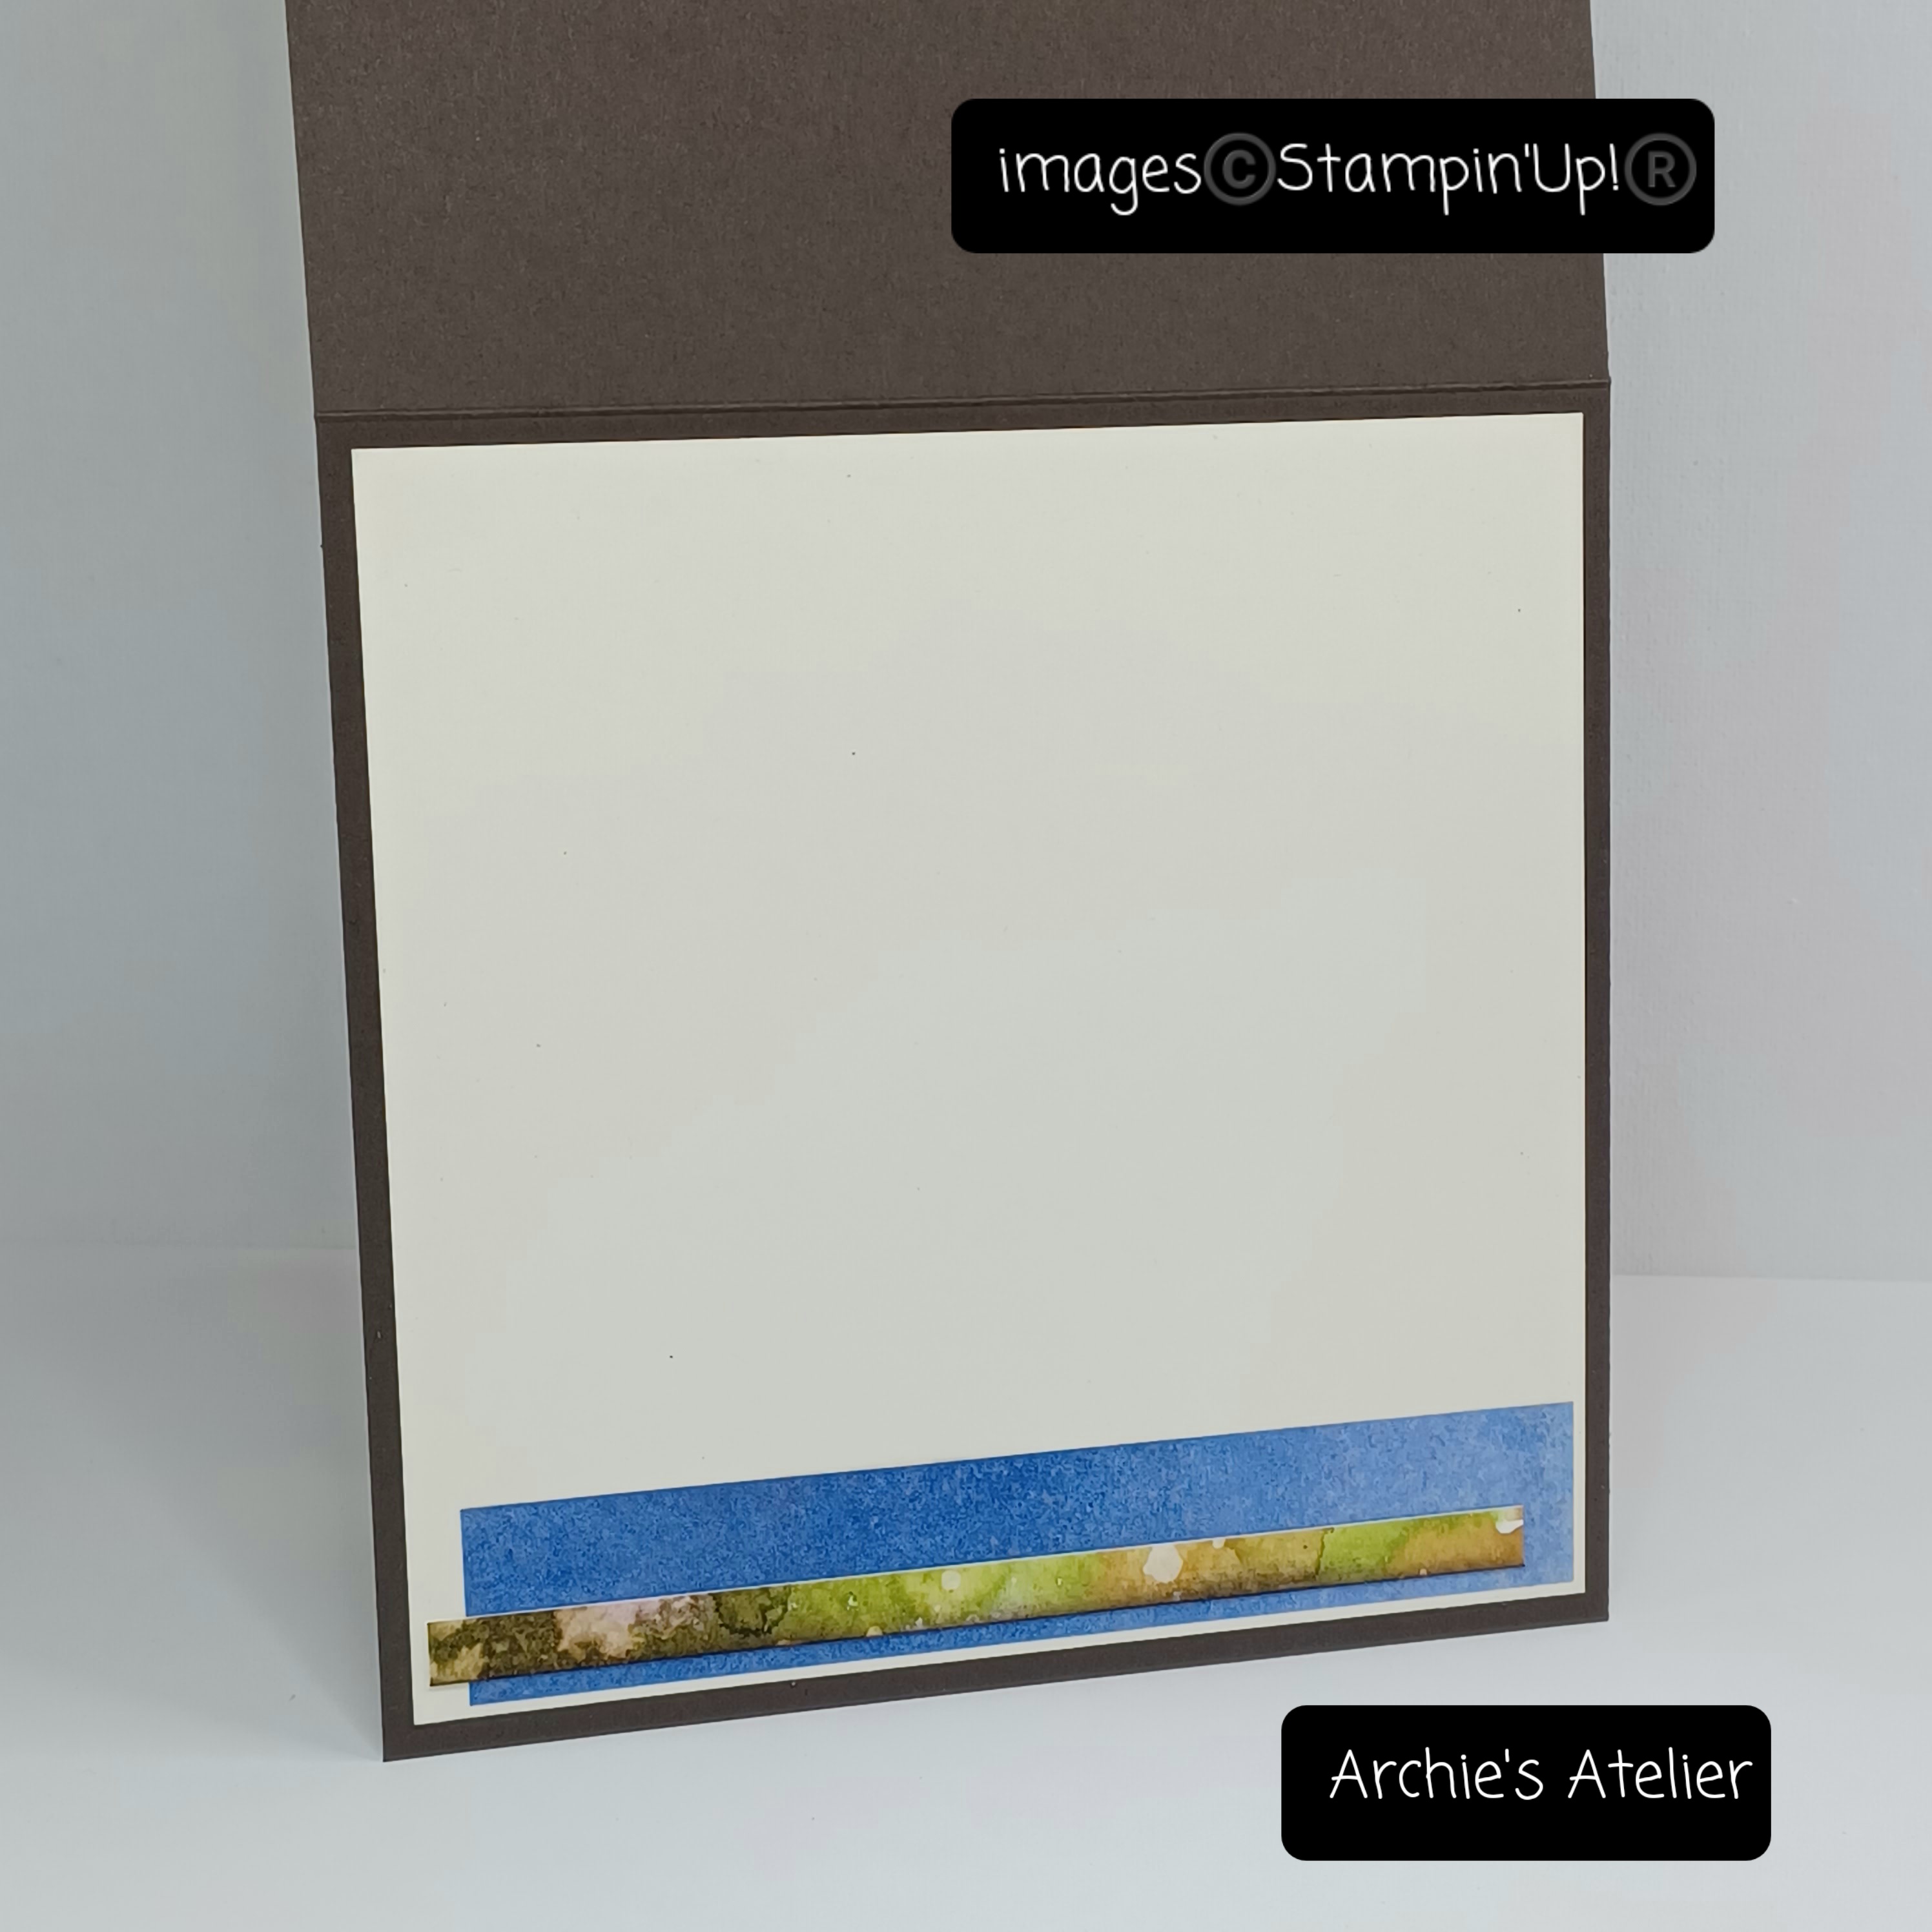
Additional supplies used to complete this 5 1/2" x 5" top-fold card:
- Starry Sky cardstock (item 159263) for the card base, and embossed 3 7/8" square window panel - prior to cutting the circle opening using the 3" diameter circle die from Stylish Shapes dies (item 159183) I embossed the cardstock using the Distressed Tile 3D Embossing Folder (item 162189);
- Lemon Lime Twist patterned paper from Glorious Gingham 6" x 6" Designer Series Paper (item 163170) for the approximately 3 1/2" square panel glued to the back of the window panel, and 3 7/8" x 1/2", and 2 3/4" x 1/2" (with both ends torn) strips for inside panel;
- Basic Black cardstock (item 121045) for the 4 1/16" front matting panel (edges scraped with the blade of my craft knife), and 5 1/4" x 4 3/4" inside matting panel;
- Basic White Thick cardstock (item 159229) for the sentiment strip, and 5" x 4 1/2" inside panel;
- Next Destination stamp set (item 161427) for the sentiment. With a Small Blending Brush I applied Crumb Cake ink (item 147116) over the trimmed strip, and sponged a little Early Espresso Ink (item 147114) along the edges; and

- two Old Olive shaded dots from Ombre Matte Decorative Dots (item 161448) added to the bottom right corner of the embossed window panel.


Additional supplies used to complete this 5" square top-fold card:
- Early Espresso cardstock (item 119686) for the card base, and 4 1/2" square panel with 2 3/8" square window opening (cut using the Stylish Shapes dies - item 159183) - edges of window panel scraped with the blade of my craft knife;
- watercolour paper coloured with Pecan Pie ink (item 161665), Granny Apple Green ink (item 147095), and Mossy Meadow ink (item 147111) for 4 1/4" square panel (finished size) with 2 3/4" square window opening (cut using the Stylish Shapes dies). Before cutting the window opening I applied water to the cardstock panel - cut slightly larger than the finished size - with a large paint brush and then added the inks, also using a paint brush and more water. After the inks were dry I lightly spritzed with water (Stampin' Spritzers - item 126185) and blotted dry with paper towel. After cutting the window opening I trimmed the watercolour paper to the finished size - using one of the off-cut strips on the inside panel. I sponged the edges of the panel (including the edges of the window opening) with Early Espresso ink (item 147114);
- Blueberry Bushel patterned paper from Winter Meadow 12" x 12" Designer Series Paper (item 162133) for the approximately 3 1/2" square panel that I glued to the back of the Early Espresso cardstock window panel, and the 4 1/2" x 3/4" strip for inside panel;
- Very Vanilla Thick cardstock (item 144237) for the 4 3/4" square inside panel;
- Lazy Days stamp set (item 161340) for the sentiment, stamped on a scrap of Basic White Thick cardstock (item 159229). After cutting the banner using the Stylish Shapes dies I used a Small Blending Brush to apply Crumb Cake ink (item 147116) to the banner, and then sponged the edges with Early Espresso ink; and

- Stampin' Dimensionals (item 104430) to attach crocodile and sentiment banner.


Additional supplies used to complete this 4 3/4" square top-fold card:
- Lost Lagoon cardstock (item 133679) for the card base;
- Basic Black cardstock (item 121045) for the 4" square panel with circle window (cut using the 3" diameter circle die from Stylish Shapes dies - item 159183), 4 1/2" square front matting panel (edges scraped with the blade of my craft knife), and 4 1/4" square inside matting panel;
- Basic White Thick cardstock (item 159229) for the 4 3/8" square front matting panel, and 4" square inside panel;
- black & white patterned paper from Zoo Crew 12" x 12" Designer Series Paper (item 161304) for the 4 1/4" square front matting panel, and 3 3/4" x 1/4" inside strip;
- Lost Lagoon patterned paper from Winter Meadow 12" x 12" Designer Series Paper (item 162133) for the approximately 3 3/4" square panel glued to the back of the Basic Black cardstock window panel;
- Stampin' Dimensionals (item 104430) to attach toucan, and one used behind the tiger's head; and
- two Old Olive shaded dots from Ombre Matte Decorative Dots (item 161448) added to bottom left corner of Basic Black cardstock window panel.
And finally . . .


Additional supplies used to complete this 4" x 2 1/2" top-fold gift card:
- Basic White Thick cardstock (item 159229) for the card base, 3 7/8" x 2 7/8" embossed panel (embossed using the Distressed Tile 3D Embossing Folder - item 162189), and 1 7/8" die cut postage stamp square - cut using the new Perennial Postage dies (item 162607) featured in the January-April 2024 Mini Catalogue;
.jpg)
Perennial Postage dies - 162607
- Crumb Cake cardstock (item 120953) for 1 1/2" square die cut (cut using the Stylish Shapes dies - item 159183);
- Crumb Cake ink (item 147116) sponged around edges of embossed panel, and edges of die cut postage stamp square;
- Basic Black Stampin' Write Marker (item 162481) to add splatters to Crumb Cake cardstock square and toucan by flicking the brush tip against the marker lid. The splatters were added to these two items before I added them to the die cut postage stamp;
- Stampin' Dimensionals (item 104430) used to attach the assembled postage stamp cluster to the embossed panel; and
- three of the Coastal Cabana shaded dots from Ombre Matte Decorative Dots (item 161448) added to the embossed panel.
Thank you for visiting my blog! I certainly had a lot of fun starting to play with my new Jungle Pals - lots of cute characters and great dies!
If you are interested in purchasing any of the available Stampin' Up! products I have used in my projects, and you live in Canada and do not have a Stampin' Up! demonstrator, please do not hesitate to visit my online store found on my website https://archiesatelier.stampinup.net/ at your convenience, or simply click under the "Shop With Me" tab on the right sidebar of my blog, which will take you directly to my website and online store. I very much appreciate your business, and if you need any assistance please do not hesitate to contact me (lmccoyarchie@gmail.com) - I would be very pleased to be your demonstrator! The digital versions of the May 2023-April 2024 Annual Catalogue, as well as the January-April 2024 Mini Catalogue, and the Sale-A-Bration Brochure are available for you to access at your convenience on my website (https://archiesatelier.stampinup.net/). When visiting my online store don't forget to check out the great deals on the Clearance Rack, as well as the great selection of products available as Online Exclusives.
Have fun creating!
Laurel
*It has come to my attention that quite often email correspondence from me is delivered to the recipient's spam or junk mail folder - if you have corresponded with me I have replied so be sure to check your spam or junk mail folder! Thank you!!

"In the jungle, the mighty jungle
The lion sleeps tonight . . . "
Comments
Post a Comment