A Few Festive Treat Holders And Tags!

Hello! Today I am sharing a few festive treat holders and tags I made this week using some festive and non-festive Stampin' Up! products. Although I am under no illusions that ink, a few stamps, dies, and some paper can solve all problems I strongly feel that for crafters they offer great therapy, and a little treat presented to a loved one, friend, or colleague in a handcrafted treat holder can only help brighten a day - and who doesn't need that? Tags also make great ornaments for the Christmas tree!
Just a quick note about the standard tools and supplies I used this week to complete my projects:
- Paper Trimmer (item 152392) - for trimming paper and cardstock - can also be used for scoring;
- stylus and scoreboard (Simply Scored Scoring Tool - item 122334) - for scoring fold lines, and for crisp folds I also burnished all folded scored lines using my Bone Folder (item 102300);
- Stampin' Cut & Emboss Machine (item 149653) - for all die cutting and embossing;
- Paper Snips Scissors (item 103579) - these sharp scissors certainly make fussy cutting the two Santa images from the Traditions of St. Nick 12" x 12" Designer Series Paper (item 162355) a lot easier - they are also a great help when you need to trim a die cut;
- Take Your Pick Tool (item 144107) - the paper piercer, mini spatula, and tacky putty tips are certainly a great help for picking up and placing small embellishments and die cuts; and
- for the main adhesive, Multipurpose Liquid Glue (item 110755).
To heat emboss the "Merry Christmas" sentiment from the Regal Reindeer stamp set (item 159722) on three of the projects I also used:


.jpg)


.jpg)


.jpg)
.jpg)
.jpg)
.jpg) Tailor Made Tags dies - 155563
Tailor Made Tags dies - 155563


 Stylish Shapes dies - 159183


.jpg)
.jpg) Basic Borders dies - 155558
Basic Borders dies - 155558
.jpg)
.jpg)


%20RETIRED.jpg)
.jpg)

- an Embossing Buddy (included with the Embossing Additions Tool Kit - item 159971) to pounce over the watercolour paper/cardstock prior to stamping and embossing to help ensure that the embossing powder would not stick to areas outside of the stamped areas;
- VersaMark Ink (item 102283) to stamp the sentiment - Stampin' Up! advises that the VersaMark Ink is expected to be back in stock the week of January 1, 2024;
- gold embossing powder from Stampin' Emboss Powders-Metallics (item 155555);
- a very fine dry paint brush to carefully brush away excess embossing powder prior to heat setting (a small brush is also included in the Embossing Additions Tool Kit); and
- specialized heat tool (Heat Tool - item 129053) to heat/activate the embossing powder.

All non-embossed sentiments and images were stamped using Stazon Jet Black Ink (item 101406).
On with the projects!


I ended up making four sizes of the slim milk carton treat holders - all are 2" wide x 2" deep with a 1/2" top flap, and the heights of the box portions are 5", 4", 3", and 2". This style of treat holder is great for showing off Designer Series Paper! Since I began by making the 4" tall carton I have included the template for this size:

I scored the 8 1/2" x 8" piece of cardstock on the 8 1/2" side at 2", 4", 6", and 8" (1/2" tab is the glue tab); and on the 8" side at 2" (bottom flaps), 6", and 7 1/2" (I flipped the cardstock over on the scoreboard to make the last score line on the wrong side of the paper). Turning the cardstock over again so that the right side was facing up and the top edge of the 8 1/2" side was aligned with the top edge of the scoreboard I laid a ruler over the cardstock running parallel with the top edge of the cardstock with the top edge of the ruler lined up at the 1" mark on the left side of the scoreboard and made the score lines at 3" and 7" down 1" from the top edge. Removing the cardstock from the scoreboard I used the ruler and stylus to score the lines from the bottom of the 3" and 7" score lines out to the left and right bottom corners of the respective 1 1/2" x 2" panels as indicated on the template.
For the 5" carton I scored the 8 1/2" x 9" piece of cardstock as above on the 8 1/2" side, and at 2", 7", and 8 1/2" on the 9" side.
For the 3" carton I scored the 8 1/2" x 7" piece of cardstock as above on the 8 1/2" side, and at 2", 5", and 6 1/2" on the 7" side.
For the 2" carton I score the 8 1/2" x 6" piece of cardstock as above on the 8 1/2" side, and at 2" 4", and 5 1/2" on the 6" side.


For the first 4" carton I used the following additional supplies:
- Cherry Cobbler cardstock (item 119685) for the carton;
- Cherry Cobbler patterned paper from Traditions of St. Nick Designer Series Paper (item 162355) for the six DSP panels: four @ 3 7/8" x 1 7/8", and two @ 1 3/8" x 1 7/8" - edges of all DSP panels sponged with Pecan Pie ink (item 161665);
- Garden Green cardstock (item 102584) for the two evergreen branches cut using the Joy of Noel dies (item 161965), and shaded with Mossy Meadow ink (item 147111) applied using one of the Blending Brushes (item 153611) - the branches glued to the back of the Santa image;
.jpg)
Joy of Noel dies - 161965
- Early Espresso ink (item 147114) sponged around edges of fussy cut Santa image;
- Stampin' Dimensionals (item 104430) - trimmed as required - used to attach Santa image, to which evergreen branches had been glued, to front panel of carton; and
- Crumb Cake baker's twine from Baker's Twine Essentials Pack (item 155475) for bow tied through center of 3/8" "almost Cherry Cobbler" gross grain ribbon bow (ribbon a lucky find at Dollar Tree).
For the closure on this carton I used a 1/8" hole punch to punch two holes in the top flaps through which I tied the ribbon.


Additional supplies used to complete the second 4" carton:
- Early Espresso cardstock (item 119686) for the carton;
- One Horse Open Sleigh 6" x 6" Designer Series Paper (item 162118) for the six DSP panels: four @ 3 7/8" x 1 7/8", and two @ 1 3/8" x 1 7/8" - edges of the four woodgrain patterned panels sponged with Early Espresso ink (item 147114); and
- White 3/4" Frayed Ribbon (item 158138 - currently available on the Clearance Rack) for the bow glued to the Dollarama clothespin I used for the carton closure.


Additional supplies used to complete the 5" carton:
- Pool Party cardstock (item 122924) for the carton;
- Basic White cardstock (item 159276) for the six matting panels: four @ 4 7/8" x 1 7/8", and two @ 1 3/8" x 1 7/8"'
- Pool Party patterned paper from One Horse Open Sleigh 6" x 6" Designer Series Paper (item 162118) for the six DSP panels: four @ 4 3/4" x 1 3/4", and two @ 1 1/2" x 1 3/4";
- smallest rounded corner rectangle die from Nested Essentials dies (item 161597) to cut sentiment panel (cut after sentiment stamped/heat embossed);
.jpg)
Nested Essentials dies - 161597
- two Stampin' Dimensionals (item 104430) to attach sentiment panel to lower right of front panel; and
- White 3/4" Frayed Ribbon (item 158138 - Clearance Rack) for bow glued to bulldog clip used for carton closure - through the center of the ribbon bow I tied a bow using gold cord from Simply Elegant Trim (item 155766) - Stampin' Up! advises that Simply Elegant Trim is expected to be back in stock the week of January 1, 2024. The pewter toned bulldog clip is from my stash.


Additional supplies to complete the 3" Santa carton:
- Night of Navy cardstock (item 100867) for the carton;
- Basic White cardstock (item 159276) for the six matting panels: four @ 2 7/8" x 1 7/8", and two @ 1 3/8" x 1 7/8";
- Misty Moonlight/Blueberry Bushel tree patterned paper from Winter Meadow 12" x 12" Designer Series Paper (item 162133) for four 2 3/4" x 1 3/4" DSP panels;
- Misty Moonlight/white striped paper from One Horse Open Sleigh 6" x 6" Designer Series Paper (item 162118) for two 1 1/2" x 1 3/4" DSP panels;
- Pecan Pie ink (item 161665) sponged around edges of fussy cut Santa image;
- Mossy Meadow cardstock (item 133676) for one evergreen branch, cut using the Joy of Noel dies (item 161965), and sponged with Mossy Meadow ink (item 147111) applied using one of the Blending Brushes (item 153611) - branch glued to back of Santa image; and
- Stampin' Dimensionals (item 104430) - trimmed as required - used to attach Santa (with evergreen branch) to front panel).


Additional supplies used to complete the second 3" carton:
- Shaded Spruce cardstock (item 146981) for the carton;
- Basic White cardstock (item 159276) for the seven matting panels: four @ 2 7/8" x 1 7/8"; two @ 1 3/8" x 1 7/8"; and one @ 2 1/2" x 1 1/2";
- Shaded Spruce wavy check patterned paper from Joy of Christmas 12" x 12" Designer Series Paper (item 161958) for the six DSP panels: four @ 2 3/4" x 1 3/4", and two @ 1 1/2" x 1 3/4";
- festive floral patterned paper from Joy of Christmas DSP for the front panel's 2 3/8" x 1 3/8" DSP panel; and
- Real Red ribbon from Real Red & Garden Green 3/8" Ribbon Combo Pack (item 159577) for the bow glued to the white Dollarama clothespin used for the carton closure.


Additional supplies used to complete the 2" carton:
- Old Olive cardstock (item 100702) for the carton;
- Basic White cardstock (item 159276) for the six matting panels: four @ 1 7/8" square, and two @ 1 3/8" x 1 7/8";
- Old Olive patterned paper from 6" x 6" Designer Series Paper Assortments-Regals (item 161642) for the six DSP panels: four @ 1 3/4" square, and two @ 1 1/2" x 1 3/4";
- Garden Green cardstock (item 102584) for the two evergreen branches, cut using the Joy of Noel dies (item 161965), and shaded with Mossy Meadow ink (item 147111) applied with one of the Blending Brushes (item 153611);
- Melon Mambo cardstock (item 115320) for the two flower sections cut using the Paper Florist dies (item 161284) - scrunched with my fingers (more good therapy!);
.jpg)
Paper Florist dies - 161284
- Pecan Pie cardstock (item 161717) for flower center, cut using Paper Florist dies, and edges sponged with Pecan Pie ink (item 161665);
- watercolour paper for two large leaves (cut using the Paper Florist dies and coloured with Granny Apple Green ink - item 147095 - and Mossy Meadow ink applied with one of the Blending Brushes); ivy (cut using the Lazy Days dies - item 161342 - and coloured with Granny Apple Green and Mossy Meadow inks); and berry sprig (cut using Tree Rings dies - item 159888 - and coloured with Old Olive ink - item 147090 - applied as a wash with a paint brush and a little water); and
.jpg)
Lazy Days dies - 161342
.jpg)
Tree Rings dies (also includes Hybrid Embossing Folder) - 159888
- Tailor Made Tags dies (item 155563) to cut sentiment tag (after sentiment stamped/heat embossed);
.jpg)
To the white Dollarama clothespin used for the closure I glued a bow tied using 3/8" "almost Old Olive" gross grain ribbon picked up at Dollar Tree.


For this 3 1/2" x 3 1/4" x 1" lidded box that holds four small gingerbread people cookies (definitely not home baked!) I used the following additional supplies:
- for the box a 5 1/2" x 5 1/4" piece of Coastal Cabana cardstock (item 131297), scored at 1" on all four sides'
- for the lid a 5 9/16" x 5 5/16" piece of Coastal Cabana cardstock, also scored at 1" on all four sides;
- Real Red/white patterned paper from 6" x 6" Designer Series Paper Assortments-Regals (item 161642) for the lid's top and side DSP panels - top: 3 3/16" x 3 7/16"; sides: two @ 3 7/16" x 7/8", and two @ 3 3/16" x 7/8".
- second smallest rounded corner rectangle die from Nested Essentials dies (item 161597) to cut window opening in lid - I glued the top DSP panel to the lid and then cut the window opening. After cutting the opening I glued a 2 1/4" x 3" piece of acetate (Window Sheets - item 142314) to the inside of the top of the lid behind the opening, completed the assembly of the lid, and glued on the side DSP panels. I used a 1" circle punch to make the thumb notches on the two side panels; and
- Chic dies (item 158815) to cut solid snowflake from Pecan Pie cardstock (item 161717) - edges sponged with Pecan Pie ink (item 161665) and Early Espresso ink (item 147114) to look like well-baked gingerbread cookie; and detailed (icing) snowflake from Basic White cardstock (item 159276) - hope to make several more of these gingerbread snowflake "cookies" to tuck into my small paper crafting themed Christmas tree.


For this box, which opens at both ends, and measures 4 1/4" x 2 1/4" x 1" deep to hold a snack pack of two Walkers Shortbread fingers I used the following additional supplies:
- a 7 1/4" x 7" piece of Basic Black cardstock (item 121045), scored on the 7 1/4" side at 1/2" and 1 1/2" from each end, and scored on the 7" side at 2 1/4", 3 1/4", 5 1/2", and 6 1/2" (1/2" tab is the glue tab). I have included a template photo showing the trimming of the scored cardstock - for the rounded corners on the 1/2" flaps on the top panel I used a small corner rounder punch;

- Real Red/Cherry Cobbler wavy check patterned paper from Joy of Christmas 12" x 12" Designer Series Paper (item 161958) for the five DSP panels: one @ 4" x 2", two @ 4" x 3/4", and two @ 2" x 3/4" - all edges sponged with Real Red ink (item 147084);
- Basic Black cardstock for the hexagon shape base for flower/foliage arrangement - cut using the Nested Essentials dies (item 161597);
- watercolour paper for the two flower (petals) sections, two stamen centers, and round center, and two leafy sprigs cut using the Paper Florist dies (item 161284); and the two berry sprigs cut using the Tree Rings dies (item 159888);
- Daffodil Delight cardstock (item 119683) to cut the two stamen centers - edges sponged with Pecan Pie ink (item 161665);
- Pecan Pie cardstock (item 161717) for the round flower center - edges sponged with Pecan Pie ink;
- Old Olive ink (item 147090), applied as a wash using a paint brush and water to colour the berry sprigs;
- Real Red ink, applied using one the Blending Brushes (item 153611) to colour the flower (petals) sections;
- Old Olive ink and Mossy Meadow ink (item 147111) to colour the two leafy sprigs - applied using one of the Blending Brushes; and
- gold cord from Simply Elegant Trim (item 155766) for the bow tied through the center of the 3/8" black gross grain ribbon bow tied around the box - the ribbon was, yes, from Dollar Tree!


For this 3 1/4" tall (excluding handles) x 3" wide x 1" deep tote treat holder - which holds quite a few chocolate kisses - I used the following additional supplies:
- for the box portion an 8 1/2" x 4 1/4" piece of Real Red cardstock (item 102482) - scored on the 8 1/2" side at 3", 4", 7", and 8" (1/2" tab is the glue tab), and scored on the 4 1/4" side at 1" (bottom flaps);
- for each handle - two circle frames cut from Real Red cardstock using the 1 3/4" and 2 1/2" diameter circle dies from Stylish Shapes dies (item 159183) - the two circle frames are glued together with wrong sides together. Frames are glued to the inside of the front and back panels so approximately 1/2" of the frame forms the handle;

- Basic White cardstock (item 159276) for the sentiment banner (cut using the Stylish Shapes dies), and four matting panels: two @ 3 1/8" x 2 7/8", and two @ 3 1/8" x 7/8";
- festive floral patterned paper from Joy of Christmas 12" x 12" Designer Series Paper (item 161958) for the four DSP panels: two @ 3" x 2 3/4", and two @ 3" x 3/4";
- Real Red cardstock for the sentiment matting rounded corner rectangle - cut using the Nested Essentials dies (item 161597);
- Stampin' Dimensionals (item 104430) to attach the matted sentiment banner to the front panel;
- Garden Green ribbon from Real Red & Garden Green 3/8" Ribbon Combo Pack (item 159577) for the handle bow; and
- for the shred - I trimmed strips from some scraps of Old Olive cardstock (item 100702) which I then ran through a paper crimper.
Just a few tags:


For this 4 3/4" x 3 1/4" tag I used the following additional supplies:
- Basic Black cardstock (item 121045) for the tag base - edges scraped with the blade of my craft knife;
- watercolour paper for the torn stenciled panel - using the two check design masks from Artistic Mix Decorative Masks (item 159178) I applied Real Red ink (item 147084) to the paper using one of the Blending Brushes (item 153611). After tearing all sides I sponged the edges with Pecan Pie ink (item 161665);

small and large check masks from Artistic Mix Decorative Masks - 159178
- Joy of Noel stamp set (item161959) and co-ordinating Joy of Noel dies (item 161965) - available together as Joy of Noel Bundle (item 161967) - to stamp and cut from watercolour paper the holly leaves/evergreen branches/berry sprig spray and berry sprig - coloured using Mossy Meadow ink (item 147111) and Real Red ink;

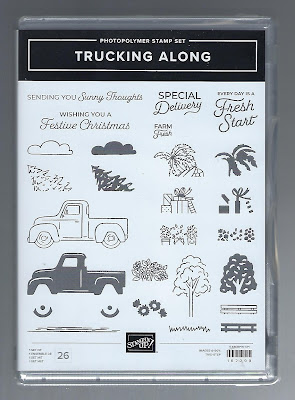
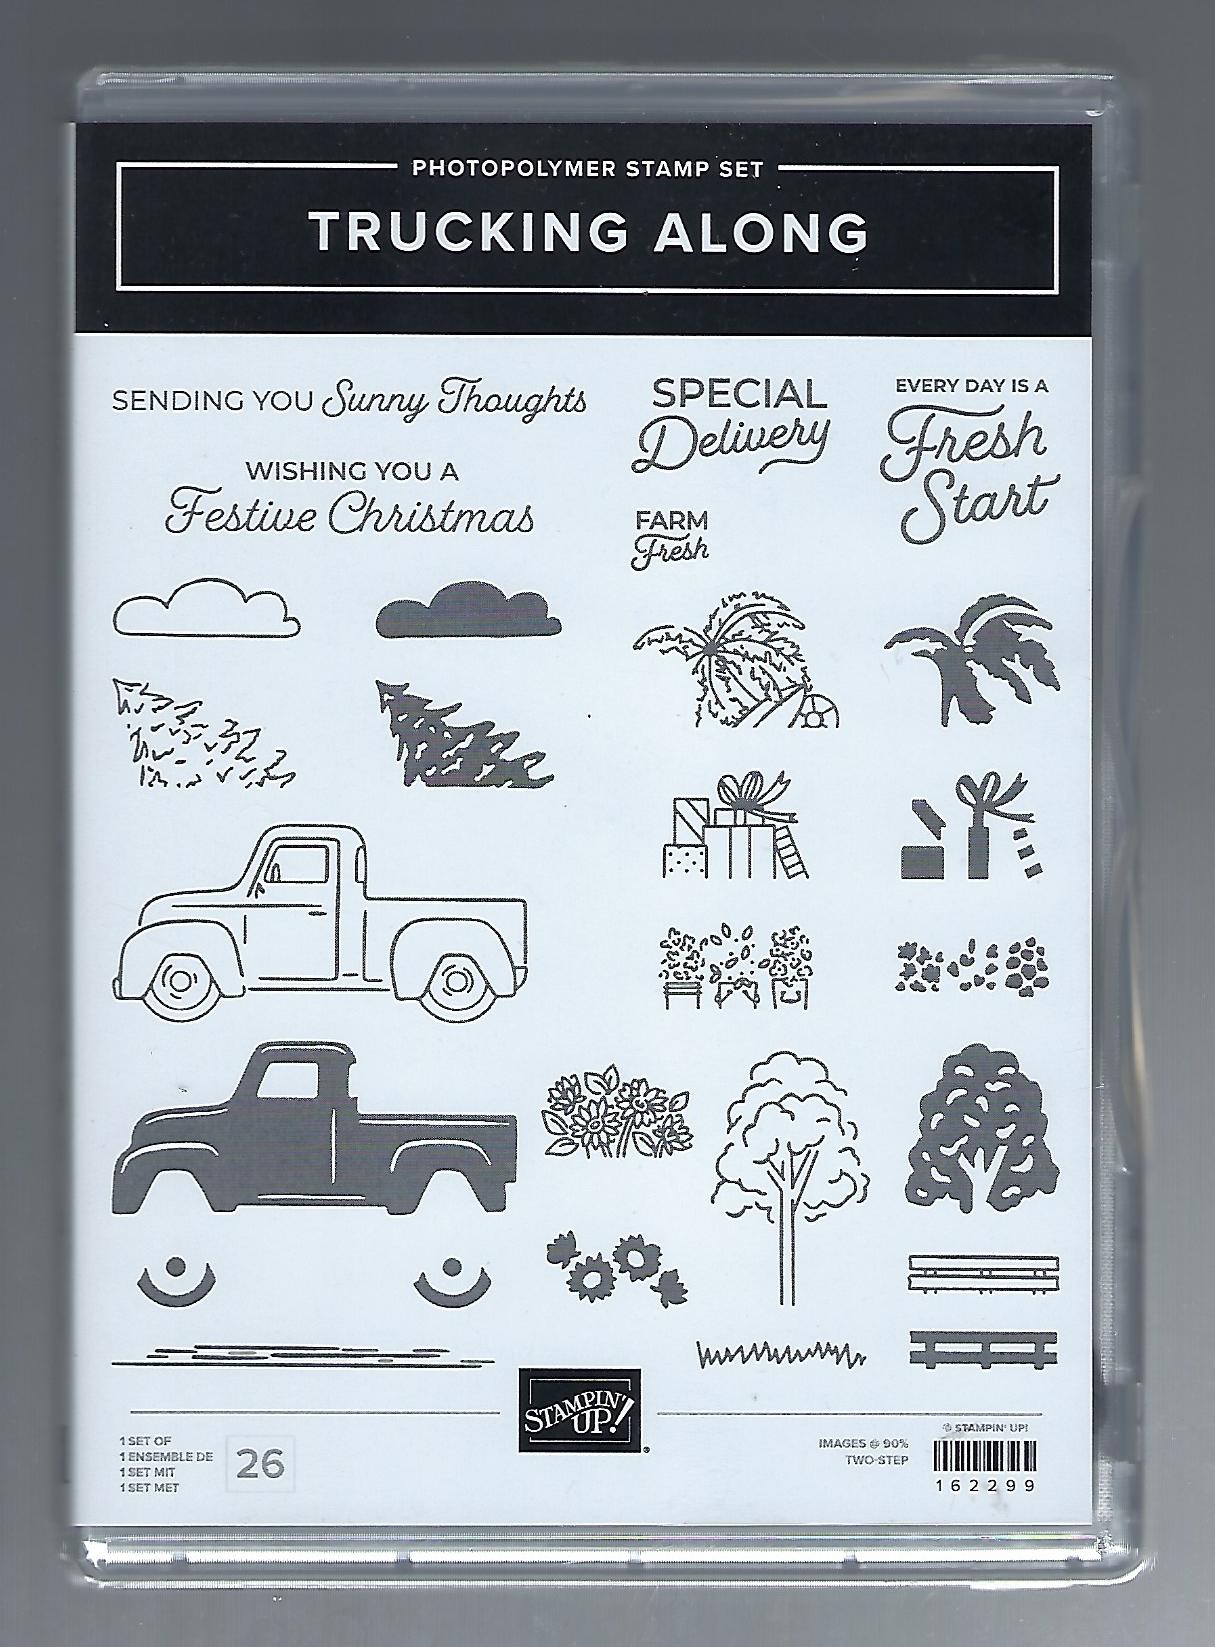
- Trucking Along stamp set (item 162299) for truck and gifts image - stamped on watercolour paper, and coloured using Real Red ink, Basic Gray ink (item 149165), Old Olive ink (item 147090), and Pool Party ink (item 147107) - "To:" and "From:" are from the Joy of Noel stamp set - and tag cut using the Tailor Made Tags dies (item 155563); and
- I added a black eyelet from my stash through which I looped some Dollar Tree 5/8" black & white gingham ribbon - I tied a bow around the ribbon using some Basic Black baker's twine from Baker's Twine Essentials Pack (item 155475).

Trying to replicate a snow globe on this tag! Using the large arched die from Garden Meadow dies (item 162740) I cut two "globes" from watercolour paper - one I used as the backing panel and the front panel I coloured with Lost Lagoon ink (item 161678) applied with one of the Blending Brushes (item 153611). For the mottled "falling snow" effect I used a paint brush to dab on clean water - allowing to sit for a minute or two before blotting with a dry paper towel. From watercolour paper I also cut two snow hills using the Basic Borders dies (item 155558); two trees using the Reindeer dies (item 159727) - coloured using Old Olive ink (item 147090) and Mossy Meadow ink (item 147111) applied with one of the Blending Brushes; two evergreen branches using the Joy of Noel dies (item 161965) - coloured using Mossy Meadow ink; two small leafy sprigs using the Around The Bend dies (ite 160649) - coloured using Granny Apple Green ink (item 147095) and Old Olive ink applied using one of the Blending Brushes; four flower (petals) sections using the Paper Florist dies (item 161284) - coloured using Real Red ink (item 147084); and a sentiment tag (stamped with "To:" and "From:" from Joy of Noel stamp set) using the Tailor Made Tags dies (item 155563) - torn edges sponged with Early Espresso ink (item 147114). From Daffodil Delight cardstock I cut one stamen center using the Paper Florist dies - edges sponged with Pecan Pie ink (item 161665); a "globe" base from Pecan Pie cardstock (item 161717) embossed using the Timber 3D Embossing Folder (item 156406) that had been inked with Early Espresso ink; and a reindeer from brushed finish Silver Foil (Silver Foil 12" x 12" Specialty Pack - item 156457) using the Reindeer dies. Around the base of the "globe" I tied a bow using recycled twine. To the top of the tag I added an eyelet through which I looped some Crumb Cake baker's twine from Baker's Twine Essentials Pack (item 155475).
.jpg)
Garden Meadow dies - 162740
.jpg)
.jpg)
Reindeer dies - 159727
.jpg)
Around The Bend dies - 160649

For this tag I used the following additional supplies:
- a base tag cut from watercolour paper using the Tailor Made Tags dies (item 155563) stenciled using the small check mask from Artistic Mix Decorative Masks (item 159178) and Pecan Pie ink (item 161665) applied using one of the Blending Brushes (item 153611). The stenciled tag was misted with water (Stampin' Spritzers - item 126185), and blotted dry with paper towel;
- image tag cut from watercolour paper using the Tailor Made Tags dies - the hat and scarf images, from the Beary Cute stamp set (item 162016) stamped using Real Red ink (item 147084). After the tag was cut (and the bottom edge torn) additional Real Red ink was applied using one of the Blending Brushes;

- Joy of Noel dies (item 161965) to cut two evergreen branches from watercolour paper - coloured using Mossy Meadow ink (item 147111) - a combination of Blending Brushes and pressing the die cuts into the ink pad;
- Lazy Days dies (item 161342) to cut two leafy sprigs from watercolour paper - coloured using Mossy Meadow ink applied with one of the Blending Brushes; and
- Paper Florist dies (item 161284) to cut two flower (petals) sections from watercolour paper - coloured using Real Red ink applied with one of the Blending Brushes - the petals were scrunched with my fingers.
I added a little "almost Mossy Meadow" button from my stash to the flower center, and looped recycled twine through the tops of the tags.
And finally . . .

In addition to the Paper Florist dies (item 161284) to cut two flower (petal) sections and two large leaves from watercolour paper (coloured using Real Red ink - item 147084, and Granny Apple Green ink - item 147095 - and Mossy Meadow ink - item 147111), a flower center from Pecan Pie cardstock (item 161717) sponged around the edges with Pecan Pie ink (item 161665); the Joy of Noel dies (item 161965) to cut one evergreen branch from watercolour paper - coloured using Mossy Meadow ink; and Tree Rings dies (item 159888) to cut two berry sprigs from watercolour paper - coloured with Old Olive ink - item 147090 - applied as a wash using a paint brush and water - I used two retired products: the long retired Creatively Yours stamp set (item 122612) for the sentiment, and the more recently retired Cookin' dies (item 154333) to cut two chopping boards from Pecan Pie cardstock (glued together with wrong sides together), and the whisks from Basic Gray cardstock (item 121044) and Smoky Slate cardstock (item 131202). I sponged a little Basic Gray ink (item 149165) around the edges of the top Basic Gray cardstock whisk. The sentiment panel was cut using the scalloped rectangle die from Mini Pocket Envelope dies (item 159167), sponged with Pecan Pie ink, misted with water (Stampin' Spritzers - item 126185) and blotted dry with paper towel. Through the hole in the chopping board I looped some Crumb Cake baker's twine from Baker's Twine Essentials Pack (item 155475).

%20RETIRED.jpg)
Cookin' dies - 154333 (retired)
.jpg)
Mini Pocket Envelope dies - 159167
Thank you for visiting my blog! I had a lot of fun working on these projects - now I just have some tree decorating to look after!
Stampin' Up! has indicated that the Nested Essentials dies (item 161597) are now expected to be available for ordering the week of January 1, 2024.
If you are interested in purchasing any of the available Stampin' Up! products I have used in my projects, and you live in Canada and do not have a Stampin' Up! demonstrator, please do not hesitate to visit my online store found on my website https://archiesatelier.stampinup.net/ at your convenience, or simply click under the "Shop With Me" tab on the right sidebar of my blog, which will take you directly to my website and online store. I very much appreciate your business, and if you need any assistance please do not hesitate to contact me (lmccoyarchie@gmail.com)! The digital versions of both the May 2023-April 2024 Annual Catalogue and the September-December 2023 Mini Catalogue can be accessed at your convenience on my website! When visiting my online store don't forget to check out the great deals on the Clearance Rack as well as the selection of products now available as Online Exclusives.
The Last Chance Promotion featuring the retiring products from the September-December 2023 Mini Catalogue is on now until January 3, 2024. Many of the retiring products are offered at substantial discounts but products will only be available while supplies last so don't miss out on a great opportunity to stock up on some favourites!
Have fun creating!
Laurel
*It has come to my attention that quite often email correspondence from me is delivered to the recipient's spam or junk mail folder - if you have corresponded with me I have replied so be sure to check your spam or junk mail folder! Thank you!!

Is it really true? The Christmas tree is coming up from the basement forest today?
Comments
Post a Comment